Displaying and Adjusting the Image
19
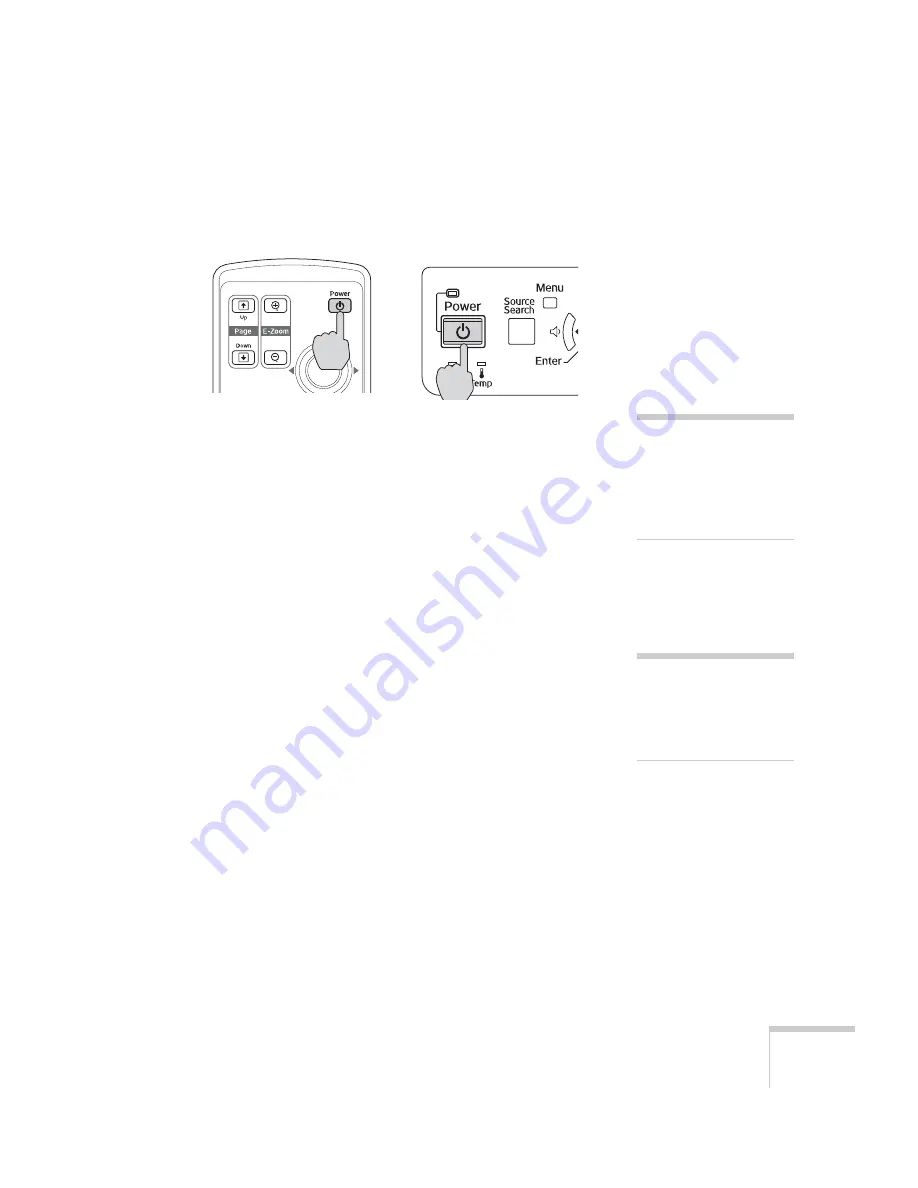
3. Press the red
P
Power
button on the remote control or on top of
the projector.
The projector beeps once and the
Power
light flashes green as the
projector warms up, then an image begins to appear. When the
Power
light stops flashing and remains green, the projector is
ready for use.
4. If you’ve connected a Windows-based computer to the projector,
you may see a New Hardware Wizard screen saying your
computer has found a plug-and-play monitor; if so, click
Cancel
.
5. If you are prompted to enter a password, see page 121.
Selecting the Image Source
Selecting the image source lets you switch between images input from
different pieces of connected equipment (such as a computer or DVD
player).
If you don’t see the image you want, press the
Source Search
button
on the projector or the
Search
button on the remote control until
you see the image you want to project.
You can also use the
Source
buttons on the remote control to switch
between devices connected to the ports identified on each button, or
select EasyMP
™
to project wirelessly or from a USB drive.
warning
Never look into the lens
when the lamp is on. This
can damage your eyes, and is
especially dangerous for
children.
note
To focus and adjust the
image, see page 22. If a
projected image fails to
appear, see page 20 for help.
Содержание 1705C - PowerLite XGA LCD Projector
Страница 1: ...PowerLite 1705c 1715c Multimedia Projector User sGuide ...
Страница 8: ...8 ...
Страница 130: ...130 Fine Tuning the Projector ...
Страница 170: ...170 Solving Problems ...
Страница 174: ...174 Software Installation ...
Страница 182: ...182 Technical Specifications ...
Страница 190: ...190 Notices ...
Страница 198: ...198 Index ...
Страница 199: ...Index 199 ...
Страница 200: ...200 Index ...


