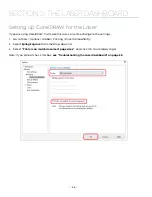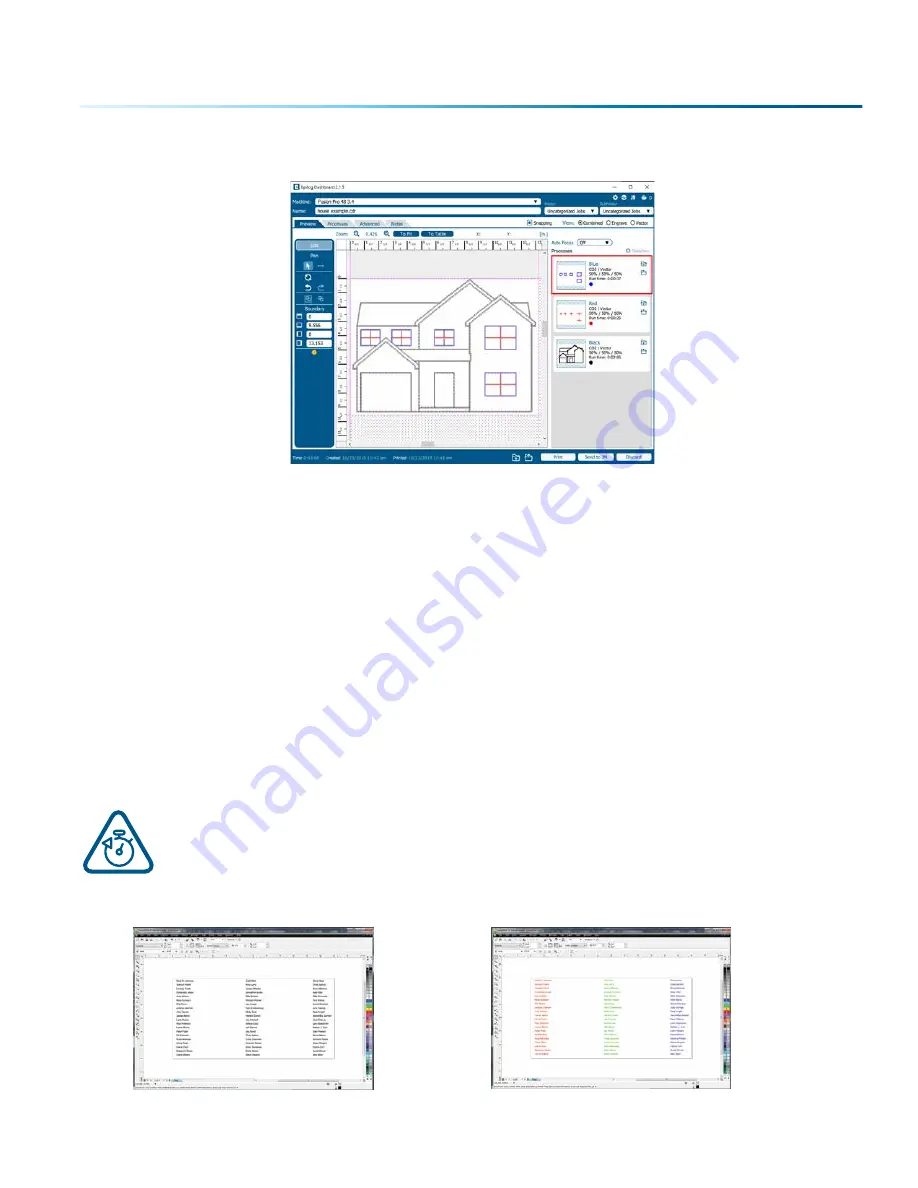
1. Make sure to select
Split By Color
so we can set up our color mapping settings.
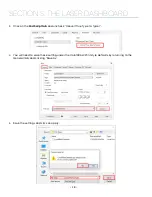
2. In our example we want to mark the blue portion of the graphic first, so blue must be the first color
at the top of the list. In order to move it we just click and hold the process while dragging it up to
move it up to the top position. We now have blue at the top and red is the second color down. This
is the order that the colors will be processed.
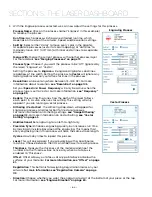
3. With the blue color selected, we set a higher speed and lower power (50% speed, 10% power) to just
mark the top of the piece.
4. Repeat by selecting the Red color in the summary area, then adjusting the speed to 20% and power
to 100%.
Using Color Mapping to Adjust Object Order
Another popular use for color mapping is to adjust the order a series of objects will be engraved or cut.
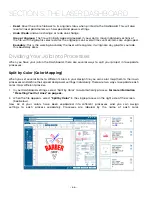
In the example below, there are three columns of names we are engraving. If we engrave the left file in
the image below, the laser carriage will have to travel all the way across the table, covering a lot of
empty space, to engrave the image. For more information,
see “Ordering Processes” on page 72.
If we adjust the colors in each bar, we can setup the color mapping to engrave first the red
bar, then the green bars in the center, and finally engrave the blue bar on the right side of the
page. The engraving time drops from 39:09 to just 22:14 by using Color Mapping in the file
setup.
Engraving Time: 39:09
Engraving Time: 22:14
- 69 -
SECTION 5: THE LASER DASHBOARD
Содержание Fusion Pro 32
Страница 2: ......
Страница 6: ......
Страница 13: ...The following diagrams show the location of each specific label Fusion Pro 32 7 SECTION 1 SAFETY ...
Страница 14: ...Fusion Pro 48 8 SECTION 1 SAFETY ...
Страница 15: ... 9 SECTION 1 SAFETY ...
Страница 18: ......
Страница 28: ......
Страница 60: ......
Страница 98: ......
Страница 108: ......
Страница 132: ......
Страница 162: ......
Страница 184: ......
Страница 202: ......
Страница 214: ......
Страница 216: ......
Страница 242: ......


