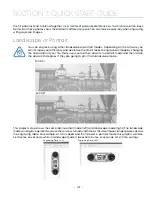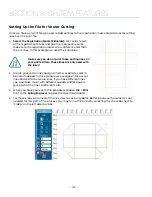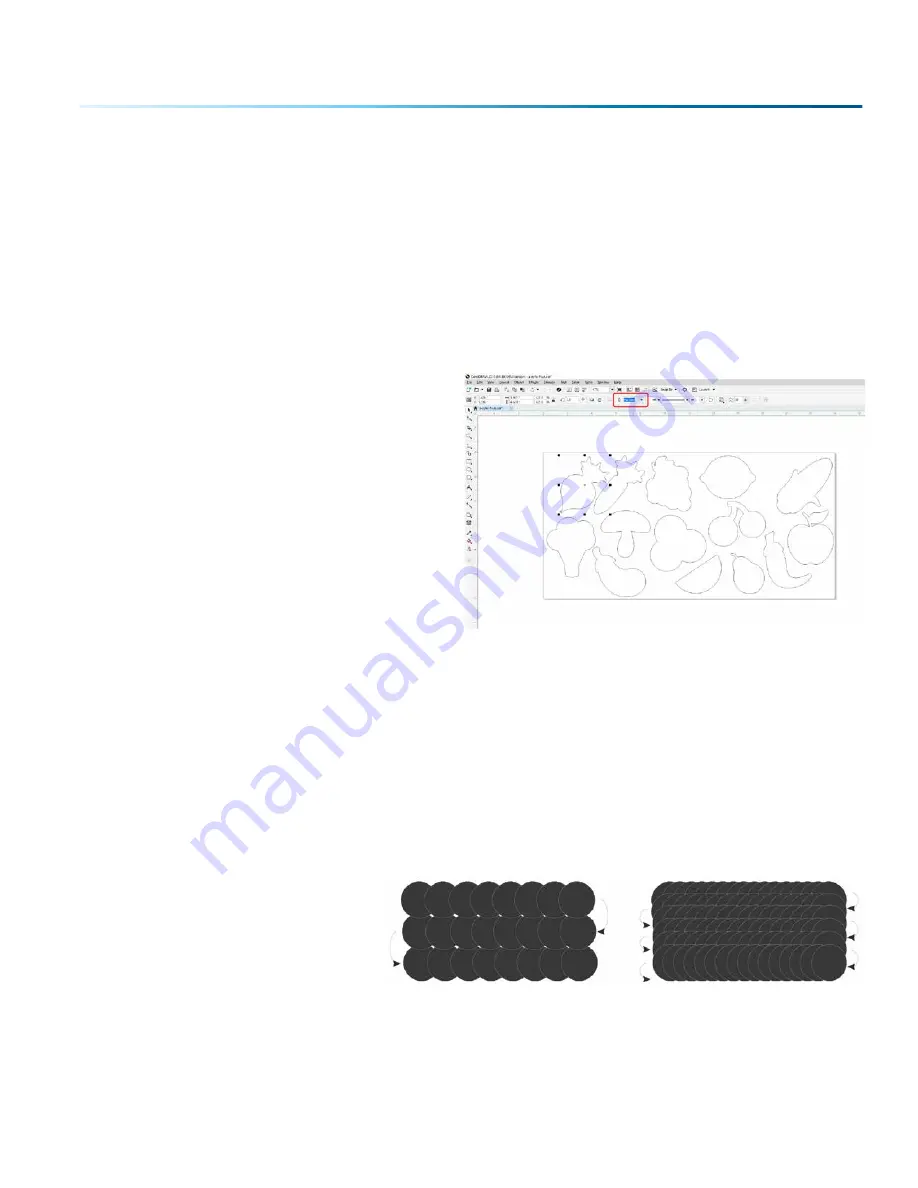
Setting a Vector Cutting Line
With the new Job Manager you no longer have to set a line width to “Hairline” to ensure that it will print
to the Dashboard as a Vector process. This allows you to have many options for setting your Vector
Cutting lines. The easiest way to do it is by
line width
, but you may also set it to Vector by a specific
color
or by selecting the individual processes in the Dashboard that you want to cut instead of engrave. The
key is to be consistent in which method you pick to avoid confusion. For more information,
Where do I set the Vector Line Width?
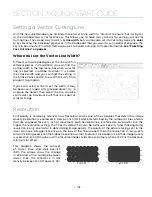
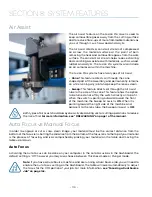
Different software packages set the line width in
different places. In CorelDRAW, you can find the
outline width in the top menu bar when a vector
line is selected. In Adobe Illustrator it is called
the stroke width and you can find this setting in
the Stroke Panel. Vector line width will vary from
program to program.
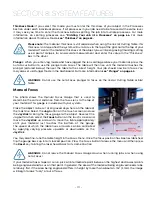
If you can’t select a line to set the width, it may
be because it is part of a grouped object. Try to
ungroup the object, then select the line. You also
can’t select an individual line if that line is part of
a raster image.
Resolution
Print quality is commonly referred to as Resolution and is one of the variables that determine image
quality. Resolution is expressed in dots per inch (DPI) and is determined by the number of lines or dots
that are engraved for every inch of movement. Each horizontal line is referred to as a raster line. The
higher the resolution setting, the finer the detail that can be achieved. Keep in mind that engraving
resolution is only one factor in determining image quality. The quality of the artwork being sent to the
laser can have a bigger influence on the look of the final product than the resolution. If low quality
artwork is being used, even the highest resolution will not improve it. Also keep in mind that image quality
is subjective. 300 DPI may be just fine for some images and some customers, while 600 DPI is the absolute
minimum for others.
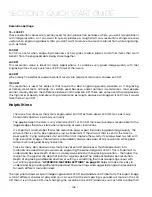
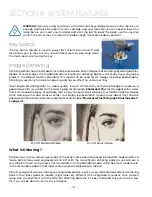
This diagram shows the concept
of raster lines and dots-per-inch
(DPI). The arrows show the change
in direction of the carriage between
raster lines. The difference in dot
density between 300 DPI and 600 DPI.
300 DPI
600 DPI
- 105 -
SECTION 7: QUICK START GUIDE
Содержание Fusion Pro 32
Страница 2: ......
Страница 6: ......
Страница 13: ...The following diagrams show the location of each specific label Fusion Pro 32 7 SECTION 1 SAFETY ...
Страница 14: ...Fusion Pro 48 8 SECTION 1 SAFETY ...
Страница 15: ... 9 SECTION 1 SAFETY ...
Страница 18: ......
Страница 28: ......
Страница 60: ......
Страница 98: ......
Страница 108: ......
Страница 132: ......
Страница 162: ......
Страница 184: ......
Страница 202: ......
Страница 214: ......
Страница 216: ......
Страница 242: ......


