IQ Gateway-M Installation and
Operation
17
©
2022 Enphase Energy Inc. All rights reserved.
141-00031 Rev 02
use the ferrite bead included with the IQ Gateway.
•
Method D: Power Line Communication Bridges [order EPLC-02 (EU), EPLC-03 (UK) or EPLC-04
(AU) separately]. This method requires that you use the ferrite bead included with the IQ
Gateway.
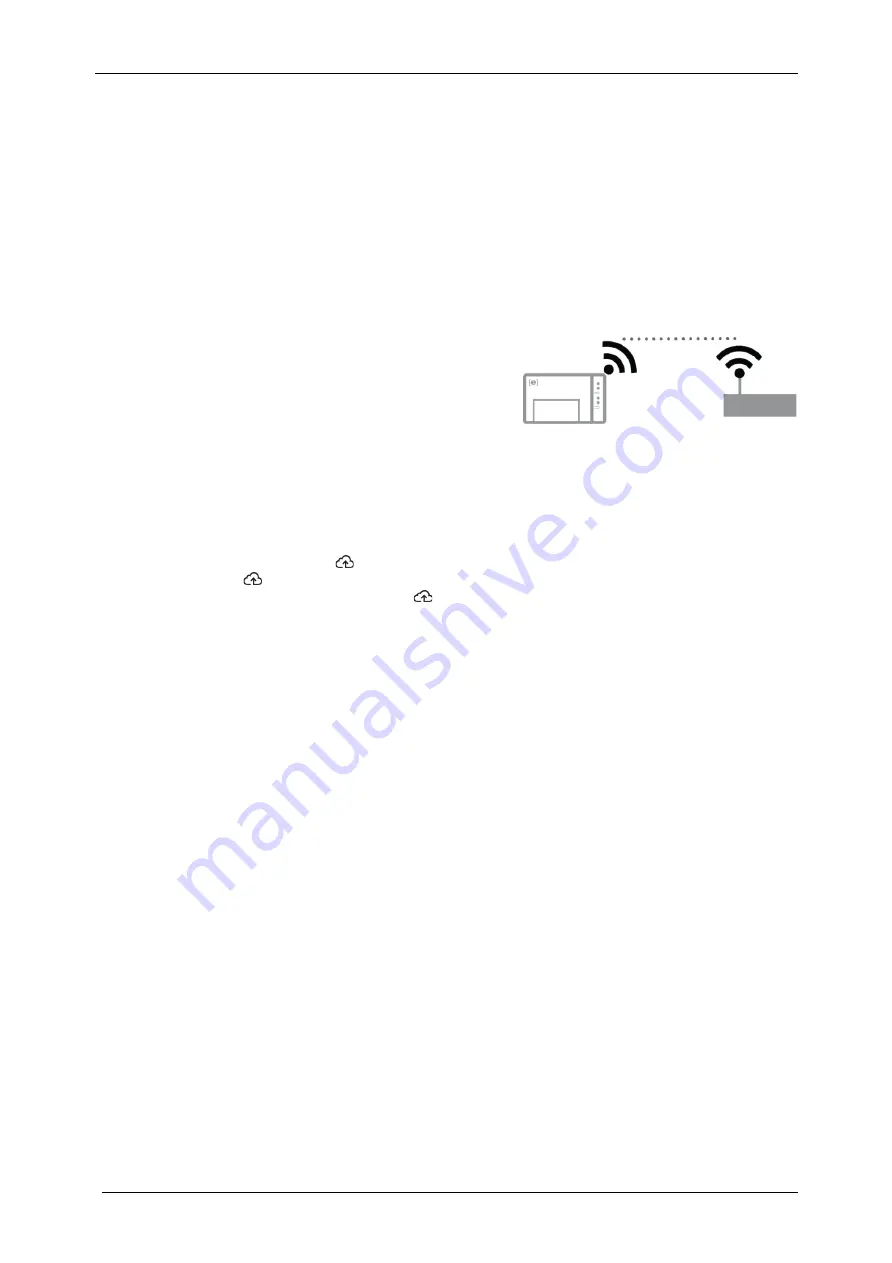
Method A: Integrated Wi-Fi
The IQ Gateway integrated Wi-Fi operates at both 2.4GHz and 5GHz and supports several wireless
security protocols in addition to Wi-Fi WPS. These include WEP Open System, WEP Shared Key, WPA-
PSK, WPA2-PSK, WPA-EAP, and WPA2-EAP.
To use the Enphase integrated Wi-Fi, you need a wireless
router.
a.
On the IQ Gateway, verify that no Ethernet
cable is plugged into the RJ45 port.
b.
If your router supports WPS, press and hold the
WPS button on the wireless router for a few
seconds. On most routers, a WPS LED begins flashing.
c.
If you are using the Installer Toolkit mobile app, go to your
system
and tap
Installer Toolkit Step 4
(Envoy connectivity), tap
Wi-Fi
, and then tap your
Network
from the list of available networks. If the
wireless router does not support WPS, you may be prompted to enter a password.
If you are not using the Installer Toolkit mobile app, you can only connect using
WPS
. Initiate a
WPS connection
by pressing and holding the
AP Mode
button for 5 seconds.
The Network Communications LED
begins flashing green. Within three minutes the Network
Communications LED
lights solid green, indicating a successful connection to the Internet and to
Enlighten. If the Network Communications LED
remains off or lights solid red
see “Internet
Issues” on page 36.
Method B: Ethernet Cable
To use this method, you need an Ethernet cable and a broadband router. To install the cable and ferrite
bead:
a.
Select a Cat5E or Cat6 Ethernet cable unshielded twisted pair (UTP). Do not use shielded
twisted pair (STP) cable.
b.
Place a ferrite bead on the new cable, near one end, and close the latch.
c.
Plug the cable end with the ferrite into the IQ Gateway Ethernet port.
d.
Secure a cable tie on the cable on each side of the ferrite bead.
e.
Tighten an additional cable tie around the ferrite bead.
f.
Trim any cable tie excess.
g.
Plug the other end of the Ethernet cable into the network


