017-220-J0 Rev C
38
CAUTION!
To successfully complete this procedure, you should have a working knowledge of
network protocols and how to configure them. Consult your network administrator for
details.
If multiple UPS are installed on the same network, configure each unit’s IP address be-
fore the installation. Each UPS on the network MUST have its own unique IP address.
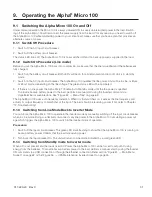
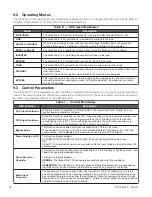
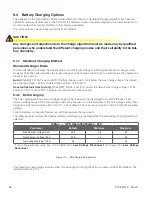
9.5.1 Installation and Set Up
The following tools and materials are needed:
• Computer with network card and web browser
• Ethernet cable (only required if SNMP card is installed)
• The UPS Final IP Address and Subnet Mask and if needed the Default Gateway and the DNS Server addresses
Procedure:
1. Connect the Alpha Micro 100 to a personal computer with either the Ethernet cable or hub.
2. Configure the computer network card to talk to the Alpha Micro 100 communication module. The module’s
default address is http://192.168.0.90.
3. Open the web browser on the computer.
4. In the browser window, type in the default IP address and press Enter.
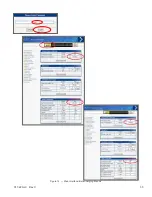
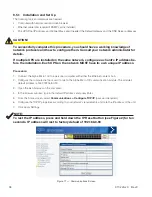
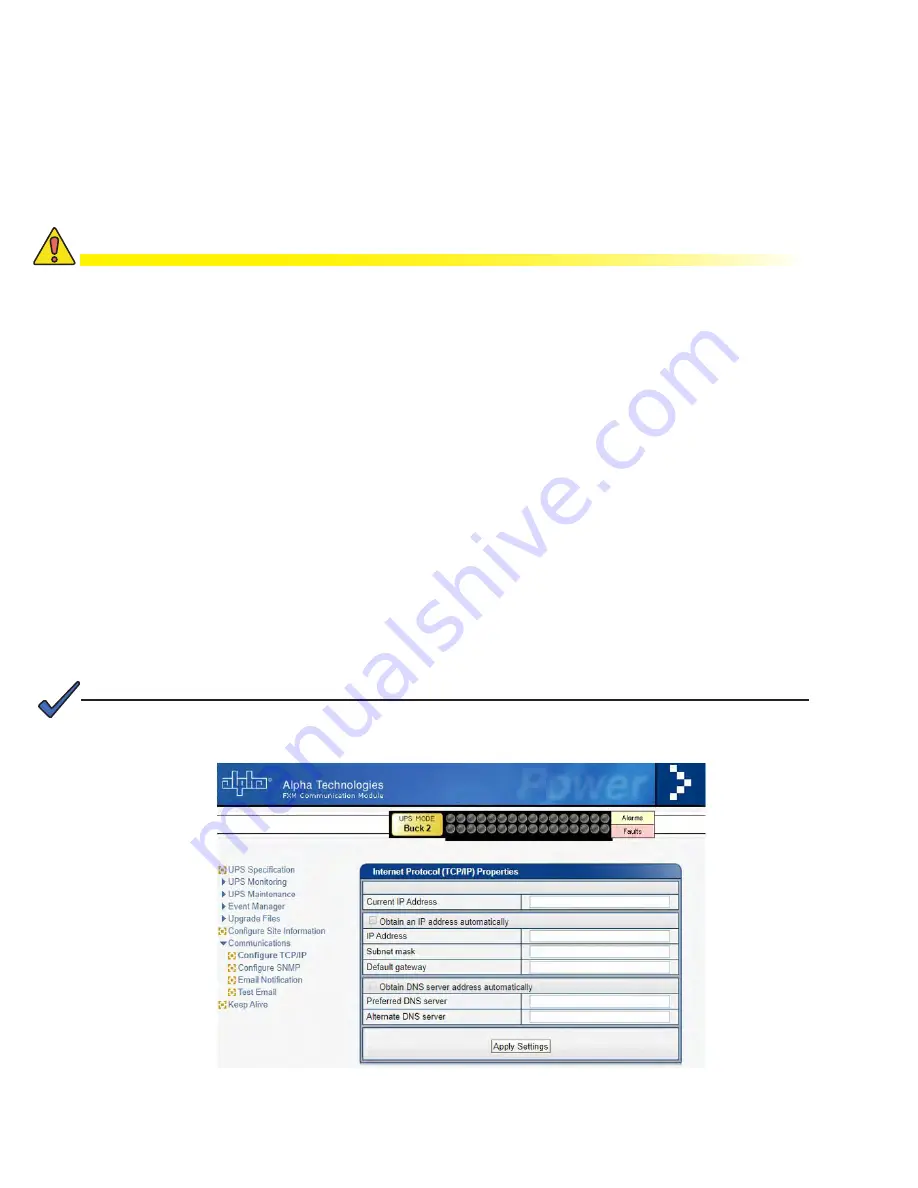
5. From the home screen, select
Communications > Configure TCP/IP
(password required).
6. Configure the TCP/IP properties according to your network’s requirements and note the IP address of the unit.
7. Click Apply Settings.
Figure 17 — Communications Screen
NOTE:
To rest the IP address, press and hold down the IP Reset button (see Figure 2) for ten
seconds. IP address will rest to factory default of 192.168.0.90
Содержание Alpha Micro 100
Страница 1: ...Alpha Micro 100 UPS Technical Guide 017 220 J0 Effective 09 2020...
Страница 2: ......
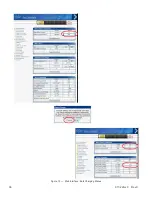
Страница 36: ...35 017 220 J0 Rev C Figure 14 Web Interface Bulk Charging Menus...
Страница 37: ...017 220 J0 Rev C 36 Figure 15 Web Interface Bulk Charging Menus...
Страница 85: ......
Страница 86: ......
Страница 87: ......


