background image


pt

es

nl

it

fr

ru

en

de

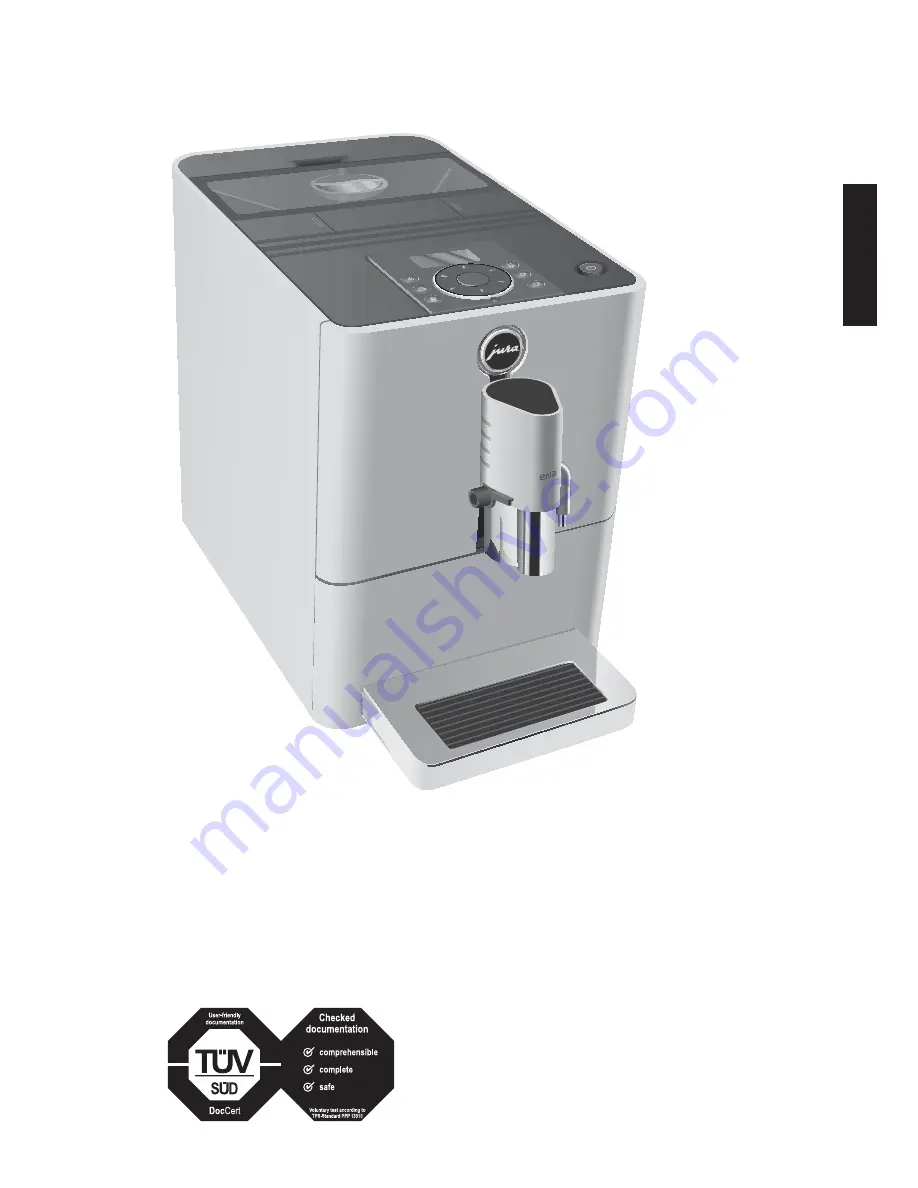
The Instructions for Use has been awarded the seal of 
approval by the independent German Technical 
Inspection Agency, TÜV SÜD, due to its easy-to-
understand style, its thoroughness and coverage of 
safety aspects.

micr

o 9

Instructions for use for ENA Micro 9 One Touch

Содержание Micro 9 One Touch

Страница 1: ...for Use has been awarded the seal of approval by the independent German Technical Inspection Agency T V S D due to its easy to understand style its thoroughness and coverage of safety aspects micro 9...

Страница 2: ...water tank 38 2 Preparation 38 Espresso coffee 38 Latte macchiato cappuccino 38 Permanently setting the amount of water for the cup size 39 Ground coffee 39 Hot water 40 3 Daily operation 40 Switchin...

Страница 3: ...your attention to potential damage to the machine Symbols used T Prompt to take action This symbol means that you are being prompted to perform some action E Information and tips to make it even easie...

Страница 4: ...l elements micro 9 1 Water tank 2 Mains cable back of the machine 3 Milk pipe 4 Coffee grounds container 5 Drip tray 6 Bean container with aroma preservation cover 7 Hot water spout 8 Height adjustabl...

Страница 5: ...hute for ground coffee 3 Display 4 c Maintenance button 5 Cappuccino button 6 Latte Macchiato button 7 Rotary Switch status display 8 Cover cap for grinder adjustment switch 9 Grinder adjustment switc...

Страница 6: ...fatal injury Repairs may only be carried out by authorised JURA service centres using original spare parts and accessories A defective machine is not safe and could cause injury or fire To avoid dama...

Страница 7: ...achine on a horizontal surface that is not sensitive to water U Choose a spot for your ENA which protects the machine against overheating Ensure that the ventilation slots are not covered Filling the...

Страница 8: ...to the water tank exerting slight pressure T Close the filter holder It will click into place audibly E After two months the filter will cease to work Set the date on the date plate on the filter hold...

Страница 9: ...trip supplied as standard T Hold the test strip briefly for one second under running water T Shake off the water T Wait for about one minute T You will then be able to read the degree of water hardnes...

Страница 10: ...e preset amounts e g amount of milk foam or water by turning the Rotary Switch g E You can follow the current status of preparation on the progress bar Coffee tastes best served hot A cold porcelain c...

Страница 11: ...fees and hot water according to the cup size Adjust the amount once as shown in the following example Every time you prepare a drink in the future this amount of water will be dispensed Example Perman...

Страница 12: ...cup Preparation stops automatically READY Hot water J CAUTION There is a danger of scalding from hot water splashes T Avoid direct contact with the skin Precondition READY is displayed T Place a cup u...

Страница 13: ...ount of water 25 ML 240 ML U Coffee strength NORMAL STRONG U Temperature NORMAL HIGH You can make the following permanent settings for latte macchiato and cappuccino U Amount of milk foam 3 SEC 120 SE...

Страница 14: ...ess is set HARDNESS g T Turn the Rotary Switch until EXIT is displayed k T Press the Rotary Switch to exit programming mode READY Energy saving mode The energy saving mode Energy Save Mode E S M helps...

Страница 15: ...SE MANUAL U The switch on rinse must be started manually U INIT RINSE AUTOMATIC U The switch on rinse is started automatically U C RINSE AFTER 10 U You are prompted to perform a cappuccino rinse 10 mi...

Страница 16: ...s displayed k T Press the Rotary Switch to enter the programme item ENGLISH g T Turn the Rotary Switch until DEUTSCH is displayed k T Press the Rotary Switch to confirm the setting OK the language is...

Страница 17: ...ged and or traces could be left behind in the milk T Use only original JURA maintenance products micro 9 E JURA Cappuccino Cleaner is available from specialized dealers k T Press and hold the Rotary S...

Страница 18: ...re severely dried on milk residues firstly immerse the individual parts in JURA Cappuccino Cleaner and then clean them thoroughly T Fit the air intake pipe T Reassemble the milk system noting the numb...

Страница 19: ...at any time by pressing any button Press the Maintenance button c to continue with rinsing of the filter E The water may be slightly discoloured This is not harmful to health and does not affect the t...

Страница 20: ...TRAY T Empty the drip tray and coffee grounds container and reinsert them PRESS RINSE T Place a receptacle under the dual spout c T Press the Maintenance button CLEANING water flows out of the dual sp...

Страница 21: ...Place a receptacle under the hot water spout c T Press the Maintenance button DE SCALING water flows out of the hot water spout repeatedly EMPTY TRAY T Empty the drip tray and coffee grounds containe...

Страница 22: ...t the coffee result For this reason clean the bean container from time to time Q T Press the On Off button to switch the machine off T Disconnect the mains plug T Remove the bean container cover T Rem...

Страница 23: ...ed correctly T Fit the aroma preservation cover correctly PRESS RINSE The ENA is prompting you to perform a rinse or continue a maintenance programme that was already started T Press the Maintenance b...

Страница 24: ...ge is activated T Deactivate the CLARIS Blue filter cartridge in programming mode FILL WATER TANK is displayed although the water tank is full The water tank float is trapped T Descale the water tank...

Страница 25: ...ntil the system is empty FILL WATER TANK Q T Press the On Off button to switch the machine off Disposal Please dispose of old machines in an environmen tally neutral way H Old machines contain valuabl...

Страница 26: ...50 Machine 48 Coffee 38 Coffee grounds container 32 Consistency of grind Adjusting the grinder 37 Grinder adjustment switch 33 Contact details 56 Cup grille 32 Customer support 56 D Descaling Machine...

Страница 27: ...ode 41 Automatic switch off 43 Energy saving mode 42 Language 44 Products 41 Rinses 43 Setting the water hardness 42 Unit for amount of water 44 Proper use 34 R Rinses 43 Rinsing Machine 44 Rotary Swi...

Страница 28: ...009 125 EC Ecodesign Directive Technical changes We reserve the right to make technical changes The diagrams used in these instructions for use are for illustration purposes only and do not represent...

Отзывы: