Maintenance
▲
WARNING
To avoid personal injury, property
damage or equipment damage caused
by sudden release of pressure or
explosion of accumulated gas, do
not attempt any maintenance or
disassembly without first isolating the
pilot from system pressure and relieving
all internal pressure from the pilot.
Pilots that have been disassembled
for repair must be tested for proper
operation before being returned to
service. Only parts manufactured by
Emerson should be used for repairing
this pilot.
Due to normal wear or damage that may
occur from external sources, this pilot
should be inspected and maintained
periodically. The frequency of inspection
and replacement of parts depends upon
the severity of service conditions or the
requirement of local, state and federal
rules and regulations.
△
CAUTION
Do not, under any circumstances, loosen
the bolts on the diaphragm chamber of
the Type T124 or T134 Temperature Pilot
or attempt to dismantle the thermostat
element. The system is filled with
volatile fluid which, if lost, will render the
pilot inoperative.
Dismantling
1. Remove diaphragm nuts (key 4) and lift off top
works and diaphragms.
2. Remove the blind flange bolts (key 7) and
take off the blind flange (key 26). Remove the
screen (key 46) and gasket (key 45 ).
3. Hold the pusher plate (key 41) with a socket
wrench and remove stem nuts (key 25). The disk
(key 24) will drop off.
4. Lift out the stem (key 22) and valve spring
(key 43).
Assembly
1. Reassemble the pilot in the reverse of the
Dismantling procedure.
2. Ensure that diaphragm screw (key 37) and cowl
bracket (key 19) are centered on diaphragm flange
of the pilot body (key 44). Misalignment can cause
erratic performance.
3. When replacing diaphragms, apply sealing
compound (High pressure, high-temperature
sealant) sparingly to the shoulder of the diaphragm
screw (key 37). For steel pilot only, apply sealing
compound to the diaphragm flange of the
pilot body.
Seat, Disk and Stem Replacement
1. Examine the seat and disk sealing surfaces for
nicks or other signs of damage by pipeline debris.
Replace the sealing surfaces if damaged.
2. When seat or disk is replaced, ensure that the
sealing surfaces are lapped. After the sealing
surfaces are lapped in, disassemble and clean
all parts.
Note
Lap sparingly using 500 grit lapping
compound and light pressure. Heavy
grinding may cause galling, wide sealing
surfaces and a grooved disk, all of which
tend to produce leakage.
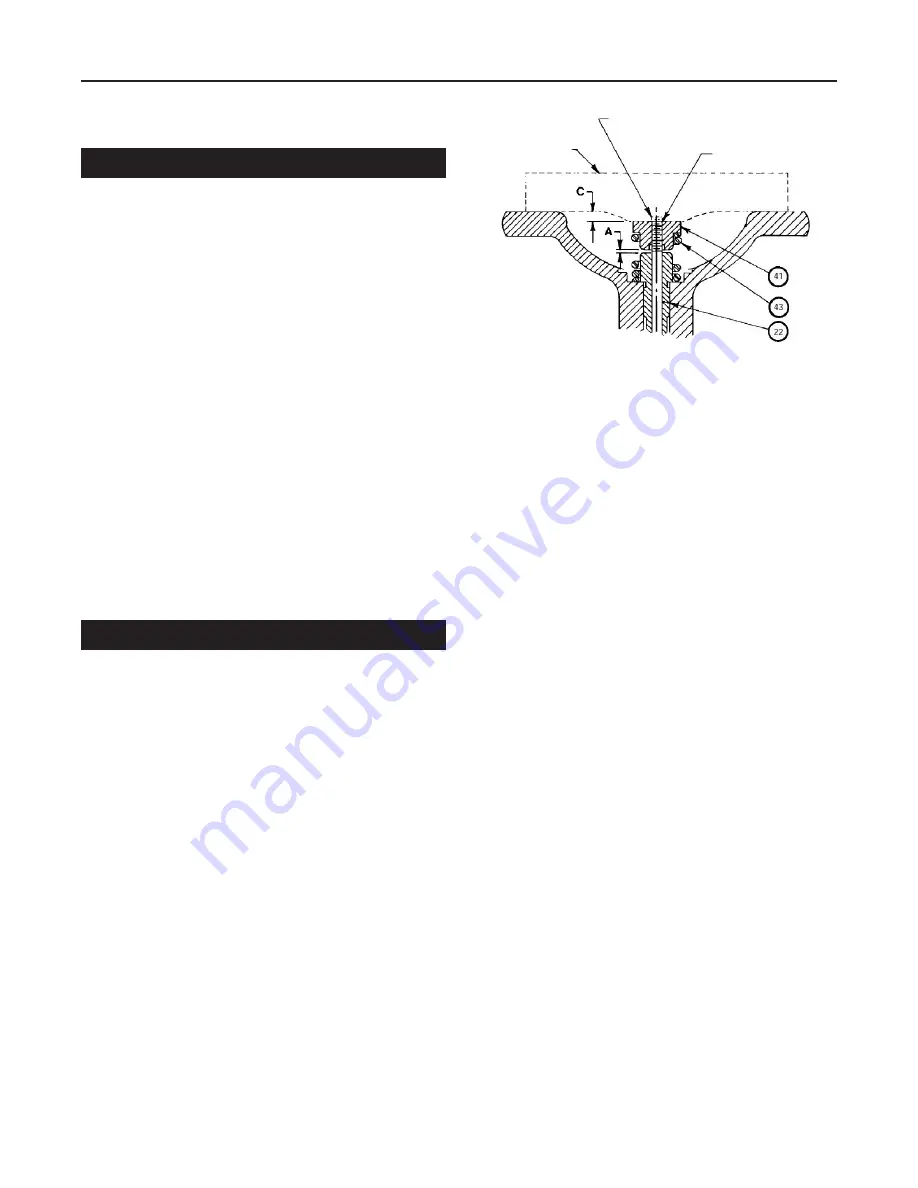
Figure 5
. Travel Setting
GAGE
PRICK PUNCH
STEM PROJECTION "B" TO BE
REMOVED AS PER INSTRUCTIONS
6
Types T124 and T134


