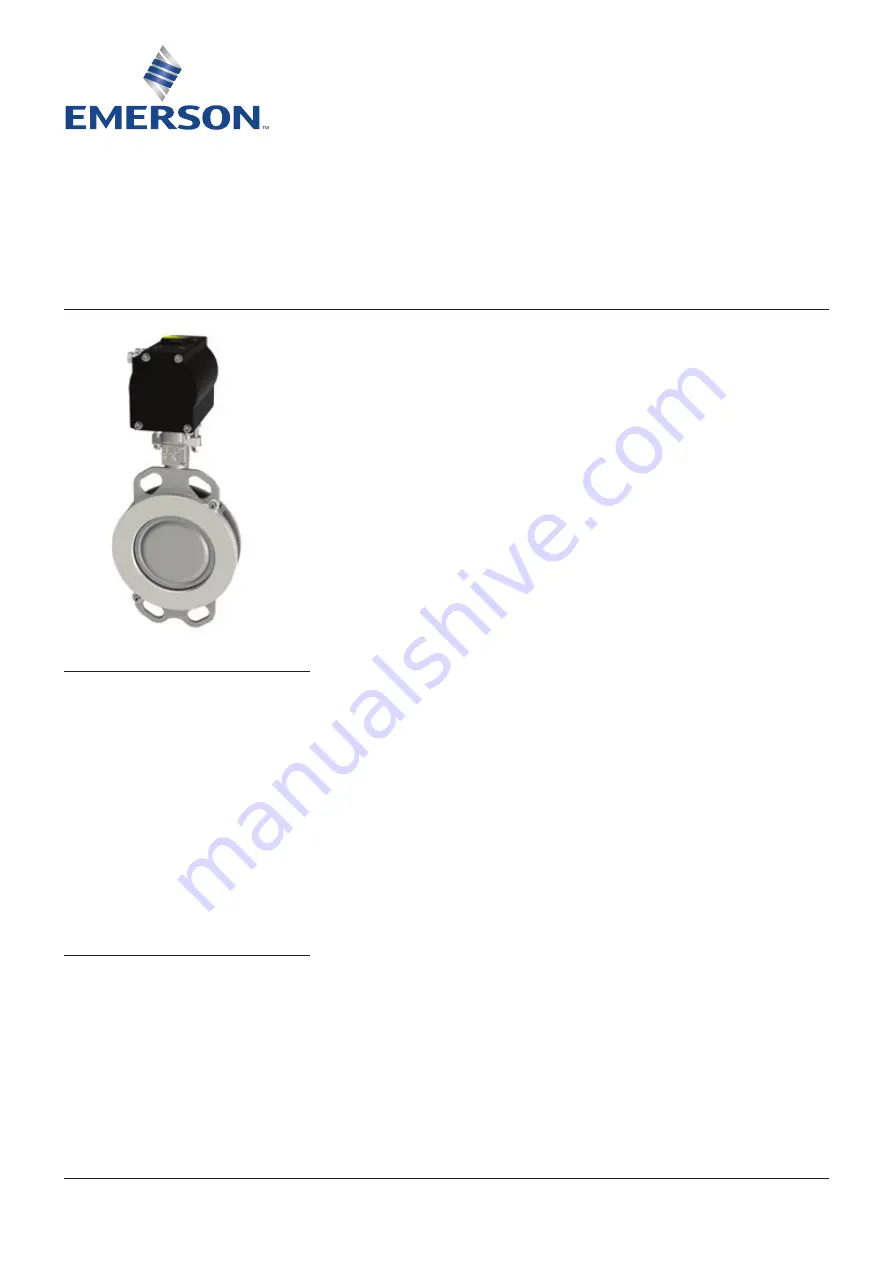
background image

IMPORTANT

Whenever possible, install the valve with the shaft 
in the horizontal position and, if possible, with the 
cast-in disc stop located top-side of the pipe. If the 
shaft cannot be positioned horizontally, position 
the shaft so that it is not on the vertical centerline 
in a horizontal pipe run. This will minimize any 
depositing of solid particles present in the fluid 
into the lower bearing.

CAUTION

The valve should be installed in the closed 
position to ensure that the seat and disc are 
not damaged during installation. Particular 
care should be taken with valves equipped with 
‘fail open’ actuators. Failure to ensure proper 
handling may result in damage to the valve.
If the pipe is lined, confirm that the disc rotation 
does not contact the lining during the opening 
stroke. Failure to confirm that the disc rotation 
does not contact the lining may result in damage 
to the valve.

Emerson.com/FinalControl

KEYSTONE 

K-LOK SERIES H HIGH PERFORMANCE BUTTERFLY VALVES

INSTALLATION, OPERATION AND MAINTENANCE INSTRUCTIONS

INSPECTION

1.  Carefully remove the valve from the 

shipping package (box or pallet) to avoid 
any damage to the valve and, in the 
case of automated valves, to the electric 
or pneumatic/hydraulic actuator or 
instrumentation.

GENERAL

Suggested installation orientation is with 
valve shaft horizontal or inclined from vertical. 
Unless otherwise recommended by Emerson, 
mount the valve in the preferred direction with 
the directional arrow pointing to the lower 
pressure side so that the front face of the disc 
will be upstream when the valve is in the closed 
position.
Thermal insulation of the body is mandatory for 
operating temperatures above 200°C (392°F).

H-series K-LOK offers the following body 
styles:
Series H1W and H2W - Wafer
Series H1L and H2L - Lugged

Before installation these instructions must be read fully and understood

© 2017 Emerson. All Rights Reserved.

VCIOM-03381-EN 17/11

2.  Prior to installation, clean the inside of 

the valve. Ensure that there are no solid 
objects such as pieces of wood, plastic or 
packing materials within the valve or on 
the valve seat.

3  Inspect the seat and disc edge to ensure 

that they were not damaged in handling. 
This is especially important in the case of 
valves with ‘fail-open’ actuators.

4.  Confirm that the materials of construction 

listed on the valve nameplate are 
appropriate for the service intended and 
are as specified.

5.  Locate the directional arrow on the body 

that defines the preferred mounting 
orientation in respect to the pressure. In 
most cases, the valve is properly installed 
when the actual fluid flow or high pressure 
is acting on the front face of the disc when 
the valve is closed.

6.  Ensure that the packing gland bolting nuts 

are tight.

Содержание Keystone K-LOK H Series

Страница 1: ...ted installation orientation is with valve shaft horizontal or inclined from vertical Unless otherwise recommended by Emerson mount the valve in the preferred direction with the directional arrow pointing to the lower pressure side so that the front face of the disc will be upstream when the valve is in the closed position Thermal insulation of the body is mandatory for operating temperatures abov...

Страница 2: ...double D s and keyways are aligned with the disc The valve disc travels clockwise to close 3 For automated valves set the air pressure electrical voltage for at least the minimum given to operate the actuator For pneumatic actuators do not apply more than 1 25 times the pressure for which the actuator was designed INSTALLATION The valves are shipped with flange gasket surface protection Before ins...

Страница 3: ...extrusion ring 9 Shaft packing 10 Packing gland follower 11 Snap ring 12 Gland bridge 13 Seat 14 Seat retaining ring gasket 15 Seat retaining ring 16 Seat retaining ring bolting 17 Gland bridge bolting 18 19 Gland bridge nut SRR nut 20 Bottom cover gasket 21 Bottom cover 22 23 Bottom cover bolting 24 Nut disc stopper 25 Bolt disc stopper 26 Key 27 28 Tag DN 700 900 NPS 28 36 Pos Description Pos De...

Страница 4: ...ut this operation make sure the disc edges remain protected from contact with the body by installing cardboard at all disc hub areas Failure to do so may cause damage to the disc sealing edge Protect the shaft from the vice teeth to prevent damage and to eliminate potential packing leakage 1 When removing the upper shaft 3 from the disc 2 clamp the vice jaws on to the upper shaft area above the va...

Страница 5: ...have a smooth surface are free of burrs Remove any burrs with fine grit sandpaper 3 Inspect for scratches around disc edges If scratched smooth the edge with fine grit sandpaper 220 400 wet dry sandpaper Remove the scratch by using a blending motion and extend the smoothed area at least 50 mm two inches above below and around the original scratch To polish the disc edge use a powered wire brush Fi...

Страница 6: ...al and fire safe seat assemblies have 2 gaskets Fire safe seat assembly has an extra back up ring see Figure 10 light grey FIGURE 7 Wire wrapped seat FIGURE 6 General service seat FIGURE 8 Elastomer seat FIGURE 9 Metal seat FIGURE 10 Fire safe seat Note elastomer seats have a backup ring Figure 8 blue part Make sure that the spilt of the backup ring is in line with the shaft direction Note make su...

Страница 7: ...r bolting loose 1 Tighten bottom cover bolting 2 Gasket damage 2 Remove valve from service and replace gasket Valve leaking 1 Valve not fully closed 1 Close valve 2 Debris trapped in valve 2 Cycle and flush to remove debris 3 Seat or disc edge damaged 3 Remove valve from service and replace seat and or repair or replace disc 4 Actuator mechanical closure stop incorrect 4 Adjust the stop to allow f...

Страница 8: ...5 1 8UN 4 4 5 4 5 4 1 8UN 4 3 5 4 5 3 20 CL300 1 8UN 20 13 15 40 6 5 1 8UN 8 4 5 8 5 3 24 CL300 1 8UN 20 15 16 40 8 6 1 8UN 8 4 6 8 6 4 28 CL300 1 8UN 24 18 20 48 9 7 8 5 6 8 6 5 30 CL300 1 8UN 24 19 21 48 10 8 8 5 7 8 7 5 32 CL300 1 8UN 24 20 22 48 10 8 8 5 7 8 7 5 36 CL300 2 8UN 28 20 23 56 10 8 8 6 8 8 8 6 KEYSTONE K LOK SERIES H HIGH PERFORMANCE BUTTERFLY VALVES INSTALLATION OPERATION AND MAIN...

Страница 9: ...00 75 400 PN16 M27 16 210 230 32 100 80 450 PN16 M27 20 220 250 40 110 90 500 PN16 M30 20 240 270 40 135 105 600 PN16 M33 20 300 330 40 160 130 700 PN16 M33 20 290 320 40 140 110 8 75 110 8 110 75 750 PN16 M33 20 290 320 40 140 110 8 80 110 8 110 80 800 PN16 M36 20 320 360 40 170 130 8 80 120 8 120 80 900 PN16 M36 24 350 380 48 180 140 8 90 130 8 130 90 H1W H1L ISO PN 10 Valve size Pressure class ...

Страница 10: ... 290 320 32 150 120 450 PN40 M36 16 310 345 32 170 130 4 110 150 4 150 110 4 90 130 4 130 90 500 PN40 M39 16 320 350 32 170 130 8 90 130 8 130 92 600 PN40 M45 16 380 420 32 200 160 8 110 150 8 150 110 700 PN40 M45 20 410 450 40 210 170 8 110 150 8 150 110 750 PN40 M52 20 430 470 40 230 180 8 115 170 8 170 115 800 PN40 M52 20 450 490 40 240 190 8 120 170 8 170 120 900 PN40 M52 24 450 500 48 230 180...

Страница 11: ...tions nor any of their affiliated entities assumes responsibility for the selection use or maintenance of any product Responsibility for proper selection use and maintenance of any product remains solely with the purchaser and end user Keystone is a mark owned by one of the companies in the Emerson Automated Solutions business unit of Emerson Electric Co Emerson Automation Solutions Emerson and th...

Отзывы: