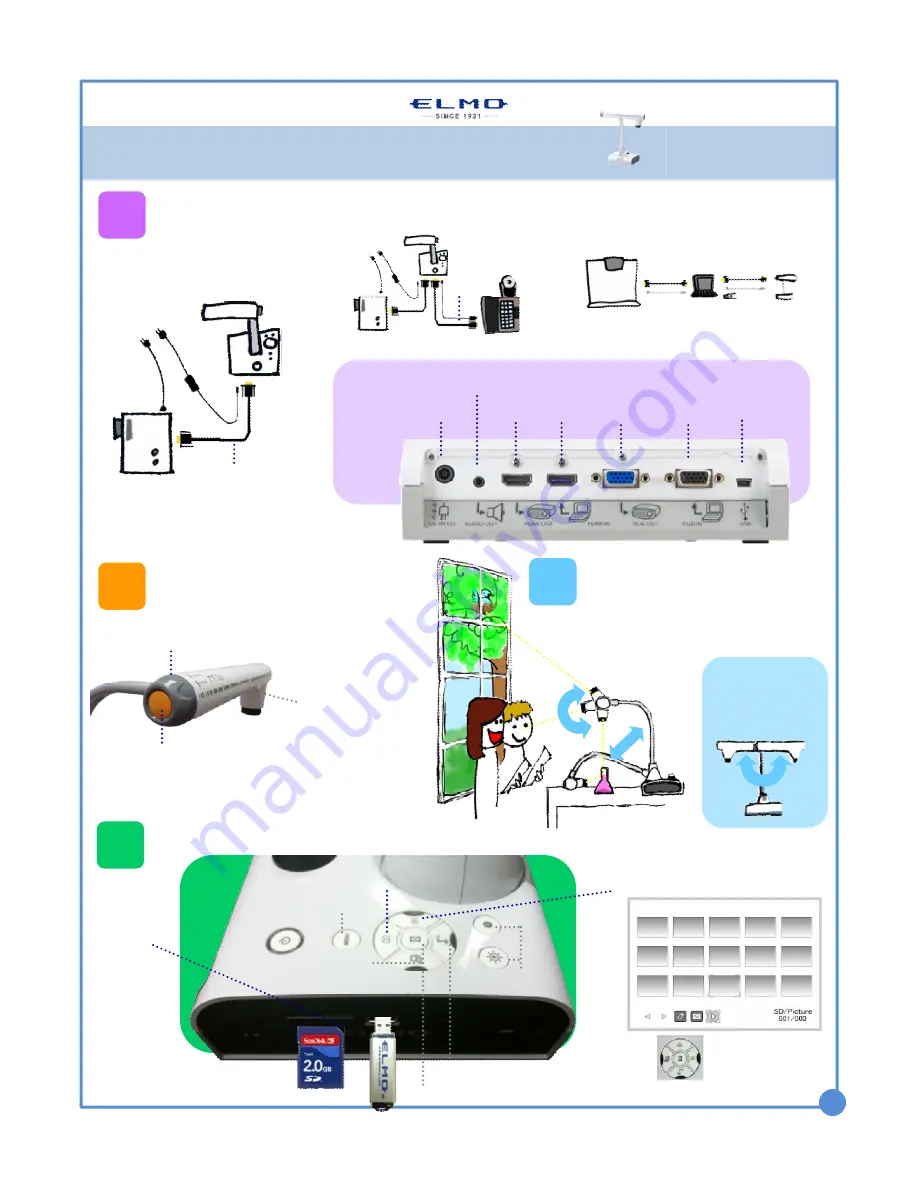
With Interactive Whiteboard
USB
RGB OUT
To projector
RGB IN
From
computer
USB
To computer
Plug-in for
AC adaptor
Rear
panel
1
Configure
your classroom
Basic Configuration
Install Image
Mate software
AC plugs
AC plugs
RGB/HDMI cable
HDMI OUT
To projector
To speaker
With Computer
Power on the TT-12iD
Zoom and Focus
Press the Auto-focus button to focus
after zooming
Twist the zoom knob to zoom in/out
2
LED light
Rotate
Rotate the camera column close to a
small object, turn the camera head
horizontally to view students giving a
presentation, speech, etc.
Rotate the arm 180
°
and position camera
head downward for left-
handed users.
3
4
Capture and Review
A. Insert SD
card/USB
flash drive
C. Review saved images
Use buttons to
scroll and select.
QUICK TRAINING GUIDE:
TT-12iD
1
Pause the camera image. Press again to unfreeze.
Menu(see page 2)
Adjust brightness
View computer desktop
View document camera image
B. Capture image
Training Video (TT-12): http://www.elmousa.com/tt-12-interactive-document-camera
HDMI IN
From
computer


