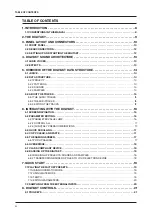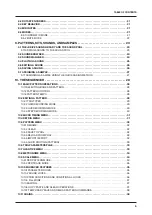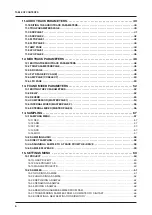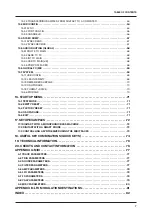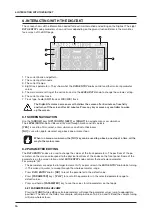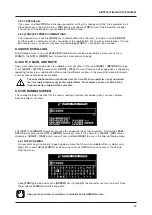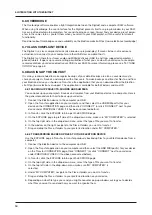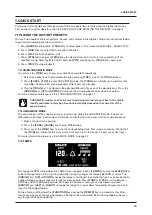
6. INTERACTING WITH THE DIGITAKT
18
6.6 OVERBRIDGE
The Overbridge software enables a tight integration between the Digitakt and a computer DAW software.
When using Overbridge, the user interface for the Digitakt presents itself as a plug-in window in your DAW.
Access, edit and automate parameters for sound shaping on screen. Always find your device preset param-
eters in the same state as you left them when you return to your DAW project, with the useful total recall
functionality.
Read more about Overbridge use and availability on the Elektron website: https://www.elektron.se/overbridge/
6.7 CLASS COMPLIANT DEVICE
The Digitakt is a class compliant device (also known as plug-and-play). It means it does not require any
extra drivers to connect to your computer or other USB class compliant hosts.
The Digitakt can, therefore, stream audio and MIDI directly over USB to and from supported computers/
phones/tablets. It opens up several exciting possibilities of what you can do with your device, for example,
record audio from your device directly over USB in your DAW. For more information, please see “15.7.1 USB
6.8 BACKING UP THE DIGITAKT
It is always recommended to make regular backups of your data. Backups are also a convenient way to
share your projects, Sounds, and samples with other users. To make backups and transfer files to and from
your Elektron device, you should use Transfer, a free application that you can download from the Elektron
site https://www.elektron.se/support. The application is available for both Windows and macOS.
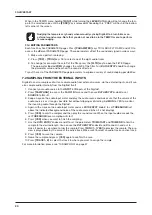
6.8.1 BACKING UP PROJECTS, SOUNDS AND SAMPLES
You can backup up your projects, Sounds and samples from your Elektron device to a computer. Here is
the general procedure for how to back up your device:
1. Connect the Elektron device to the computer via USB.
2. Open the Transfer application on your computer, and then select the USB MIDI port(s) for your
device on the CONNECTION page, and then click “CONNECT” (or click “CONNECT” next to your
device under PREVIOUSLY USED if it has been connected before).
3. In Transfer, click the EXPLORE tab to open the EXPLORE page.
4. On the EXPLORE page top left side of the drop-down menu, make sure “MY COMPUTER” is selected.
5. On the top right side, in the drop-down menu, select the type of file you want to transfer.
6. In the window on the right, navigate to the files or folders you want to transfer
7. Drag and drop the files or folders to your preferred location under “MY COMPUTER.”
6.8.2 TRANSFERRING BACKED UP FILES TO YOUR ELEKTRON DEVICE
Use the EXPLORE page in Transfer to transfer previously backed up files to your Elektron device from a
computer.
1. Connect the Elektron device to the computer via USB.
2. Open the Transfer application on your computer and then select the USB MIDI port(s) for your device
on the Transfer CONNECTION page. Click “CONNECT” (or click “CONNECT” next to your device
under PREVIOUSLY USED if it had been connected before).
3. In Transfer, click the EXPLORE tab to open the EXPLORE page.
4. On the top right side, in the drop-down menu, select the type of file you want to transfer.
5. On the top left side in the drop-down menu, make sure “MY COMPUTER” is
selected.
6. Under “MY COMPUTER,” navigate to the files or folders you want to transfer.
7. Drag and drop the files or folders to your preferred location on your device.
8. Depending on what file type you send, you might encounter pop-up windows asking you to decide
what files you want to send and how you want to organize them.
Содержание Digitakt
Страница 1: ...Digitakt User Manual...
Страница 84: ...4116ENG O...

