COMPETENCE 3210 BU
Built Under Double Oven
Operating And InstallationInstructions
Страница 1: ...COMPETENCE 3210 BU Built Under Double Oven Operating And Installation Instructions ...
Страница 2: ... handle in position when grilling and ensure oven gloves are used to remove and replace the handle as it will become hot Always use oven gloves to remove and place food in the oven Ensure that all vents are not obstructed to ensure ventilation of the oven cavity Never line any part of the appliance with foil Never leave the appliance unattended when the oven door is open Do not place sealed cans o...
Страница 3: ...ure 24 How to Defrost 24 Things to Note 24 Hints and Tips 24 Care and Cleaning 25 Cleaning Materials 25 Cleaning the Outside of the Appliance 25 Cleaning the Outer and Inner Door Glass Panels 26 Cleaning Inside the Ovens 27 To Remove the Wirework Runners 28 Cleaning the Shelves Wirework Runners and Oven Furniture 28 Care of Stayclean Surfaces 28 The Oven Cleaning Cycle 29 Things to Note 29 Hints a...
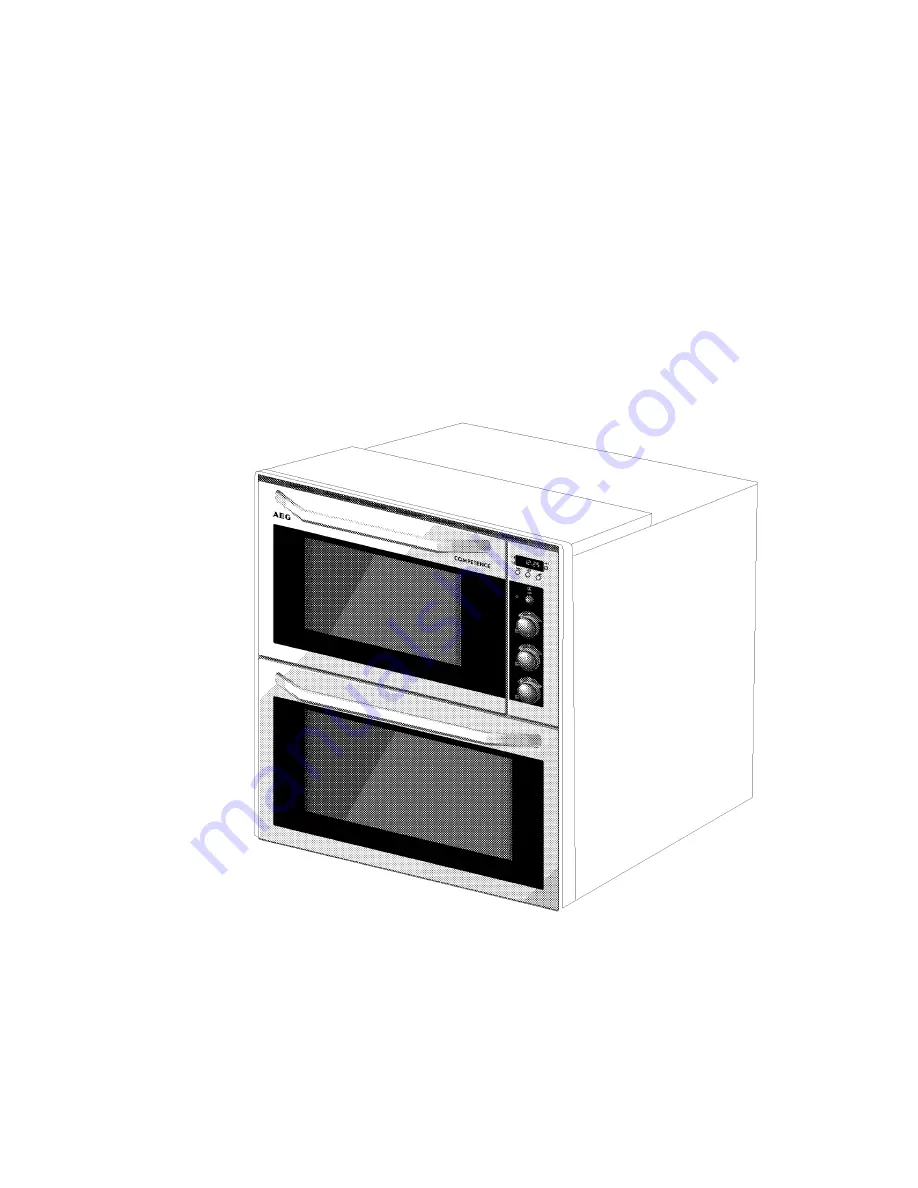
Страница 4: ...e top compartment The top oven is convenient and economical for mid week use because of its size The main fan oven is the larger of the two ovens It is particularly suitable for cooking larger quantities of food The main fan oven can be automatically controlled by the timer DESCRIPTION OF THE APPLIANCE Fan Oven Dual Grill Electronic Timer Top Oven ...
Страница 5: ...he Control Panel GETTING TO KNOW YOUR OVEN Grill Indicator Neon Top Oven Indicator Neon Fan Oven Indicator Neon Fan Oven Temperature Control Top Oven Temperature Control Dual Grill Control Electronic timer ...
Страница 6: ... hot soapy water and wash the grill and oven furniture before use We suggest that you run the oven elements for 10 15 minutes at 220 C to burn off any residue from their surfaces The procedure should be repeated with the grill for approximately 5 10 minutes During this period and odour may be emitted it is therefore advisable to open a window for ventilation CONDENSATION AND STEAM When food is hea...
Страница 7: ...s is quite normal The cooling fan may run on after the ovens or grill are switched off for a period of time to cool the appliance down It may continue to switch on and off until the appliance is cool Always allow the cooling fan to cool the appliance down before switching off at the wall prior to carrying out any cleaning or maintenance work NOTE The action of the cooling fan will depend on how lo...
Страница 8: ... shelf for grilling and Top oven cooking 2 shelves for Fan oven cooking The grill deflector sits above the grill element and prevents fat splashing onto the grill roof The deflector may be easily removed for cleaning Scuffing of the Stayclean panel s by the oven furniture pack may occur during transit These marks will disappear after the oven elements have been burnt off for the first time ...
Страница 9: ...d be pressed separately 2 HOW TO SET THE COUNTDOWN The Countdown gives an audible reminder at the end of any period of cooking up to 2 hrs 30 mins It is not part of the automatic control To set press the Selector Control button until the Countdown indicator is illuminated the display reads 0 00 as Fig 3 To set the correct time duration depress the increase control until the display indicates the i...
Страница 10: ...uired length of cooking time is displayed e g 2 hrs 15 mins as Fig 7 If necessary depress the decrease control until the correct time interval is achieved The maximum cooking time is 10 hours iv Release the buttons The Cook Time indicator will be illuminated Remember this must be completed within 5 seconds of first pressing the Selector Control button v To set the End Time Press the Selector Contr...
Страница 11: ...uld be ON vi To check the End Time during the cooking period simply press the Selector Control button once and the remaining time will be displayed as Fig 11 4 TO CANCEL AN AUTOMATIC PROGRAMME i To cancel an automatic programme press the Selector Control button until the Cook Time indicator neon flashes Press the decrease control until the display reads 0 00 as Fig 12 ii Release the buttons The Co...
Страница 12: ...e as possible before automatic cooking Always ensure commercially prepared food is well within its use by date and that home prepared food is fresh and of good quality When cooking is complete do not leave food to stand in the oven but remove and cool it quickly if the food is not to be consumed immediately Always ensure food in the oven has been covered before cooking if it is not possible to rem...
Страница 13: ... 0 The grill door must be left open when grilling THINGS TO NOTE The cooling fan for the controls will operate as soon as the grill control is turned For more information on the operation of the cooling fan turn to page 7 The outer section of the grill element may appear to glow brighter than the inner section This is quite normal The grill indicator neon will glow until the desired power level ha...
Страница 14: ...pan handle during grilling To correctly locate the grill pan on the shelf ensure that the cut out on the underside of the handle bracket locates over the front bar of the shelf The grill pan must not be located in the shelf runners To check the progress of the food being grilled the grill pan should be withdrawn on the shelf to attend to food during cooking HINTS AND TIPS Most foods should be plac...
Страница 15: ...lling to minimise splashing Brush lean meats and fish lightly with a little oil or melted butter to keep them moist during cooking Accompaniments such as tomatoes and mushrooms may be placed underneath the grid when grilling meats The food should be turned over during cooking as required The grill door must be left open when grilling For convenience the grill door can be left ajar Preheat the gril...
Страница 16: ...de 5 Low Chicken Joints 15 20 each side 3 High Chops Lamb 7 10 each side 5 Low Pork 10 15 each side 5 Low Fish Whole Herring 8 12 each side 5 Low Fillets Plaice Cod 4 6 each side 5 Low Kebabs 10 15 each side 5 Low Kidneys Lamb 4 6 each side 5 Low Pig 8 10 each side 5 Low Liver Lamb Pig 5 10 each side 5 Low Sausages 10 15 turn as required 5 Low Steaks Rare 3 6 each side 5 Low Medium 6 8 each side 5...
Страница 17: ... reached the desired temperature and then go out It will turn on and off periodically during cooking showing that the temperature is being maintained The cooling fan for the controls will operate after a time See page 7 for more information on the operation of the cooling fan Do not place dishes tins and trays directly on the oven base as it becomes very hot and damage will occur TO FIT THE OVEN S...
Страница 18: ...aced centrally on the shelf and there is sufficient room around the baking tray or dish to allow for maximum circulation Where a larger quantity of food is to be cooked we recommend you use the fan oven Place dishes on a suitably sized baking tray on the shelf to prevent spillage onto the oven base and to help reduce cleaning The material and finish of the baking tray and dishes will affect the de...
Страница 19: ...es Beef Lamb 2 150 160 Chicken 2 140 160 Convenience Foods 3 According to manufacturers instructions Fish 3 170 190 Fish Pie Potato Topped 3 200 210 Fruit Pies Crumbles 3 190 200 Milk Puddings 3 140 150 Pasta Lasagne etc 3 190 200 Pastry Choux eclairs profiteroles 3 190 200 Flaky Puff Pies 3 210 220 Shortcrust 3 190 200 Mince Pies 3 190 200 Meat Pies 3 210 220 Quiche Tarts Flans 3 180 190 Roasting...
Страница 20: ...atures recommended in the chart on page 22 until you are familiar with the lower temperatures associated with Fan oven cooking As a guide reduce temperatures by 20 C 25 C for your own recipes BATCH BAKING The Fan oven cooks evenly on all shelf levels especially useful when batch baking HOW TO USE THE FAN OVEN 1 Turn the Fan oven temperature control to the required setting THINGS TO NOTE The oven l...
Страница 21: ...f this will allow the heat to circulate freely for the best cooking results It is recommended that when baking larger quantities the shelf positions should be evenly spaced to suit the load being cooked A slight increase in cooking time may be necessary The material and finish of the baking tray and dishes will affect the degree of base browning of the food Enamelware dark heavy or non stick utens...
Страница 22: ...ack critical 170 180 Shortbread 140 150 Baked Custard 140 150 Casseroles Beef Lamb but ensure 140 150 Chicken 160 180 Convenience Foods that oven According to manufacturers instructions Fish 150 170 Fish Pie Potato Topped 190 200 Fruit Pies Crumbles shelves are 180 190 Milk Puddings 130 140 Pasta Lasagne etc 180 190 Pastry Choux evenly Eclairs profiteroles 160 170 Flaky Puff Pies 210 220 Shortcrus...
Страница 23: ... 1lb up to 3 kg 7lb then 10 minutes per kg 1lb over 3 kg 7lb Duck 160 180 C 25 35 minutes per kg 1lb and 25 35 minutes over Pheasant 160 180 C 35 40 minutes per kg 1lb and 35 40 minutes over Rabbit 160 180 C 20 minutes per kg 1lb and 20 minutes over Potatoes with meat 160 180 C According to size Potatoes without meat 180 190 C According to size The roasting temperatures and times given in the char...
Страница 24: ...erable to thaw fish meat and poultry slowly in the fridge However this process can be accelerated by using the defrost function Small or thin fish fillets frozen peeled prawns cubed or minced meat liver thin chops steaks etc can be thawed in 1 2 hours A 1kg 2 lb oven ready chicken will be thawed in approximately 5 hours Remove the giblets as soon as possible during the thawing process Joints of me...
Страница 25: ...ance as some of the finishes are painted and damage may occur Regularly wipe over the control panel and oven doors using a soft cloth well wrung out in warm water to which a little liquid detergent has been added Any spillage on the stainless steel finish must be wiped off immediately Stainless Steel cream cleaners are abrasive and should be avoided as they may dull the surface finish Do not place...
Страница 26: ...the grill door Note the position of the trim on the door 4 Holding the door and glass with one hand gently pull towards you and slightly lift the door glass with the other hand to disengage the panel from the location point at the bottom of the door Gently release the door to close it 5 Clean the outer and inner glass using hot soapy water or Hob Brite Should the inner face of the outer door glass...
Страница 27: ...r DO NOT attempt to use the oven without the glass being in place TO CLEAN THE INNER GLASS DOOR The inner glass door is not removable Clean using hot soapy water or Hob Brite and a soft cloth DO NOT use abrasives as they may damage the glass or seal CLEANING INSIDE THE OVENS The oven roofs sides main oven back panel and grill deflector are coated with a Stayclean finish The Stayclean areas should ...
Страница 28: ...eavily soiled they will then clean more easily If the shelves are heavily soiled a soap impregnated steel wool pad can be used The grill pan and meat tin can be cleaned using a soap impregnated steel wool pad All items of grill and oven furniture are dishwasher safe with the exception of the grill pan handle CARE OF STAYCLEAN SURFACES The roofs and sides of both ovens and the main oven back panel ...
Страница 29: ...ntrols are switched off until the appliance has cooled See page 7 for more details on the operation of the cooling fan HINTS AND TIPS Slight discolouration and polishing of the Stayclean surfaces may occur in time but this will not affect their self cleaning properties A good time to use the oven cleaning cycle is after the weekly roast If you do a lot of roasting and very little baking you should...
Страница 30: ... to cook through before the outside is over browned REPLACING AN OVEN LIGHT BULB The type of bulb required is a 300 C 25 watt small Edison Screw CAUTION Disconnect the appliance from the electricity supply before replacing the bulb 1 Make sure the appliance is cool before you replace a bulb 2 Open the door and remove the shelves side panels and wirework runners Instructions on how to remove the wi...
Страница 31: ...e 9 The Grill does not work or cuts out after being used for a long period of time Check that only the Grill control has been turned If the Top Oven control has been turned it will override the Grill Ensure that the Grill door is open when grilling Leave the door open and allow the Grill to cool After a couple of hours check that the Grill works as normal Ensure the Cooling Fan is running when the...
Страница 32: ...ook time begins The Oven Fan is noisy Check that the Oven is level Check that the shelves and bakeware are not vibrating in contact with the oven back panel The Oven temperature is too high or low Check that the recommended temperatures and shelf positions are being used See page 22 Be prepared to adjust the temperature up or down by 10 C to achieve the results you want ...
Страница 33: ...vice Force Centre you will need to give the following details 1 Your name address and post code 2 Your telephone number 3 Clear and concise details of the fault 4 The model and serial number of the appliance found on the rating plate 5 The purchase date Please note that a valid purchase receipt or guarantee documentation is required for in guarantee service calls CUSTOMER CARE DEPARTMENT For gener...
Страница 34: ...der guarantee do not extend the guarantee period for the appliance Parts removed during guarantee repairs become the property of AEG 6 The Purchaser s statutory rights are not affected by this guarantee European Guarantee If you should move to another country within Europe then your guarantee moves with you to your new home subject to the following qualifications The guarantee starts from the date...
Страница 35: ... Fan Motor 0 03kW Oven Light 0 05kW Wattage 5 0 5 5kW Height 720 mm Width 593 mm Depth 585 mm excluding handles and knobs Weight 52kg Cannot be used at the same time as the grill element This appliance complies with European Council Directive 73 23 EEC ECM Directive 89 336 EEC CE Marking Directive 93 68 EEC TECHNICAL DETAILS ...
Страница 36: ...door Alternatively the rating plate may also be found on the back or top of some models where applicable Do not alter the electrical circuitry of this appliance CHIOCE OF ELECTRICAL CONNECTION The appliance should be operated using at least 6mm 2 twin core and earth PVC insulated multicore cable Please choose from the most appropriate after reading the descriptions By connecting the appliance to a...
Страница 37: ...e with BS EN60 335 Enquiries regarding the installation of the cooker point if required should be made to your Regional Electricity Company to ensure compliance with their regulations This appliance must not be installed on a wooden base board The cooker point should be within 2m of the appliance to make it accessible to switch off the appliance in case of an emergency To protect the hands wear gl...
Страница 38: ... be modified so that the recommended dimension of at least 600 605mm is maintained The adjacent cabinets must be stable and firmly secured to the wall or floor If necessary make arrangements to ensure the work surface below which the oven will rest is level Drill two pilot screw holes into the sides of the adjacent cabinets in the positions indicated by Fig 5 Fit the appliance mounting brackets us...
Страница 39: ... space in which it will be installed See Fig 8 Remove the appliance packing except for bottom tray which should be left in position until the appliance is ready to be fitted into its cabinet Ensure the owner is given these operating instructions NOTE It is imperative that the appliance is left in the base to protect both the appliance and the floor Important Switch off at mains miniature circuit b...
Страница 40: ...ccess to terminal block First remove retaining screw with pozidrive screwdriver See Fig 9 Prise cover loose using screwdriver in position 1 then lever off with screwdriver in position 2 at either side See Fig 10 Lift cover and remove screw from cable clamp See Fig 11 INSTALLATION INSTRUCTIONS Fig 9 Fig 10 Fig 11 ...
Страница 41: ...mm away from the end of the inner insulation Where uninsulated Earth wires are used ensure they are suitably sheathed to leave 10mm bare wire fit into the terminal Clamp bare wires into the relevant terminal and check they are held by tugging each one in turn Clamp the mains cable securely ensuring 5mm of the outer insulation is inside the terminal block and that the wires are not taught but not s...
Страница 42: ...KER POINT Either follow in general terms the instructions for connecting to the terminal block or refer to the hob suppliers installation instructions Feed the cable through the cabinet and arrange to route the cable away from the appliance NOTE HOUSE CIRCUIT Earth leakage continuity tests must be carried out before the appliance is connected to the mains supply and re checked after fitting INSTAL...
Страница 43: ...pliance to the correct height Rest the rear underside of the appliance on the mounting brackets while your hands support the front The appliance can be pushed fully into the space Take care to avoid fouling the mains lead Ensure the appliance is central and level When the appliance is fully housed screw the stability screws supplied with the appliance into the underside of the worksurface in the p...
Страница 44: ...and specifications without prior notice This instruction booklet is accurate at the date of printing but will be superseded if specifications or appearance are changed AEG 55 77HIGHSTREET SLOUGH BERKSHIRE SL11DZ TELEPHONE 08705350350 www aeghome co uk Part Number 311387412 Electrolux Household Appliances Limited 2002 ...