background image


FR 


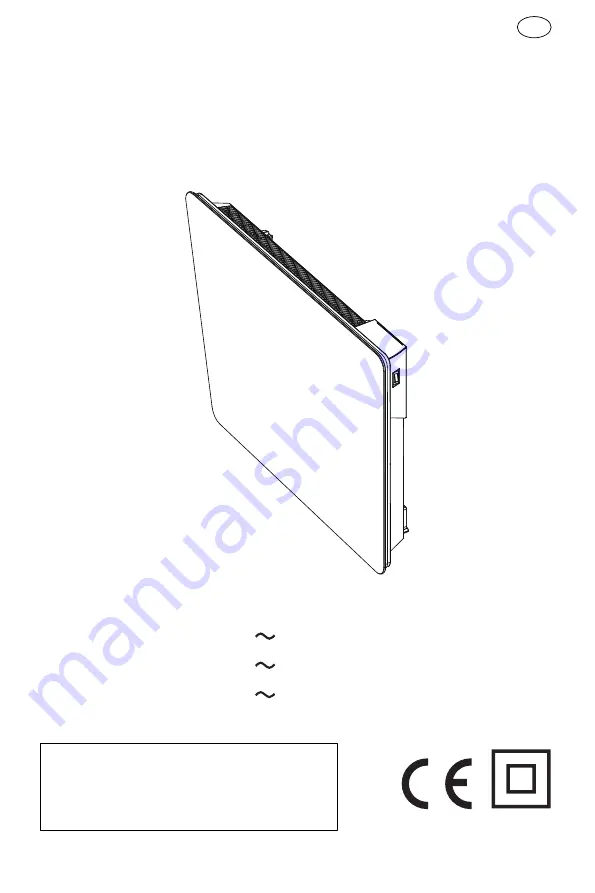
Panneau chauffant en 

verre céramique 


EHG01-10C          230V

  50Hz      1000W        Classe II 

EHG01-15C          230V

  50Hz      1500W        Classe II 

EHG01-20C          230V

  50Hz      2000W        Classe II 


Lisez  toujours  attentivement  la  notice 
avant de monter et d’utiliser votre appareil 
et  conservez-la  pour  vous  y  référer 
ultérieurement. 
 

Содержание EHG01-10C

Страница 1: ... EHG01 10C 230V 50Hz 1000W Classe II EHG01 15C 230V 50Hz 1500W Classe II EHG01 20C 230V 50Hz 2000W Classe II Lisez toujours attentivement la notice avant de monter et d utiliser votre appareil et conservez la pour vous y référer ultérieurement ...

Страница 2: ...de maintenir à distance les enfants de moins de 3 ans à moins qu ils ne soient sous une surveillance continue Les enfants âgés entre 3 ans et 8 ans doivent uniquement mettre l appareil en marche ou à l arrêt à condition que ce dernier ait été placé ou installé dans une position normale prévue et que ces enfants disposent d une surveillance ou aient reçu des instructions quant à l utilisation de l ...

Страница 3: ... de chauffage ne doit pas être placé juste en dessous d une prise de courant L appareil doit être installé de façon telle que les interrupteurs et autres dispositifs de commande ne puissent pas être touchés par une personne dans la baignoire ou la douche Un moyen de déconnexion du réseau d alimentation ayant une distance d ouverture des contacts de tous les pôles doit être prévu dans la canalisati...

Страница 4: ...fage Avertissement cet appareil doit être installé uniquement dans le volume 2 d une salle de bain conformément aux exigences de la norme française d installation électrique NF C 15 100 Note Le schéma ci dessous est donné uniquement à titre d exemple Nous vous suggérons de contacter un électricien professionnel pour toute aide Cet appareil est destiné à un usage domestique uniquement ...

Страница 5: ...5 FR I Description K ...

Страница 6: ... soient respectées H mm L mm EHG01 10C 240 240 EHG01 15C 240 400 EHG01 20C 240 480 2 Introduire les chevilles installer les supports au mur 3 Accrocher le chauffage sur les supports fixés Après avoir bien placé le chauffage tournez le levier de verrouillage en position de verrouillage comme montré sur la figure 150mm EHG01 10C EHG01 15C EHG01 20C 150mm 150mm 150mm 150mm ...

Страница 7: ...outon permet également de sélectionner les plages horaires lors du réglage de la programmation quotidienne journalière Réglage température Appuyer sur ce bouton pour une diminution rapide de la température Ce bouton permet également de sélectionner les plages horaires lors du réglage de la programmation journalière Ce bouton permet de sélectionner les différents modes de fonctionnement ou les diff...

Страница 8: ...endant environ 3 secondes pour modifier l heure Pendant le réglage de l heure l affichage de l heure clignote alors à l écran appuyer sur pour sélectionner l heure 0 23 et sur pour passer au réglage des minutes appuyer sur pour sélectionner les minutes 0 59 et sur pour passer au réglage des jours de la semaine appuyer sur pour régler le jour actuel de lundi à dimanche Appuyer une dernière fois sur...

Страница 9: ... et CONFORT sont liées La modification de l une des deux entraine la modification automatique de l autre La température du mode ECO est toujours 3 5ºC inférieure à celle du mode CONFORT Mode Hors Gel Température de 7 C non modifiable Un programme unique de lundi à dimanche le programme est personnalisable Une programmation de lundi à vendredi puis un programme différent pour samedi et dimanche De ...

Страница 10: ...fie Mode Confort Signifie Mode Eco Signifie Mode Hors Gel Une fois votre choix fait appuyer sur pour passer à l heure suivante Si vous avez fait une erreur vous pouvez revenir au réglage de l heure précédente en appuyant sur Une fois la personnalisation des 24h terminées appuyé sur pour confirmer le réglage et sortir du menu 6 MODIFICATION DU PROGRAMME P2 Durant le programme appuyer sur une fois l...

Страница 11: ...er le programme pour le weekend samedi et dimanche Utiliser pour choisir le mode de fonctionnement de l heure correspondante Signifie Mode Confort Signifie Mode Eco Signifie Mode Hors Gel Une fois votre choix fait appuyer sur pour passer à l heure suivante Si vous avez fait une erreur vous pouvez revenir au réglage de l heure précédente en appuyant sur Une fois la personnalisation des 24h terminée...

Страница 12: ...ivant est affiché sur l écran correspondant au mardi Effectuez la même opération que précédemment pour le réglage des modes de chaque heure du jour Une fois la personnalisation des 24h terminées appuyé sur pour confirmer le réglage des heures et passer au réglage du jour suivant ainsi de suite jusqu à avoir programmé tous les jours de semaine 8 Mode Fil Pilote Quand ce mode est choisi le chauffage...

Страница 13: ...rouillage de l écran Lorsqu aucune opération n est effectuée pendant 1 min le clavier se verrouille automatiquement Appuyer sur ensemble pour le déverrouiller L icône s affiche uniquement quand l appareil chauffe IV Nettoyage maintenance Déconnectez toujours la source d alimentation avant tout nettoyage ou entretien Nettoyez la paroi extérieure de l appareil en la frottant délicatement avec un chi...

Страница 14: ...es à l intérieur ou à l extérieur de l appareil Avertissement Ne jamais utiliser de détergent d agents chimiques ou de solvants car cela pourrait endommager les parties plastiques Les déchets électriques ne doivent pas être jetés avec les déchets ménagers Veuillez les recycler dans les centres appropriés Contactez les autorités locales ou le détaillant pour toute question sur le recyclage EHG01 10...

Страница 15: ...éristique Caractéristique Unité Symbole Valeur Puissance thermique Type d apport de chaleur pour les dispositifs de chauffage décentralisés électriques à accumulation uniquement sélectionner un seul type Consommation d électricité auxiliaire Autres options de contrôle sélectionner une ou plusieurs options 1 0 Contrôle adaptatif de l activation Limitation de la durée d activation Exigences d inform...

Страница 16: ...ption contrôle à distance Puissance thermique minimale indicative Puissance thermique maximale continue À la puissance thermique nominale À la puissance thermique minimale En mode veille Caractéristique Caractéristique Unité Symbole Valeur Puissance thermique Type d apport de chaleur pour les dispositifs de chauffage décentralisés électriques à accumulation uniquement sélectionner un seul type Con...

Страница 17: ... Heater EHG01 10C 230V 50Hz 1000W Class II EHG01 15C 230V 50Hz 1500W Class II EHG01 20C 230V 50Hz 2000W Class II Always read this instruction manual before installing or using your appliance and always keep for future reference ...

Страница 18: ... and less than 8 years shall only switch on off the appliance provided that it has been placed or installed in its intended normal operating position and they have been given supervision or instruction concerning use of the appliance in a safe way and understand the hazards involved Children aged from 3 years and less than 8 years shall not plug in regulate and clean the appliance or perform user ...

Страница 19: ...les For correct installation on the wall thanks to refer to Installation on wall part Fixed heaters are to be installed so that switches and other controls cannot be touched by a person in the bath or shower Connect the two conductors and the pilot wire of the supply cord to a connection box in respecting the following polarities Live Brown Neutral Blue Pilot wire Black WARNING The heater must not...

Страница 20: ...20 EN NF C 15 100 Note The drawing below is for reference only We suggest that you contact a professional electrician for assistance FOR HOUSEHOLD USE ONLY ...

Страница 21: ...21 EN I Description Main part Bracket ON OFF K Power on Stand by Screen Control panel Temperature Timer Temperature Timer Select mode or program Setting OK Open window on off ...

Страница 22: ...s shown on the above drawing H mm L mm EHG01 10C 240 240 EHG01 15C 240 400 EHG01 20C 240 480 2 Fit the fasten tube in the hole and fit the bracket on the wall with screws 3 Hang the unit on the bracket gently after ensuring the unit is right fixed turn the lock in the bracket as picture show 150mm EHG01 10C EHG01 15C EHG01 20C 150mm 150mm 150mm 150mm ...

Страница 23: ...ogram setting Decreasing Keep pressing for quick decreasing Backward the hour in 24 hour program setting Select mode or program Setting OK Open window on off 2 Quick start Turn on the power button and press to turn on the screen the equipment will work under COMFORT mode press to set the desired temperature K Power on Stand by Screen Control panel Temperature Timer Temperature Timer Select mode or...

Страница 24: ... the program 2 Press to choose the temperature Comfort mode Setting temp from 5 to 35 ECO mode Setting temp from 1 5 to 31 5 3 5 less than comfort mode when you set up the temp of comfort mode Anti frost mode Setting 7 for room temp Cannot change the temp 3 Program modification It s with factory presetting of the program this program can get modified according to the requirement of customer Press ...

Страница 25: ...s once LOGO and the fist hour LOGO start to twinkle Use to choose the mode for each hour and use to move the twinkle hour LOGO till finish 24 hours mode setting Press to confirm the 24 hour setting and turn from Monday program to Tuesday program setting When finish 7 days setting press to confirm and quit means comfort mode means ECO mode means Anti frost mode NOTE the block against the clock will...

Страница 26: ...n set different program for each day Factory presetting is with same program from Monday to Friday same program from Saturday to Sunday Working day Weekend 6 Pilot mode In this mode the heater will be controlled by pilot wire Client can only change the temperature and open window on off Comfort Comfort 1 ...

Страница 27: ...emperature by 2 in less than 2 minutes heater will stop working and the window logo is twinkling Press or the heater will go back to former running program then the windows logo stop twinkling 8 Screen lock No operation for 1 min keyboard lock automatically Press together unlock the keyboard will show only the unit is heating IV Cleaning maintenance Switch off from the power supply before cleaning...

Страница 28: ...tly running a vacuum cleaner nozzle over the guards to remove any dust or dirt that may have accumulated inside or on the unit CAUTION Do not use harsh detergents chemical cleaners or solvents as they may damage the surface finish of the plastic components Waste electrical products should not be disposed of with household waste Please recycle where facilities exist Check with your Local Authority ...

Страница 29: ...ode Item Item Unit Symbol Value Heat output Type of heat input for electric storage local space heaters only select one Auxiliary electricity consumption Other control options multiple selections possible 1 0 with adaptive start control with working time limitation Information requirements for electric local space heaters nom kW Pmin Pmax c elmax elmin elsb 1 0 0 0 0 0 N A N A N A N A Unit Nominal...

Страница 30: ...ction with distance control option Minimum heat output indicative Maximum continuous heat output At nominal heat output At minimum heat output In standby mode Item Item Unit Symbol Value Heat output Type of heat input for electric storage local space heaters only select one Auxiliary electricity consumption Other control options multiple selections possible 2 0 with adaptive start control with wor...

Отзывы: