16
Chapter 2 Installation / Connection
Chapter 2 Installation / Connection
2-1. Before Installing the Product
Carefully read “PRECAUTIONS” (page 3) and always follow the instructions.
If you place this product on a lacquer-coated desk, the color may adhere to the bottom of the stand due
to the composition of the rubber. Check the desk surface before use.
●
Installation Requirements
When installing the monitor in a rack, ensure that there is adequate space around the sides, back and
top of the monitor.
Attention
• Position the monitor so that there is no light to interfere with the screen.
2-2. Connecting Cables
Attention
• Check that the monitor, PC, and peripherals are powered off.
• When replacing the current monitor with this monitor, refer to “4-2. Compatible Resolutions” (page 24) to change
the PC settings for resolution and vertical scan frequency to those that are available for this monitor, before
connecting the PC.
1.
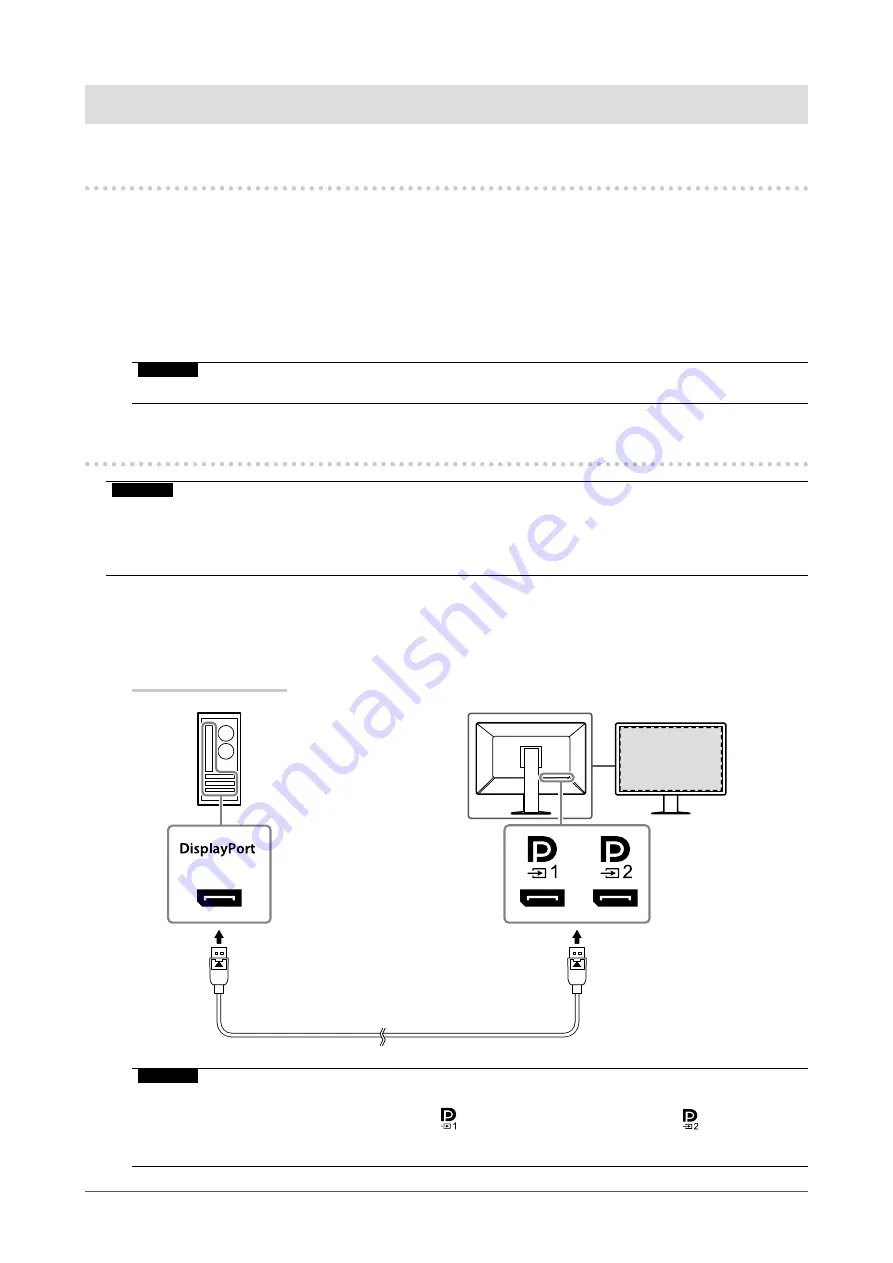
Connect signal cables.
Check the shapes of the connectors, and connect the cables.
Single screen display
Signal cable: PP300-V14
Attention
•
If the cables are difficult to insert, adjust the angle of the screen.
• In the default settings, the signal that is input for is displayed. To connect the cable to
, you need to
change “Input” in the Settings menu to “DisplayPort 2”. For details, refer to the Installation Manual (on the
CD-ROM).


