background image

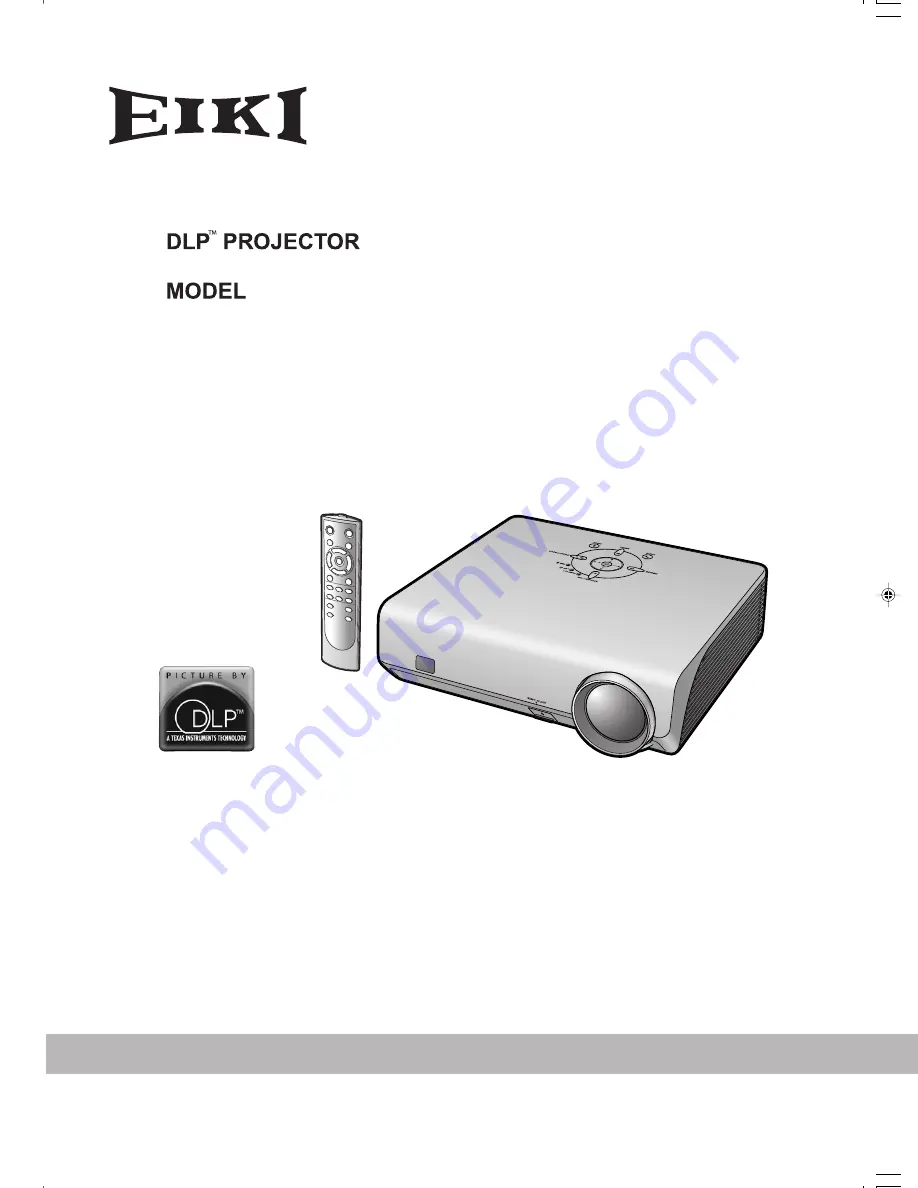
EIP-1500T

OWNER’S MANUAL

EIKI INDUSTRIAL CO., LTD.

A-Key to better communications

U.S.A.

EIKI International, Inc.
30251 Esperanza
Rancho Santa Margarita
CA 92688-2132
U.S.A.
Tel : 800-242-3454 (949)-457-0200
Fax : 800-457-3454 (949)-457-7878
E-Mail : [email protected]

Deutschland & Österreich

EIKI Deutschland GmbH
Am Frauwald 12
65510 Idstein
Deutschland
Tel : 06126-9371-0
Fax : 06126-9371-14
E-Mail : [email protected]

Canada

EIKI CANADA - Eiki International, Inc.
P.O. Box 156, 310 First St. - Unit 2,
Midland, ON, L4R 4K8, Canada
Tel : 800-563-3454 (705)-527-4084
Fax : 800-567-4069 (705)-527-4087
E-Mail : [email protected]

Eastern Europe

EIKI CZECH spol. s.r.o.
Umelecká 15
170 00 Praha 7
Czech Republic
Tel : +42 02 20570024

  +42 02 20571413

Fax : +42 02 20571411
E-Mail : [email protected]

Japan & Worldwide

EIKI Industrial Company Limited.
4-12 Banzai-Cho, Kita-Ku, Osaka,
530-0028 Japan
Tel : +81-6-6311-9479
Fax : +81-6-6311-8486

WorldWide Website  http://www.eiki.com

Printed in China
TINS-B931WJZZ
05P08-CH-NM

EIP-1500T_E_Hyo1_4.p65

6/10/05, 11:17 AM

1

Содержание EIP-1500T

Страница 1: ...EIP 1500T OWNER S MANUAL EIKI INDUSTRIAL CO LTD...

Страница 2: ...ease record the Serial Number located on the bottom of the projector and retain this information Before recycling the packaging please ensure that you have checked the contents of the carton thoroughl...

Страница 3: ...ere into a 10A socket outlet as a serious electric shock may occur To fit an appropriate plug to the mains lead follow the instructions below WARNING THIS APPARATUS MUST BE EARTHED IMPORTANT The wires...

Страница 4: ...the product s enclosure that may be of sufficient magnitude to constitute a risk or electric shock to persons The exclamation point within a triangle is intended to alert the user to the presence of i...

Страница 5: ...for a Class B digital device pursuant to Part 15 of the FCC Rules These limits are designed to provide reasonable protection against harmful interference in a residential installation This equipment g...

Страница 6: ...al Micromirror Device are trademarks of Texas Instru ments Inc Microsoft and Windows are registered trademarks of Microsoft Corporation in the United States and or other countries PC AT is a registere...

Страница 7: ...40 Picture Adjustment Picture menu 42 Adjusting the Image 42 Adjusting the Color Temperature 42 Gamma Correction Function 43 Emphasizing the Contrast 43 Picture Mode Function 44 Switching the High Br...

Страница 8: ...using the projector Note Indicates additional information for setting up and operating the projector In this owner s manual the illustration and the screen display are simplified for explanation and...

Страница 9: ...ng particular attention to cords at plugs convenience receptacles and the point where they exit from the product 14 Lightning For added protection for this product during a lightning storm or when it...

Страница 10: ...12 degrees Placement should be within 12 degrees of horizontal Warning about placing the projector in a high position When placing the projector in a high posi tion ensure that it is secured to avoid...

Страница 11: ...be connected for instructions on how to make the connections Using the projector in other countries The power supply voltage and the shape of the plug may vary depending on the region or country you a...

Страница 12: ...n Display adjustment and setting screens 39 ENTER button Set items selected or adjusted on the menu 34 UNDO button Undo an operation or return to the previous display 34 RESIZE button Switch the pictu...

Страница 13: ...r on Temperature warning indicator Off Normal Red on The internal temperature is abnormally high See page 54 Lamp indicator Green on Normal Green blinks The lamp is warming up or shutting down Red on...

Страница 14: ...Standard connector 31 53 7 Rear adjustment feet Intake vent Exhaust vent The speed and pitch of the cooling fan may change during operation in response to internal temperature changes This is normal...

Страница 15: ...the Keystone Correction mode 39 ENTER button Set items selected or adjusted on the menu 34 UNDO button Undo an operation or return to the previous display 29 INPUT 1 button 29 INPUT 2 button 29 INPUT...

Страница 16: ...run out as leaving them in can cause them to leak Battery fluid from leaked batteries is harmful to skin therefore ensure that you first wipe them and then remove them using a cloth The batteries inc...

Страница 17: ...ol On the projector This section shows the basic operation For details see the page described below for each step Setup and Projection Connection of the projector and the video equipment with an S vid...

Страница 18: ...Press 2 Adjust the focus by pressing or 2 Adjust the projected image size by adjusting zoom On the remote control On the projector 1 Press 2 Adjust the zoom by pressing or 1 Press 2 Adjust the zoom b...

Страница 19: ...ing viewing difficult Close the curtains and dim the lights when setting up the projector in a sunny or bright room Standard Setup Front Projection Place the projector at the required distance from th...

Страница 20: ...lues Picture size diag in cm L Projection distance m ft L1 Minimum projection distance m ft L2 Maximum projection distance m ft H Distance from the bottom of the image to the lens center cm in Distanc...

Страница 21: ...ide set to Rear in the PRJ Mode menu See page 52 Info When using a mirror ensure to carefully position both the projector and the mirror so the light does not shine into the eyes of the audience Ceili...

Страница 22: ...es 25 26 INPUT 3 terminal Connecting video equipment with S video output terminal VCR DVD player etc See page 24 INPUT 1 2 terminal Connecting video equipment with component output terminal DVD player...

Страница 23: ...ated cable RS 232C terminal Cable Component cable commercially available Dedicated cable attached to the connected equipment DVI cable commercially available Video cable supplied Dedicated cable attac...

Страница 24: ...ner s manuals of the devices to be connected before making connections When connecting the component video equipment to the component input terminal on the projector INPUT 1 or INPUT 2 Note When you c...

Страница 25: ...t type switch to VIDEO INPUT 5 terminal DVI to 15 pin D sub adaptor commercially available RGB output terminal RGB cable commercially available DVD Player etc 4 3 2 Switch to VIDEO 1 Connecting to Vid...

Страница 26: ...VIDEO DVD Player etc 2 3 1 Note Select DIGITAL mode when connecting to video equipment with the digital output terminal See page 29 When connecting the video equipment with DVI output terminal DIGITA...

Страница 27: ...ideo output terminal INPUT 3 terminal DVD Player etc 2 1 INPUT 4 terminal Video output terminal Video cable supplied DVD Player etc 1 2 Connecting to Video Equipment Video cable Supplied accessory Not...

Страница 28: ...the functions not to work When connecting the projector to a computer in this way select RGB for Signal Type on the OSD menu or press on the remote control See page 48 A Macintosh adaptor may be requ...

Страница 29: ...uter to be connected After making all connections turn on the projector and then the computer Plug and Play function This projector is compatible with VESA standard DDC 1 DDC 2B The projector and a VE...

Страница 30: ...nal is not correctly set up Refer to the owner s manual of the computer for details See RS 232C Specifications and Command Settings on page 60 for details Info Do not connect the RS 232C cable to a po...

Страница 31: ...or or on the remote control The power indicator illuminates red After the lamp indicator illuminates the projec tor is ready to start operation Note The lamp indicator illuminates or blinks in dicatin...

Страница 32: ...ng images from equipment connected to INPUT 1 terminal Used for projecting images from equipment connected to INPUT 2 terminal Used for projecting images from equipment connected to INPUT 3 terminal U...

Страница 33: ...the remote control 2 Press or on the remote con trol to adjust the focus Note You can also adjust the focus by using and or on the projector Adjusting the Projected Image Size 1 Press on the remote co...

Страница 34: ...diffi cult to slide In this case pull the pro jector back slightly and adjust its height 2 Remove your hands from the HEIGHT ADJUST button of the projector after its height has been finely adjusted 3...

Страница 35: ...distortion is called Keystone Correction 1 Press on the remote control to enter the Keystone Correction mode 2 Press toselect HKeystone or V Keystone 3 Press to move the mark on the selected adjustmen...

Страница 36: ...onto the screen Adjust the focus until the image on the screen comes into focus See page 30 ZOOM FOCUS END ZOOM FOCUS 2 Change the projection angle moving the projector or using the adjuster to prope...

Страница 37: ...essed while the display is on the mode is switched between HIGH BRIGHTNESS MODE and HIGH CONTRAST MODE Note This function can also be accessed from the OSD menu see page 44 Adjusting the Picture Aspec...

Страница 38: ...ratio 4 3 aspect ratio Note SMART STRETCH cannot be selected while the Keystone correction page 32 is being adjusted Keystone correction page 32 is disabled while the picture mode is set to SMART STRE...

Страница 39: ...rast 5500K 6500K 7500K 8500K 9300K 10500K Main Menu Sub Menu CLR Temp Page 42 Page 42 Page 42 Page 43 Page 43 Page 44 Page 44 1 1 1 1 Items when selecting INPUT 1 2 3 4 or when inputting component sig...

Страница 40: ...Left Menu Position Page 47 Page 47 Page 47 Page 48 Page 49 Page 49 Page 50 Page 50 Page 51 1 2 1 Item when selecting INPUT 3 or INPUT 4 2 Item when selecting INPUT 5 RGB Component Signal Type Menu Col...

Страница 41: ...ngs For setting the menu items see pages 40 and 41 Menu Selections Adjustments This operation can also be performed by using the buttons on the projector 1 Press The Picture menu screen for the select...

Страница 42: ...ress The selected single adjustment item e g Bright appears on the lower part of the screen When pressing or the next item will be displayed e g Bright is replaced with Color by pressing Note Press to...

Страница 43: ...Picture menu screen for INPUT 1 mode Menu Selections Settings This operation can also be performed by using the buttons on the projector 1 Press The Picture menu screen for the selected input mode is...

Страница 44: ...item is highlighted Example Selecting Menu Position Note Press or to return to the previous screen For some items press or to select the icon using 4 Press or to select the setting of the item displa...

Страница 45: ...rpness For stronger red For stronger blue Adjusting the Color Temperature This function allows for selecting the desired color temperature With the lower value selected the projected image becomes war...

Страница 46: ...he higher value selected the projected image be comes brighter Pressing or changes the value of the Gamma in the sub menu Selectable Items Standard Cinema 1 Cinema 2 Cinema 3 Description Standard pict...

Страница 47: ...ory location for those settings and make settings on the Picture menu Picture Mode Memory 1 5 Memory OFF Description Settings of all items in Picture can be stored for the respective input modes The s...

Страница 48: ...t all adjustment items select Reset and press Selectable items Clock Phase H Pos V Pos Description Adjusts vertical noise Adjusts horizontal noise similar to tracking on your VCR Centers the on screen...

Страница 49: ...connected to the projector When the optimum image cannot be achieved with Auto Sync adjustment use manual adjust ments See page 45 Auto Sync cannot be used in the DIGITAL mode Checking the Input Signa...

Страница 50: ...ending on the frequency at which Eco Mode is switched to Eco mode and Standard mode See page 49 The lamp life may vary depending on the usage condition Using the Options Menu Lamp usage condition Life...

Страница 51: ...enu for PAL M and PAL N input sig nals Description When connected to PAL video equip ment When connected to NTSC video equipment When connected to SECAM video equipment When reproducing NTSC signals i...

Страница 52: ...htness 85 100 Selectable items Eco mode Standard mode Power consumption When using AC 100V 315 W 360 W Lamp life Approx 3 000 hours Approx 2 000 hours Selecting a Background Image This function allows...

Страница 53: ...be disabled Selectable items ON OFF Selecting the Menu Screen Position This function allows you to select the desired position of the menu screen Menu operation Page 40 Example Options menu screen fo...

Страница 54: ...e menu screen Menu operation Page 40 Example Options menu screen for INPUT 1 mode Description of Menu Colors The menu is displayed opaquely The menu is displayed translucently The part of the menu on...

Страница 55: ...en display 4 Press The Language menu will disappear Note This procedure can also be performed by using the buttons on the projector Selecting the On screen Display Language and the Projection Mode Set...

Страница 56: ...projector Ensure that you have unplugged the power cord be fore cleaning the projector The cabinet as well as the operation panel is made of plastic Avoid using benzene or thinner as these can damage...

Страница 57: ...nate in the lower left corner of the picture If the temperature keeps on rising the lamp will turn off and the temperature warning indicator will blink the cooling fan will run for a further 90 second...

Страница 58: ...reen blinks when the lamp is warming up or shutting down Info If the temperature warning indicator illuminates and the projector enters the standby mode check whether any of the ventilation holes are...

Страница 59: ...e lamp appears to be operating normally Should the lamp break the glass particles may spread inside the lamp cage or gas contained in the lamp may be vented into the room from the exhaust vent Because...

Страница 60: ...g the power cord from the AC socket Leave the lamp until it has fully cooled down about 1 hour 3 Remove the lamp unit cover Turn the projector over Loosen the user service screw 1 that secures the lam...

Страница 61: ...will not turn on even if the power cord is connected to the projector Resetting the Lamp Timer Reset the lamp timer after replacing the lamp Info Make sure to reset the lamp timer only when replacing...

Страница 62: ...onnected C4 Not connected 14 5V power C5 Ground 15 Ground DVI Analog RGB Input Pin No Signal Pin No Signal 1 Not connected 16 Hot plug detection 2 Not connected 17 Not connected 3 Not connected 18 Not...

Страница 63: ...ctor is verified When using the computer control function of the projector the projector s operating status cannot be read by the computer Commands Example When power on Response code format Normal re...

Страница 64: ...st the output signal of your computer and so forth while referring to the table below 15 7 31 5 33 8 15 6 31 3 45 0 37 5 28 1 33 8 28 1 33 8 480I 480P 540P 576I 576P 720P 720P 1035I 1035I 1080I 1080I...

Страница 65: ...to cabinet shrinkage caused by room temperature changes This will not affect operation or performance See Maintenance Indicators When temperature inside the projector increases the cooling fan runs f...

Страница 66: ...PB CB 0 7 Vp p 75 terminated PR CR 0 7 Vp p 75 terminated 29 pin DVI I terminal Digital Input impedance 50 Input level 250 1000 mV Analog Input impedance 75 Input level 0 7 Vp p Y 1 0 Vp p sync negati...

Страница 67: ...ront View Bottom View M4 M4 M4 9 64 3 5 11 7 64 282 1 16 1 5 2 11 64 55 05 12 7 32 310 1 59 64 48 5 3 33 64 89 13 64 5 2 3 16 55 5 3 15 16 99 95 5 7 64 129 5 5 7 64 129 5 5 8 15 5 9 16 14 4 3 16 106 3...

Страница 68: ...resolu tion images to fit the projector s native resolution Keystone Correction Function to digitally correct a distorted image when the projector is set up at an angle smoothes out jaggies on keysto...

Страница 69: ...ck 11 KEYSTONE button 32 Keystone Correction 32 L Lamp 56 Lamp indicator 54 Lamp Timer Life 47 Language 52 Lens cap 9 M MENU button 38 Menu Color 51 Menu Position 50 O ON button 28 On screen display l...

Страница 70: ...MEMO...

Страница 71: ...EIKI CANADA Eiki International Inc P O Box 156 310 First St Unit 2 Midland ON L4R 4K8 Canada Tel 800 563 3454 705 527 4084 Fax 800 567 4069 705 527 4087 E Mail canada eiki com Eastern Europe EIKI CZEC...

Отзывы: