Transmitter - Wireless Pulse Wall Switch
Ref : IMRF
July 2009
page 7
IMRF
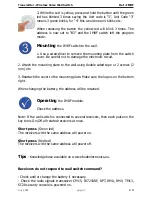
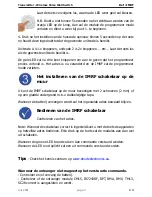
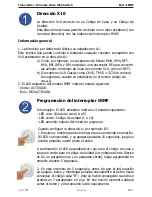
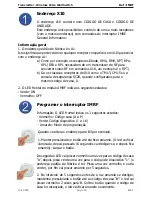
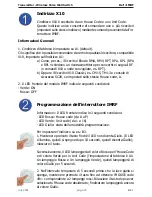
3. While the Led is yellow, press and hold the button until the green
led has blinked 3 times saying the Unit code is “3”, Unit Code “3”
means 3 green blinks, for “4” this would mean 4 blinks etc.
When releasing the button the yellow led will blink 3 times. The
address is now set to “B3” and the IMRF switch left the program
mode.
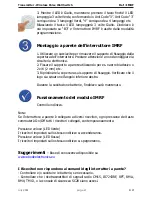
Mounting
the IMRF switch to the wall.
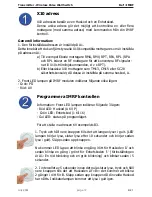
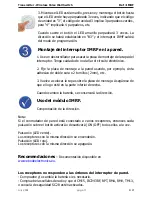
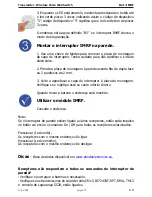
1. Use a screwdriver to remove the mounting plate from the switch
cover. Be careful not to damage the electronic circuit.
2. Attach the mounting plate to the wall using double sided tape or 2 screws (2
mm) etc.
3. Reattach the cover to the mounting plate. Make sure the logo is on the bottom
right.
When changing the battery, the address will be retained.
Operating
the IMRF module.
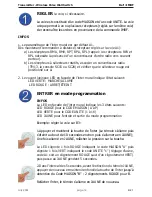
Check the address.
Note: If the wall switch is connected to several receivers, then each pulse on the
key turns On/Off all related receivers at once.
Short press
(Green led)
The receivers with the same address will power on.
Short press
(Red led)
The receivers with the same address will power off.
Tips
- Knowledge base available on www.ebodeelectronics.eu.
Receivers do not respond to wall switch command?
- Check and/or change the battery if necessary.
- Check the radio signals transceiver CM15, IR7243RF, RPT, RMA, RMV, TM13,
SC28 security console is powered on.


