Ratings: AC 220-240V, 50/60Hz,
2000w, Class I, IP55 Rating
Thermaglo
Carbon Infrared Heater
with Remote
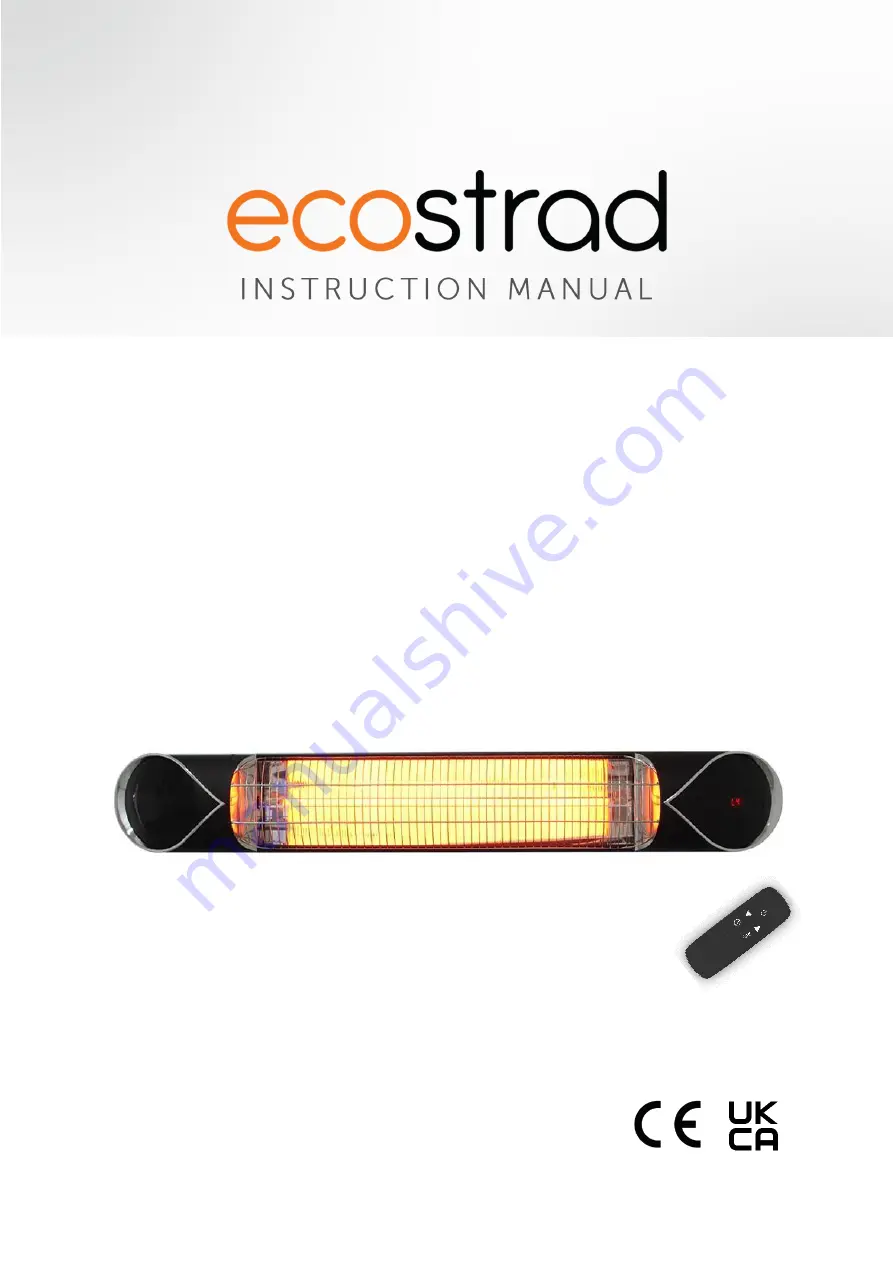
Страница 1: ...Ratings AC 220 240V 50 60Hz 2000w Class I IP55 Rating Thermaglo Carbon Infrared Heater with Remote ...
Страница 2: ...vice indicates that it is prohibited to place objects such as towels clothes etc above or directly in front of the device To avoid overheating and fire hazards the device must not be covered Hot surface This symbol located on the device indicates that its surfaces are hot during and immediately after operation Hot surfaces should not be touched danger of burns Observe instructions in manual This s...
Страница 3: ...mation 3 Warnings Precautions 4 Installation 4 1 Installation Restrictions 4 2 Fixings 4 3 Mounting Instructions 4 4 Installation with Stand 5 Operation 5 1 Control via Heater 5 2 Remote Control 5 3 Insert Batteries 6 Maintenance 7 Cleaning 8 Troubleshooting 9 Warranty 10 Disposal ...
Страница 4: ...g This infrared heater is designed for safe operation Nevertheless installation maintenance and operation of the heater can be dangerous if performed incorrectly Observing the following procedures will reduce the risk of fire electric shock and injury to persons and will keep installation time to a minimum 1 Carefully read the safety instructions before using this heater 2 Remove the unit from its...
Страница 5: ... against electric shock do not immerse the cord or plug in water or any other liquid 14 Do not insert or allow foreign objects to enter any ventilation openings as this causes damage to the heater and increases the risk of fire or an electric shock 15 Always unplug the heater when not in use 16 Do not allow the cord to overhang any counter top where it can be easily pulled by children 17 Do not pu...
Страница 6: ...ing elements Always allow the heating element to cool for at least 10 minutes before touching the heating tube or any adjacent parts 29 This product contains recyclable materials Do not dispose of this product with regular household waste Please contact your local authority for collection and disposal information 4 Installation 4 1 Installation Restrictions 1 This heater should be installed by a c...
Страница 7: ...supplied 4 3 Mounting Instructions Important Ensure the cable is well secured so that it does not trail into the heated area or come into contact with the reflector The cable can be fixed to the metal mounting bracket behind the heater with plastic zip ties The mounting bracket provided with the heater has been specifically designed to allow the product to be fitted to a wall or ceiling Before dri...
Страница 8: ...t the bolts 2 into the holes 3 Thread the brackets over the bolts and fix securely to the mounting surface 4 Fasten the heater securely to the brackets using the screws 3 5 The brackets can be used to adjust the angle of the heater Adjust the heater angle by loosening the wing nuts and tighten the bolts again when the desired angle is reached 4 4 Installation with Stand Optional The heater can be ...
Страница 9: ... this button then use the up and down keys to set a timer Available in hourly intervals from 0H to 24H 5 Heat Level Press this button then use the up and down keys to adjust the heat level L1 800W L2 1200W L3 1600W L4 2000W 5 3 Insert Batteries The remote requires 2 x AAA alkaline batteries for operation 1 Reverse the remote and remove the battery cover 2 Insert the batteries according to their po...
Страница 10: ...ater Cleaning or maintenance is being conducted 7 Cleaning Regular and careful cleaning will keep your heater operating efficiently for many trouble free years 1 Unplug the heater power cable and wait for the heater to cool down before cleaning your appliance This is essential for your safety 2 The heater s outer casing may be cleaned with a soft damp cloth You may use a mild detergent if necessar...
Страница 11: ... the manufacturer or its service agent to avoid hazard This includes damaged supply cords 8 Troubleshooting If the device is not heating follow the steps below 1 Check if the power cord is plugged into an electrical outlet If not plug in 2 Check if there is power supplied to the socket If not restore 3 Check for error codes on the display Error Code Cause Fix E1 Control unit has overheated Check i...
Страница 12: ...er and order confirmation or invoice will be required if a claim is made The warranty covers only the model of heater shown on the purchase invoice The warranty covers the repair or replacement of the defective product only and Ecostrad shall have no liability for installation costs or consequential losses however incurred The unit is sold as a DIY product whilst hardwiring is permitted within the...