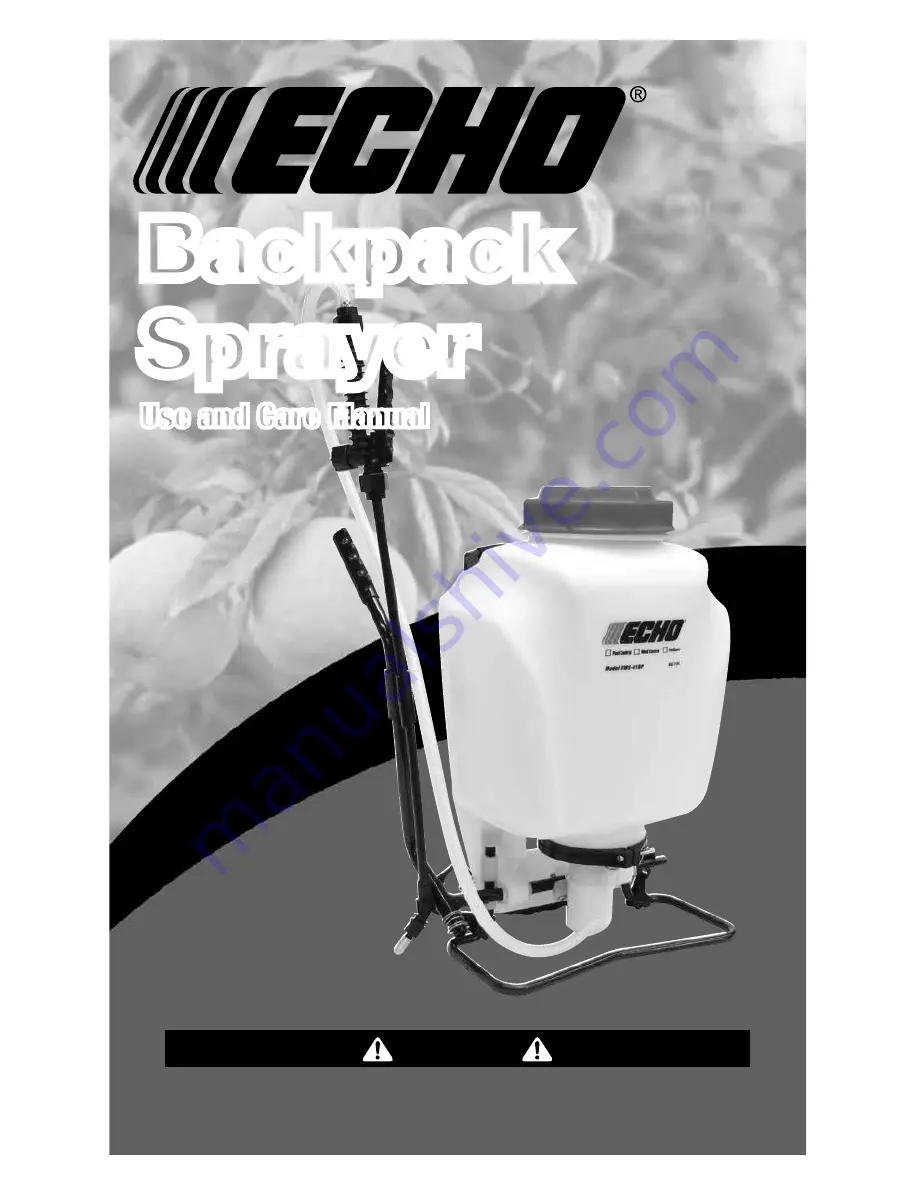
Model MS-41BP4G/ 15L
013529 R0514
Carefully Read These Instructions Before Use
WARNING
Backpack
Sprayer
Use and Care Manual
Страница 1: ...Model MS 41BP 4G 15L 013529 R0514 Carefully Read These Instructions Before Use WARNING Backpack Backpack Sprayer Sprayer Use and Care Manual Use and Care Manual ...
Страница 2: ...e sprayer by any means other than the original pump Do not attempt to modify this sprayer Replace parts only with manufacturer s original parts Never spray flammable caustic acidic chlorine bleach or other corrosive solutions or heat pressure or gas producing chemicals Always read and follow chemical manufacturer s instructions before use with this sprayer as some chemicals may be hazardous when u...
Страница 3: ...ghly cleaning see cleaning section the sprayer first General Household Use Apply detergents cleaning solutions warm water do not exceed 120 F 49 C or nontoxic household cleaning chemicals for carpets floors walls glass counter tops and ceilings DO NOT use sprayer that has been used with herbicides pesticides or other toxic chemicals for household applications General Outdoor Use Use the sprayer for ...
Страница 4: ...for either left fig 4 or right fig 5 hand mounting 3E SPRAYER COMPONENTS USE INFORMATION Continued Figure 1 Figure 2 Line up holes Figure 3 Slide bolt through holes Figure 5 Left Hand Figure 6 Right Hand Pump Handle Positioned For Use right hand shown A C B Figure 4 Tighten nut to bolt Threaded Bolt Nylon Lock Nut D O ring Wand Retaining Nut Shut off Valve WAND ASSEMBLY 1 Make sure the o ring is i...
Страница 5: ...e straps by clipping the strap hooks to the metal frame between where the frame exits the tank and curves around In the event that the sprayer harness straps become contaminated with chemicals it is recommended to thoroughly wash the straps with soap water and allow to dry before using the sprayer WAND CLIP The wand can be attached to the pump handle using the wand clip ...
Страница 6: ... Filter Pressure Cylinder This backpack sprayer is equipped with a 3 stage filtering system see figure 1 Stage 1 is a filter basket incorporated into the tank opening where fluid is added Stage 2 filter is located at the inlet of the pressure cylinder Stage 2 is a removable In Tank filter Stage 3 is a removable filter incorporated into the shut off assembly Periodic cleaning of these filters is re...
Страница 7: ...and pump the handle with an empty tank The pressure chamber will fill with the required volume of air to repressurize Perform this procedure from time to time as routine maintenance POWDER BASED CHEMICALS Powder based chemicals powder mixed with liquids to make the spraying agent are usually abrasive and can cause wear When you use a powder based chemical in your sprayer make sure it is thoroughly ...
Страница 8: ...rty Collar Clean or Replace Piston Collar Damaged Piston Cylinder Replace Piston Cylinder Damaged Piston Replace Piston Shut off leaks Connections loose Tighten connection Worn or damaged shut off Rebuild or replace the shut off valve Wand assembly leaks Connections loose Tighten connection Damaged or worn o ring gasket Replace o ring gasket Nozzle assembly leaks Connections loose Tighten connecti...
Страница 9: ...r push it off of the crown of the piston with your thumb You will see form fitted slots to install the new collar on to the piston crown 6 Grease the 2 O rings on the piston cylinder do not get any grease on the valve plate and screw the piston assembly into the pressure cylinder base Screw the piston cylinder clockwise until tight and the bottom O ring is no longer visible When properly placed the...
Страница 10: ...SSEMBLY Figure 7 Figure 8 Figure 9 Protective Dust Cap 9E Figure 1 Figure 2a Figure 2b Figure 3a Figure 3b Pressure Chamber o ring Clamp In Tank Filter 1 Release the pressure from the sprayer and remove all liquid from both the pressure chamber and tank 2 Remove hose 3 Remove the In tank filter from the pressure chamber 4 Remove 2 bolts attaching the pivot lever to the pump shaft and remove piston...
Страница 11: ...ove the retaining pin A Figure 2 place the notched end of the retaining pin on a hard surface and push down Remove the retaining pin and slide the handle off the valve 3 Remove the retaining nut o ring attached spring and valve stem B Figure 3 Replace worn parts Lubricate the O rings and reassemble by reversing the steps above Place the handle groove in the slotted area of the valve stem and make ...
Страница 12: ...s Adjustable Nozzle 99944100483 Poly Adjustable Nozzle 99944100479 Hose Assembly Hose Washer Retaining Nut Hose 99944100477 Shut off Valve Repair Kit 99944100478 Shut off Assembly 99944100485 Nozzle Kit 99944100481 Filter Replacement Kit 99944100480 Wand Assembly Wand O ring Screw Cap ...
Страница 13: ...r 99944100471 Piston Pump Repair Kit 99944100486 O ring Kit 99944100488 Wand Clip Elbow O ring Hose Gasket Nozzle Gasket Wand O ring Collar Pump Piston Valve Plate Piston Cylinder O ring Pressure Cylinder O ring Piston Cylinder 569035 Filter Basket Cap 99944100472 Straps 569036 Pump Handle ECHO INCORPORATED 400 Oakwood Road Lake Zurich IL 60047 www echo usa com ...
Страница 14: ......