2
INTRODUCTION
2
THE CHARGE-COUPLED TOPOLOGY
3
WHAT YOU’LL NEED
3
OVERVIEW
4
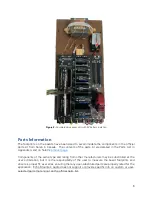
PARTS INFORMATION
6
REMOVING CROSSOVER FROM SPEAKER
7
REMOVING FACTORY PCB FROM CROSSOVER UNIT
7
PCB ASSEMBLY
8
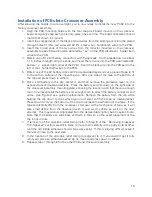
INSTALLATION OF PCBS INTO CROSSOVER ASSEMBLY
10
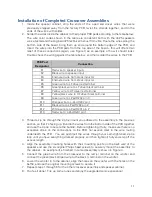
INSTALLATION OF COMPLETED CROSSOVER ASSEMBLIES
11
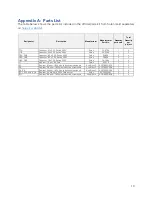
APPENDIX A: PARTS LIST
13
APPENDIX B: MEASURED FREQUENCY RESPONSE
14
Introduction
Thank you for your purchase of Echo Mountain Audio’s charge
-
coupled crossover boards for the
JBL Model 4425 Studio Monitor. The set of bare boards you have received are intended for DIY
build and “plug
-
and
-
play” integration into your existing 4425 monitor system.
The scope of this user manual is to, as succinctly as possible, guide the assembly of the PCBs
and integration into the existing crossover unit.
Any comments, questions, technical support requests, etc. are welcomed and encouraged, and
can be sent to
.
Содержание JBL 4425
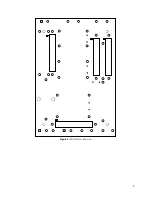
Страница 5: ...5 Figure 2 PCB bottom side view...


