Installing the IAC
3-13
EATON
Powerware
®
9390 IAC-B and IAC-T Installation and Operation Manual
S
164201590 Rev C
powerware.com
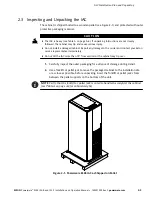
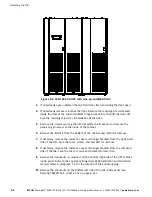
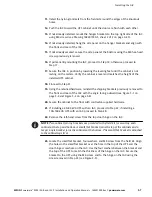
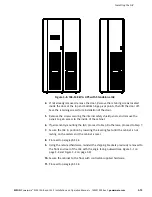
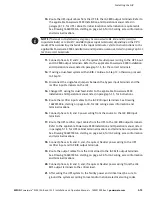
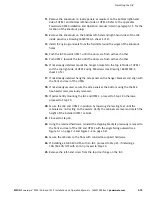
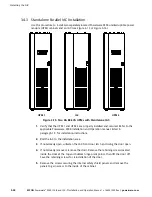
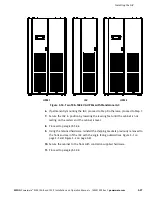
Figure 3-8. 100–160 kVA UPS with Standalone IAC
4.
If not already removed, remove the door. Remove the retaining screws located
inside the door at the top and bottom hinge pivot points, then lift the door off.
Save the retaining screws for reinstallation of the door.
5.
Remove the screws securing the internal safety shield panels, and remove the
panels to gain access to the inside of the cabinet.
6.
If permanently mounting the IAC, proceed to Step 9; otherwise, proceed to Step 7.
7.
Secure the IAC in position by lowering the leveling feet until the cabinet is not
resting on the casters and the cabinet is level.
8.
Proceed to paragraph 3.3.4.
9.
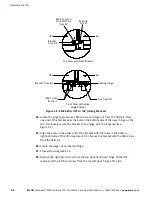
Using the retained hardware, reinstall the shipping brackets previously removed to
the front and rear of the IAC with the angle facing outward (see Figure 3-1 on
page 3-3 and Figure 3-2 on page 3-4).
10.
Secure the cabinet to the floor with contractor-supplied hardware.
11.
Proceed to paragraph 3.3.4.
Содержание Powerware 9390 IAC-B
Страница 145: ......
Страница 146: ...164201590C 164201590 C...

