


Menvier30
Installation
Page 33
b) test the operation of any other peripherals.
Program the System
Program the system to suit user requirements.
Page 34 is a summary of the Installer Menu on
the Menvier30. Please see the
Menvier30/40/100/300 Engineering Guide
for a
more detailed description.
Note: make sure that you allocate keypads
correctly to wards. For more information see
“Assigning Wired Keypads to Wards” in the
Menvier30/40/100/300 Engineering Guide.
Assemble and close the control unit:
a) Fit the lid of the control unit into the back of
the case
b) Fit and tighten the lid fixing screw.
NOTE: It is possible, for convenience, to place
links over tamper contacts to inhibit tamper alarm,
for example during installation or if the unit is
installed inside a larger tampered housing.
Because of this feature make sure you test all lid
tampers before completing installations, to ensure
that no links are left fitted.
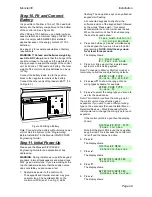
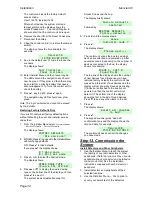
Figure 56 Replacing the control unit lid.
Leave the Installer Menu.
The red LEDs should go out, and the rim of
the navigation keys glow green. The system is
now ready to hand over to the user.
Handover to the User
Instruct the user on how to operate the system.
See the
Menvier30/40/100/300
Administrator’s
Guide
. If necessary, show them how to set the
time and date on the system.
Remember to leave the
Menvier30/40/100/300
Administrator’s Guide
with the user.