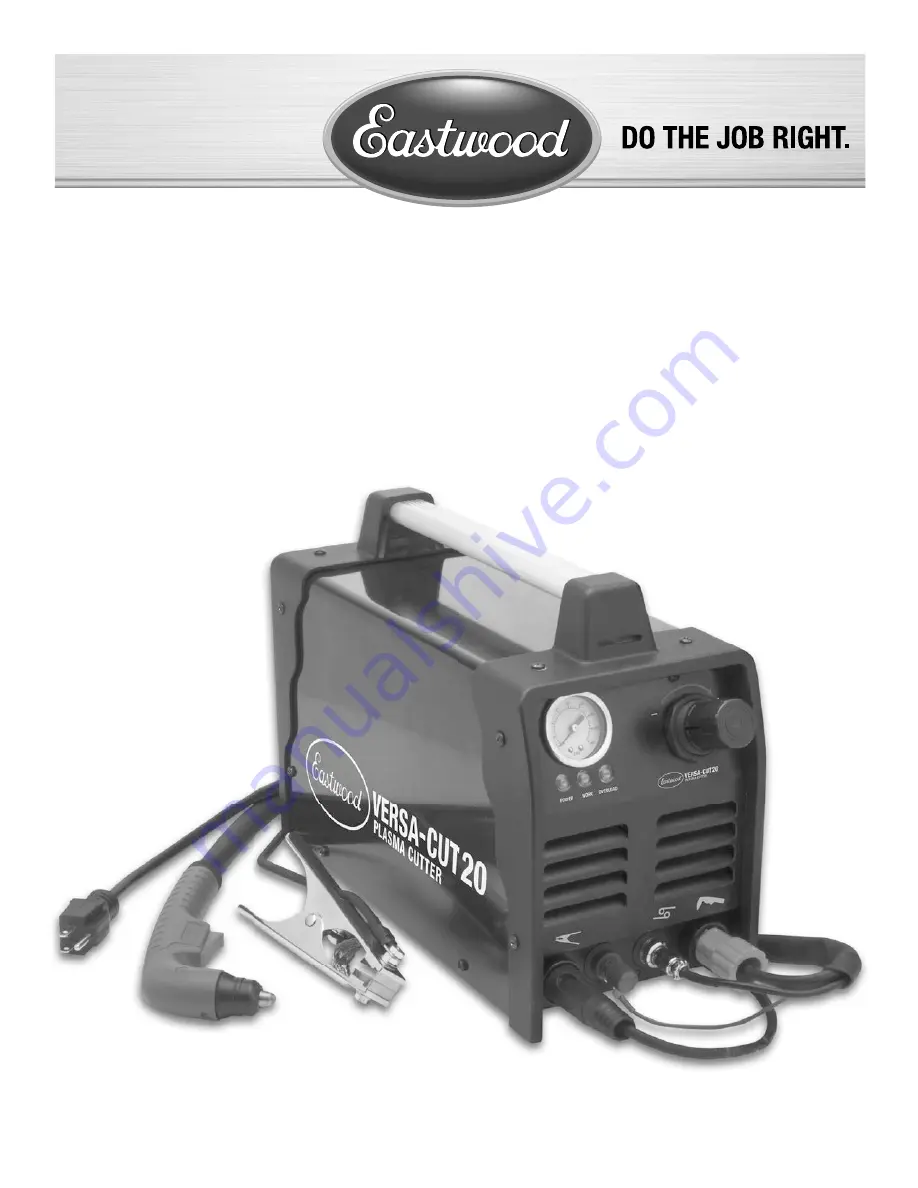
VERSA-CUT 20
PLASMA CUTTER
ASSEMBLY & OPERATING INSTRUCTIONS
Part #20062
Black
C 0
M 0
Y 0
K 100
Страница 1: ...VERSA CUT 20 PLASMA CUTTER ASSEMBLY OPERATING INSTRUCTIONS Part 20062 Black C 0 M 0 Y 0 K 100...
Страница 2: ...f 40 at 15 Amps It is easiest to look at your cutting time in blocks of 10 Minutes and the Duty Cycle being a percentage of that 10 Minutes If cutting at 15 Amps with a 40 Duty Cycle within a 10 Minut...
Страница 3: ...ground circuits are electrically hot when the welder is on Do not touch these hot parts with your bare skin or wet clothing Disconnect from power supply before assembly disassembly or maintenance of t...
Страница 4: ...shield with the proper lter a minimum of 11 to protect your eyes from sparks and the rays of the arc when cutting or when observing open arc cutting see ANSI Z49 1 and Z87 1 for safety standards Use...
Страница 5: ...ound Lead and Clamp SET UP After a proper 20 Amp 120 VAC 60 Hz current source is determined be sure the appropriate circuitry and breakers are in place DO NOT plug unit in at this time and make sure t...
Страница 6: ...ntly vaporize almost anything in its path 8 With practice you will be able to exercise precise control over this extremely powerful device harnessing its energy to create clean precise and intricate c...
Страница 7: ...nit in a safe clean and dry environment TORCH MAINTENANCE The Eastwood Versa Cut 20 Plasma Cutter has a number of consumable parts that will need to be replaced over time If wear or slag build up is n...
Страница 8: ...h but no sound from the Pilot Arc Igniter Check all connections A loose connection will prevent Torch activation Check for damaged lines Torch or Torch Tip Inspect the Torch Tip for damage excessive m...