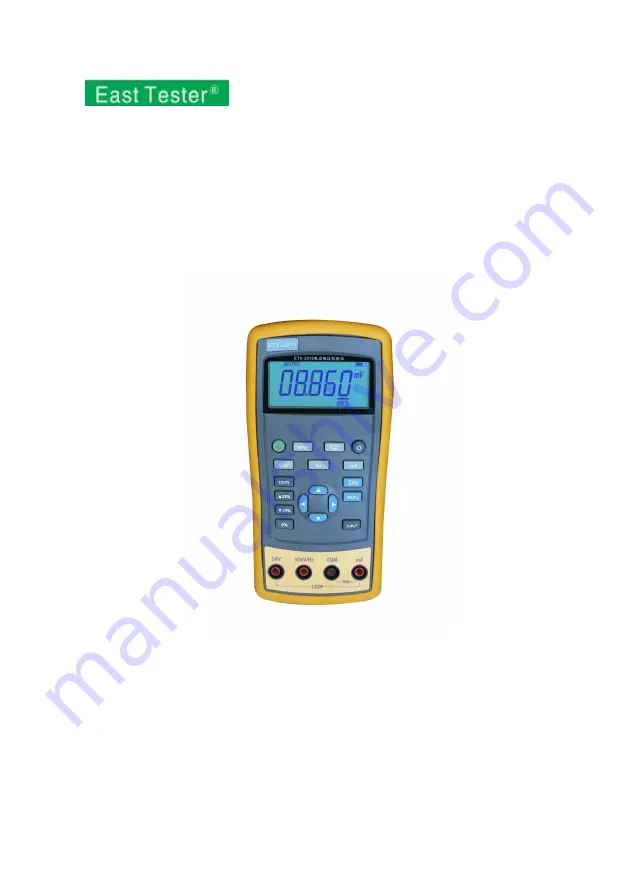
ET-2715 Current and Voltage CalibratorET-1715 Current and Voltage Calibrator
Users Manual
Hangzhou Zhongchuang Electron Co., Ltd.
Страница 1: ...ET 2715 Current and Voltage Calibrator ET 1715 Current and Voltage Calibrator Users Manual Hangzhou Zhongchuang Electron Co Ltd...
Страница 2: ...ge 9 3 1 DC V and DC mV Measurement 9 3 2 DC mA measurement 10 3 3 Current Measurement with Loop Power 10 3 4 Frequency measurement 11 3 5 DC V Source 12 3 6 DC mV Source 12 3 7 DC mA Source active 12...
Страница 3: ...6 3 DC mA Measurement 19 6 4 DC mA Source 19 6 5 Frequency Measurement 19 6 6 Frequency Source 20 7 Product Accessories 21 7 1 Standard Accessories 21 7 2 Optional accessories 21 8 Warning 22...
Страница 4: ...rent and frequency Manual stepping and automatic stepping and ramping Support for PC communication 1 2 Summary of Source and Measure Functions Function Measure Source DC V 0 30 V 0 10 V DC mV 0 100 mV...
Страница 5: ...wer adaptor to charge batteries or connect the calibrator to the computer Current terminal terminal for current measure and source COM terminal All measure and source public terminal V mV Hz terminal...
Страница 6: ...1 No Description Turns the power on or off Selects the measurement mode Selects output and analog transmittermode Enables backlight switch display during start enters backlight brightness control mode...
Страница 7: ...0 ramp Repeating 0 100 0 ramp in 25 steps Set output by 0 of span Press and hold to store the source value as the 0 value Decrements output by 25 of span Increments output by 25 of span Sets output b...
Страница 8: ...asic Operation 2 1 Measure and Source This section acquaints you with some basic operations of ETX 2015 ETX 1815 Proceed as follows 1 The connection of the calibrator as shown in Figure 2 1 1 Figure 2...
Страница 9: ...he product model 2015 and automatic shutdown time 30 min will be displayed for 2 seconds as shown in Figure 2 1 3 Figure 2 1 3 4 Press switch to the voltage mode 5 Press to enter into output mode sele...
Страница 10: ...set to 30 minutes displayed for about 2 seconds when the calibrator isinitially turned on When the shutdown mode is enabled the calibrator will automatically shutdown after the time duration has elap...
Страница 11: ...e buzzer works then the screen will display as shown in Figure 2 3 1 Figure 2 3 1 2 Press and to adjust the brightness of backlight 3 Press to save brightness level will appear and then the calibrator...
Страница 12: ...9 3 Function Usage 3 1 DC V and DC mV Measurement The default function after turn on is DC V measurement press to select DC V or DC mV and the connection is shown in Figure 3 1 1 Figure 3 1 1...
Страница 13: ...ment Press to select DC mA unit mA The connecting method is shown in Figure 3 2 1 Figure 3 2 1 3 3 Current Measurement with Loop Power The loop power function activates a 24 V supply in series with th...
Страница 14: ...proceed as follows 1 Connect the calibrator to the transmitter current loop terminals as shown in Figure 3 3 1 2 Press until and appear simultaneously Figure 3 3 1 3 4 Frequency measurement Press to s...
Страница 15: ...the connection mode is same to that of voltage measurement 3 6 DC mV Source Press and to select the DC mv output function the connection mode is same to that of voltage measurement 3 7 DC mA Source a...
Страница 16: ...area flashes shown in Figure 3 7 2 Figure 3 7 2 3 8 Simulating a 4 to 20 mA Transmitter Simulating is a special mode of operation in which the calibrator is connected into a loop in place of a transm...
Страница 17: ...3 9 Frequency Output Press and to select the frequency output function the connection mode is same to that of voltage measurement The screen will display as shown in Figure 3 9 1 Figure 3 9 1 If neces...
Страница 18: ...000 mA Frequency 200Hz 0 00 Hz 200 00 Hz Frequency 2000Hz 0 0 Hz 2000 0 Hz Frequency 20kHz 0 000 kHz 20 000 kHz The default set values may not meet your requirements so you can reset them Press and ho...
Страница 19: ...15 second smooth ramp 0 100 0 Stair step ramp in 25 steps pausing 5 seconds at each step Press any key to quit ramp output function 4 3 Factory Reset Factory rest consists of the following items The u...
Страница 20: ...When the battery indicator is pointed at the remaining electric quantity is less than 20 Charge is necessary for normal operation of the calibrator The LCD backlight will start operation and the will...
Страница 21: ...15 30V 0V 31V 0 001V 0 05 2 0 02 2 100mV 15mV 80mV 0 001mV 0 05 20 0 02 20 80mV 125mV 0 01mV 0 05 2 0 02 2 10 18 28 55 temperature coefficient 0 005 FS Input resistance 1M 6 2 DC voltage Source Range...
Страница 22: ...nge Resolution Accuracy of reading Counts ETX 1815 ETX 2015 20mA 0 24mA 0 001mA 0 05 2 0 02 2 20mA Transducer simulation 0 24mA 0 001mA 0 05 2 0 02 2 10 18 28 55 temperature coefficient 0 005 FS Maxim...
Страница 23: ...oints should be added to errors of other wave forms Commercial frequency can be measured directly 6 6 Frequency Source Range Maximum output range Resolution Accuracy of reading Counts ETX 1815 ETX 201...
Страница 24: ...rator also includes the following items hard spot test leads one set alligator clip one set one 12V 1A power adaptor ETX 2015 ETX 1815 Users Manual Figure 7 1 1 7 2 Optional accessories 6 R03 model re...
Страница 25: ...behind the finger protecting device Connect the common line and then electric test line As for wire removal electric test line should be first removed Don t use the calibrator under any abnormal cond...
Страница 26: ...gchuang Electron Co Ltd Phone 0086 571 56770221 Fax 0086 571 56861355 Website Http www east tester com E mail sales east tester com Zip Code 310015 Address No 3 Kangle Road Gongshu District Hangzhou Z...