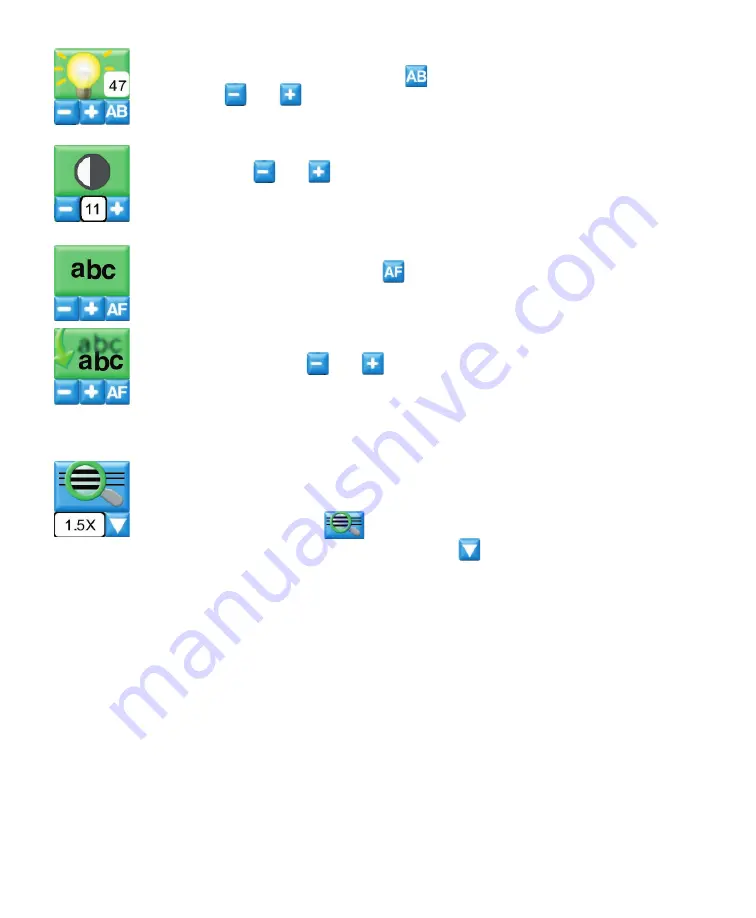
e-ImageData Microfilm ScanPro 1000 Скачать руководство пользователя страница 13

13

BRIGHTNESS

When the Auto Brightness is CLICKED 

, the scanner determines the setting.  You 

can use the 

 and 

 buttons to manually adjust brightness.  When Auto Bright-

ness is active, the brightness value in the BUTTON WINDOW is “Gray”.

CONTRAST

You can use the 

 and 

 BUTTONS to adjust the image contrast.

FOCUS

CLICK the AUTO FOCUS BUTTON 

 to make auto focus active. The BUTTON 

icon shown on the left identifi es that auto focus is active

You can manually focus the image on the computer monitor using the MANUAL 
focus control BUTTONS 

 and 

 .  The BUTTON icon shown on the left identifi es 

that manual focus is active.
 

MAGNIFIER

The MAGNIFIER TOOL opens the Magnifi er Window showing an enlarged view of 
a portion of the image in the PowerScan Display.  To use the MAGNIFIER, CLICK 

the MAGNIFIER BUTTON  

 on the TOOL BAR.  You can select the amount of 

magnifi cation using the PULL DOWN BUTTON 

 .

Use the MAGNIFIER tool in, A) the STANDARD VIEW, or B) the MAXIMIZED VIEW. 

A) STANDARD VIEW, the original image in the PowerScan Display remains in the background 
and the MAGNIFIER WINDOW opens showing an enlarged view of a SELECTED AREA.  CLICK 
and DRAG the corners of the MANIFIER WINDOW to resize. The SELECTED AREA is shown 
as a BOUNDING BOX (outlined by a blue dotted-line).  CLICK and DRAG inside the BOUNDING 
BOX to change its position.  

B) MAXIMIZE VIEW, CLICK the maximize button on the Magnifi er Window Title Bar to maximize 
the Magnifi er Window. CLICK and DRAG or use your keyboard arrow keys to pan around the 
entire image.  CLICK the restore button on the Magnifi er Window Title Bar to return to the
STANDARD VIEW. CLICK the MAGNIFIER BUTTON or the Close button on the Magnifi er Win-
dow Title Bar to close the Magnifi er Window.

Содержание Microfilm ScanPro 1000

Страница 1: ...1 Desktop Compact Film Scanner Operator s Guide Micro lm ScanProTM 1000 2 2007 ScanPro 1000 shown with optional combination che aperture card motorized 16 35mm roll lm carrier...

Страница 2: ...9 Toolbar 10 SCAN to Drive 1 or Drive 2 10 Pre x 10 Format 10 Options 10 ROLL FILM CONTROL 10 SAVE AS 10 INCHES or MILLIMETERS 10 Fit to page size 11 Print Offset 12 GRAPHIC BUTTON CONTROLS 12 FILM T...

Страница 3: ...ts returned to the manufacturer for warranty claims require a RETURN AU THORIZATION NUMBER RA number to be issued by the manufacturer s customer service The RA number must appear legibly on all return...

Страница 4: ...INSERTS Fig 2 ACCESSORIES BOX remove before removing ScanPro Save all packing materials in case you need to move or ship your SCANNER INSERTS Fig 1 Fig 2 Fig 3 Fig 4 GRASP HERE FIRMLY E GRASP Scanner...

Страница 5: ...e cable included with your Micro lm Scanner COMPUTER TO ScanPro1000 CABLE A FireWire IEEE 1394 cable is included with your scanner purchase This cable meets all of the speci cations for connecting you...

Страница 6: ...to work with all types of micro lm OPTICAL ZOOM LENS Your ScanPro 1000 is equipped with a 7X to 54X ZOOM LENS system This lens is factory in stalled OPTIONAL ROLL FILM CARRIER If you have ordered a r...

Страница 7: ...e scan type and resolution High resolution gray scale scans are much more demanding than Half Tone scans for both processing speed and memory Minimum System Requirements when used with Windows 2000 an...

Страница 8: ...it is strongly recommended that you use only this cable Connect the AC DC Power Inverter to the Scanner and to your local AC power source shown below Fig 1 CONNECTING THE SCANNER TO THE COMPUTER Power...

Страница 9: ...hown on the SETUP Window Fig 2 The SELECTED CONTROLS list speci es which controls are shown on the PowerScan TOOLBAR The AVAILABLE CONTROLS list speci es which control buttons are NOT shown on the Pow...

Страница 10: ...a sequential number that is added to the PREFIX The PREFIX name can be set in the SETUP Window by typing a name in the eld titled Pre x Format Speci es the le format if the SAVE AS box is un checked...

Страница 11: ...11 Print Offset Speci es the position a of scan on a printed page for example printing on a preprinted form...

Страница 12: ...the vertical position for a PORTRAIT image and horizontal position for a LANDSCAPE image to take maximum advantage in capturing the image Look at the images on your micro lm and CLICK to SELECT the m...

Страница 13: ...arged view of a portion of the image in the PowerScan Display To use the MAGNIFIER CLICK the MAGNIFIER BUTTON a portion of the image in the PowerScan Display To use the MAGNIFIER CLICK on the TOOL BAR...

Страница 14: ...TYPE BUTTON to toggle between GRAY SCALE and HALF TONE scans HALF TONE scanning provides high quality small le size scans A decision should clarify the justices ruling upholding testing for athletes...

Страница 15: ...the boundaries de ned by the Fit to Page settings in the Setup Window See Page 10 Use the the Fit to Page settings in the Setup Window See Page 10 and the Fit to Page settings in the Setup Window See...

Страница 16: ...t printer preferences MOTORIZED ROLL FILM CON TROL CLICK and drag the button for low speed lm movement CLICK and hold the and buttons for fast speed lm movement speed doubles when the lm carrier is pu...

Страница 17: ...OPEN the SETUP WINDOW 3 On the Toolbar section of the setup window in the Available Controls list click Save Settings so that this entry is highlighted 4 Click the Add button between the Available Con...

Страница 18: ...he settings le was saved If you want to prohibit the user from changing your settings le or saving set tings of their own you will need to remove the Save Settings button from the toolbar PROCEDURE to...

Страница 19: ...High resolution scan in one second SCANNING RESOLUTION Selectable 150 200 300 400 600 FILE FORMATS All common le formats including JPEG PDF TIFF TIFF LZW TIFF Group 4 PDF Multipage TIFF Multipage TIF...

Отзывы: