


10
SCAN to Drive #1 or Drive #2:
When a scan is made it will be saved to the specified location.
The path in the window next to Drive #1 and Drive #2 specifies the “save to” location for scans.
When you install the PowerScan software, a default folder is placed on your DESKTOP and is
labeled My Scans. Scan to Drive #1 will save scans to that folder. The Scan to Drive #2 will save
scans to drive E. You can change the destination at any time by using the BROWSE button to
specify a new path.
Prefix:
Specifying the FILENAME PREFIX for scans
Scans will be given a default filename if the SAVE AS box is unchecked. The default filename
consists of a PREFIX name and a sequential number that is added to the PREFIX. The PREFIX
name can be set in the SETUP Window by typing a name in the field titled “Prefix”.
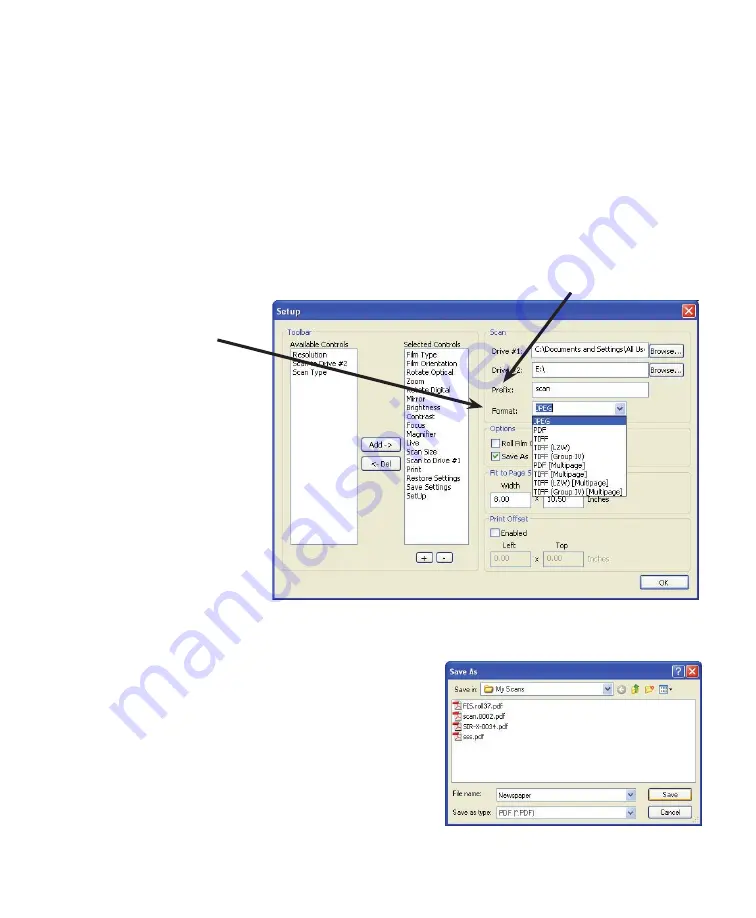
Format:
Specifies the file format
if the SAVE AS box is un-
checked. SPECIFY the file for-
mat using the pull down menu
in the “Format” field (JPEG,
PDF, TIFF (LZW), TIFF (Group
4), PDF (Multipage), TIFF (Mul-
tipage), TIFF (LZW Multipage),
TIFF (Group 4 Multipage).
Options:
ROLL FILM CONTROL
When checked, PowerScan
will display the motorized
roll film control. You can move
the CONTROL by CLICKING and DRAGGING the title bar
SAVE AS
HIDE or SHOW the Save As dialog. When SAVE AS is
checked, the SAVE AS window is shown for each scan
allowing you to specify scan NAME, SAVE-to-LOCATION,
and FILE FORMAT.
INCHES or MILLIMETERS
CLICK to select.
Fit to page size:
Specifies the page size limit that will be used when the “FIT-TO-PAGE” button is selected.


