Montageanleitung
Installation Manual
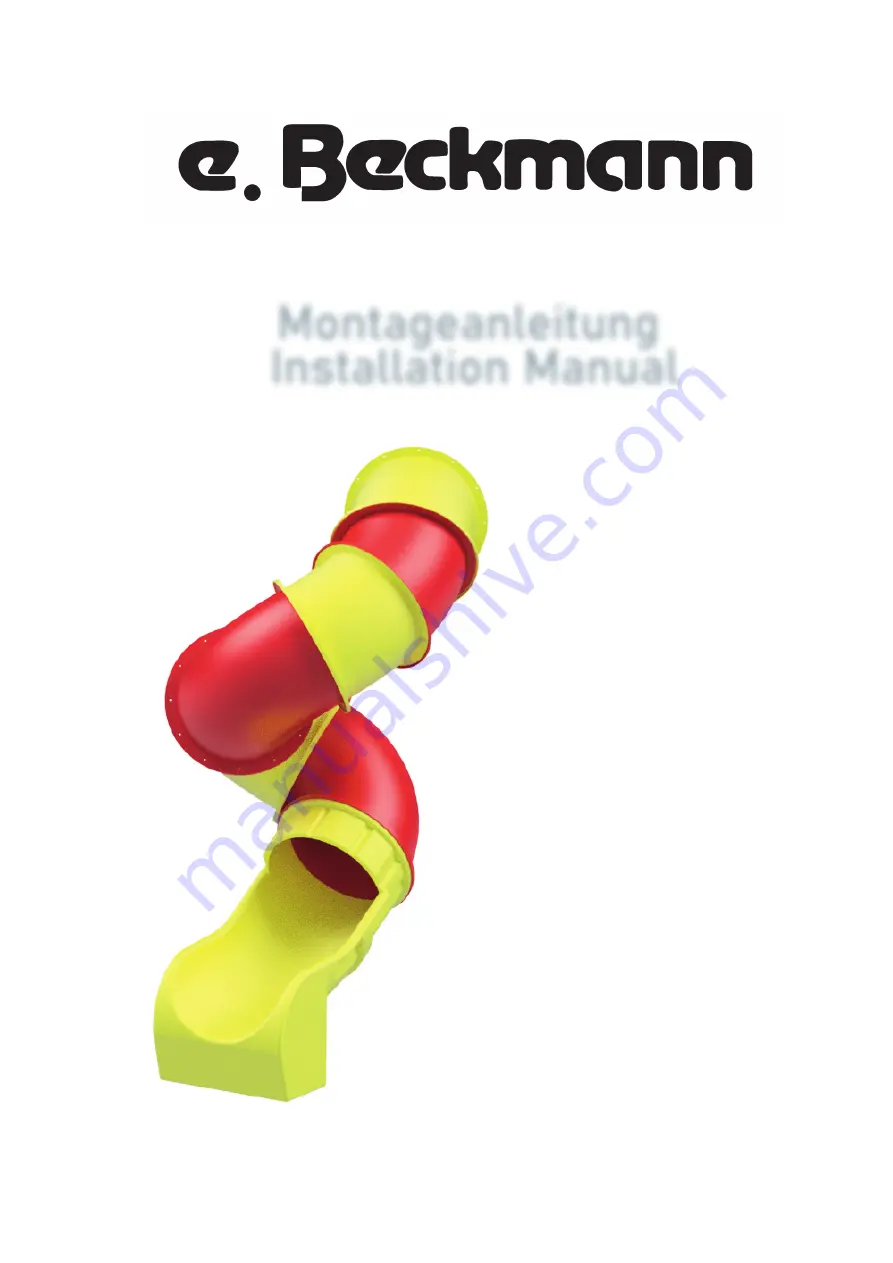
Art.Nr: 220995Wendelröhrenrutsche PH 250cm
Item: 220995Spiral tube slide PH 250cm
Страница 1: ...Montageanleitung Installation Manual Art Nr 220995 Wendelröhrenrutsche PH 250cm Item 220995 Spiral tube slide PH 250cm ...
Страница 2: ...may cause the rejection of the authorised expert of the whole play equipment If the equipment is damaged by improper installation the manufacturer may reject the guarantee Hinweise Bitte überprüfen Sie vor Beginn der Montage ob alle Teile gem Lieferumfang geliefert wurden Montieren Sie die Rutsche immer von oben nach unten Verbinden Sie die Teile erstmal nur mit 4 Schrauben statt 12 Achten Sie dar...
Страница 3: ...cker Flansch ungebohrt 3 x 90 Degree bow short 220870 1 x big flange not drilled 3 x 30 Grad Bogen 220900 1 x dünner Flansch nicht gebohrt 3 x 30 Degree bow 220900 1 x small flange not drilled 1 x Auslauf 3 teilig 220880 1 x Exit part 3 partie 220880 Lieferumfang Delivered Items ...
Страница 4: ...3 10 Montageanleitung Installation Manual Lieferumfang Delivered Items 1 x Pfahl 140cm 1 x pole 140cm 1 x Halter für Pfahl 1 x Connection device for pole Bodenankersatz Ground anchor set ...
Страница 5: ... 10 x Mutter Nut M8 10 x U Scheibe Washer 20 x Abdeckkappe Bolt Cover 1 Öffnungselement und 26 Bogen Opening part to 26 bow 5 x Bolzen Bolt M10x145mm 5 x Mutter Nut M10 10 x U Scheibe Washer 10 x Abdeckkappe Bolt Cover 1 26 Bogen mit Auslauffuß 26 Bow with foot of exit part 5 x Bolzen Bolt M8x80mm 5 x U Scheibe Washer 5 x Abdeckkappe Bolt Cover 1 Bodenanker und Auslauf Ground anchor and exit part ...
Страница 6: ...Use the existing holes in the panel as a guide Pay attention that the seam is pointing to the top Montage ohne Paneel Installation without panel Legen Sie den 30 Bogen ohne Löcher im dünnen Flansch auf Ihre Anschlussplatte und bohren Sie die Löcher zur Befestigung Min 8 Löcher Max 12 Löcher Achten Sie darauf dass die Naht nach oben zeigt Put the 30 bow without holes on to your fixation plate and d...
Страница 7: ...6 10 Montageanleitung Installation Manual 1 Loch 1 Hole 2 Löcher 2 Holes 3 Löcher 3 Holes 1 Loch 1 Hole Positionieren Sie nun die weiteren Elemente Now start positioning the elements ...
Страница 8: ...r Fundament Auslauf Ground anchor installation Basement exit part Auslauffuß muss in Waage stehen Bevor Sie die Bodenanker betonieren kippen Sie etwas Wasser in den Auslauf Das Wasser muss ablaufen Pay attention that foot is level Before you add the concrete put some water in the exit part It has to run out of the exit ...
Страница 9: ...8 10 Montageanleitung Installation Manual Positionieren Sie nun den Pfahl Now start positioning the pole ...
Страница 10: ...freiheit Beschaffenheit der Bodenoberfläche freiliegende Fundamente scharfe Kanten fehlende Teile übermäßiger Verschleiß von beweglichen Teilen bauliche Festigkeit Alle 1 3 Monate operative Inspektion zu kontrollieren sind z B folgende Punkte alle Punkte gem visueller Routine Inspektion Dauerhaft abgedichtete Teile sind zu demontieren und auf Korrosion zu prüfen Jährliche Hauptinspektionzu kontrol...
Страница 11: ...al inspection Check at least the following Cleanliness Ground clearance Ground surface conditions Visible basements Sharp edges Missing parts Excessive abrasion All 1 3 months operative inspection Check at least the following All checks from visual inspection Covered parts have to be disassembled and checked for corrosion Once a year Main inspection Check at least the following All checks from ope...
Страница 12: ......