background image

20

Using the DVD player

DPMS

—Sets PC Power Management. If you turn this option 

On

, your TV/DVD combo will go into standby after no signal 

is received from a computer for two minutes. If the computer 
sends a signal, your TV/DVD combo turns back on.

Time Setup

—Opens a sub-menu where you can set up the 

time options. See “Setting the time” on page 16.

Closed Caption

—Opens a sub-menu where you can set 

the Closed Captioning options. See “Using closed captions” 
on page 16.

Default

—Opens a dialog box where you can reset the TV 

settings to factory default.

Using the DVD player

Playable discs

• You cannot play discs other than those listed in the table.
• You cannot play non-standardized discs, even if they have one of 

the label types in the table.

• The performance of a CD-R or CD-RW disc depends on the way 

the disc was burned. In a few cases, disc performance may not be 
consistent or the disc may not play at all.

Region codes

Your TV/DVD combo is designed and manufactured according to the 
Region Management Information that is recorded on a DVD disc. If the 
region code listed on the DVD does not correspond to your 
TV/DVD combo’s region number the DVD player will not play.
Your TV/DVD combo plays DVDs with region codes 

1

 or 

ALL

.

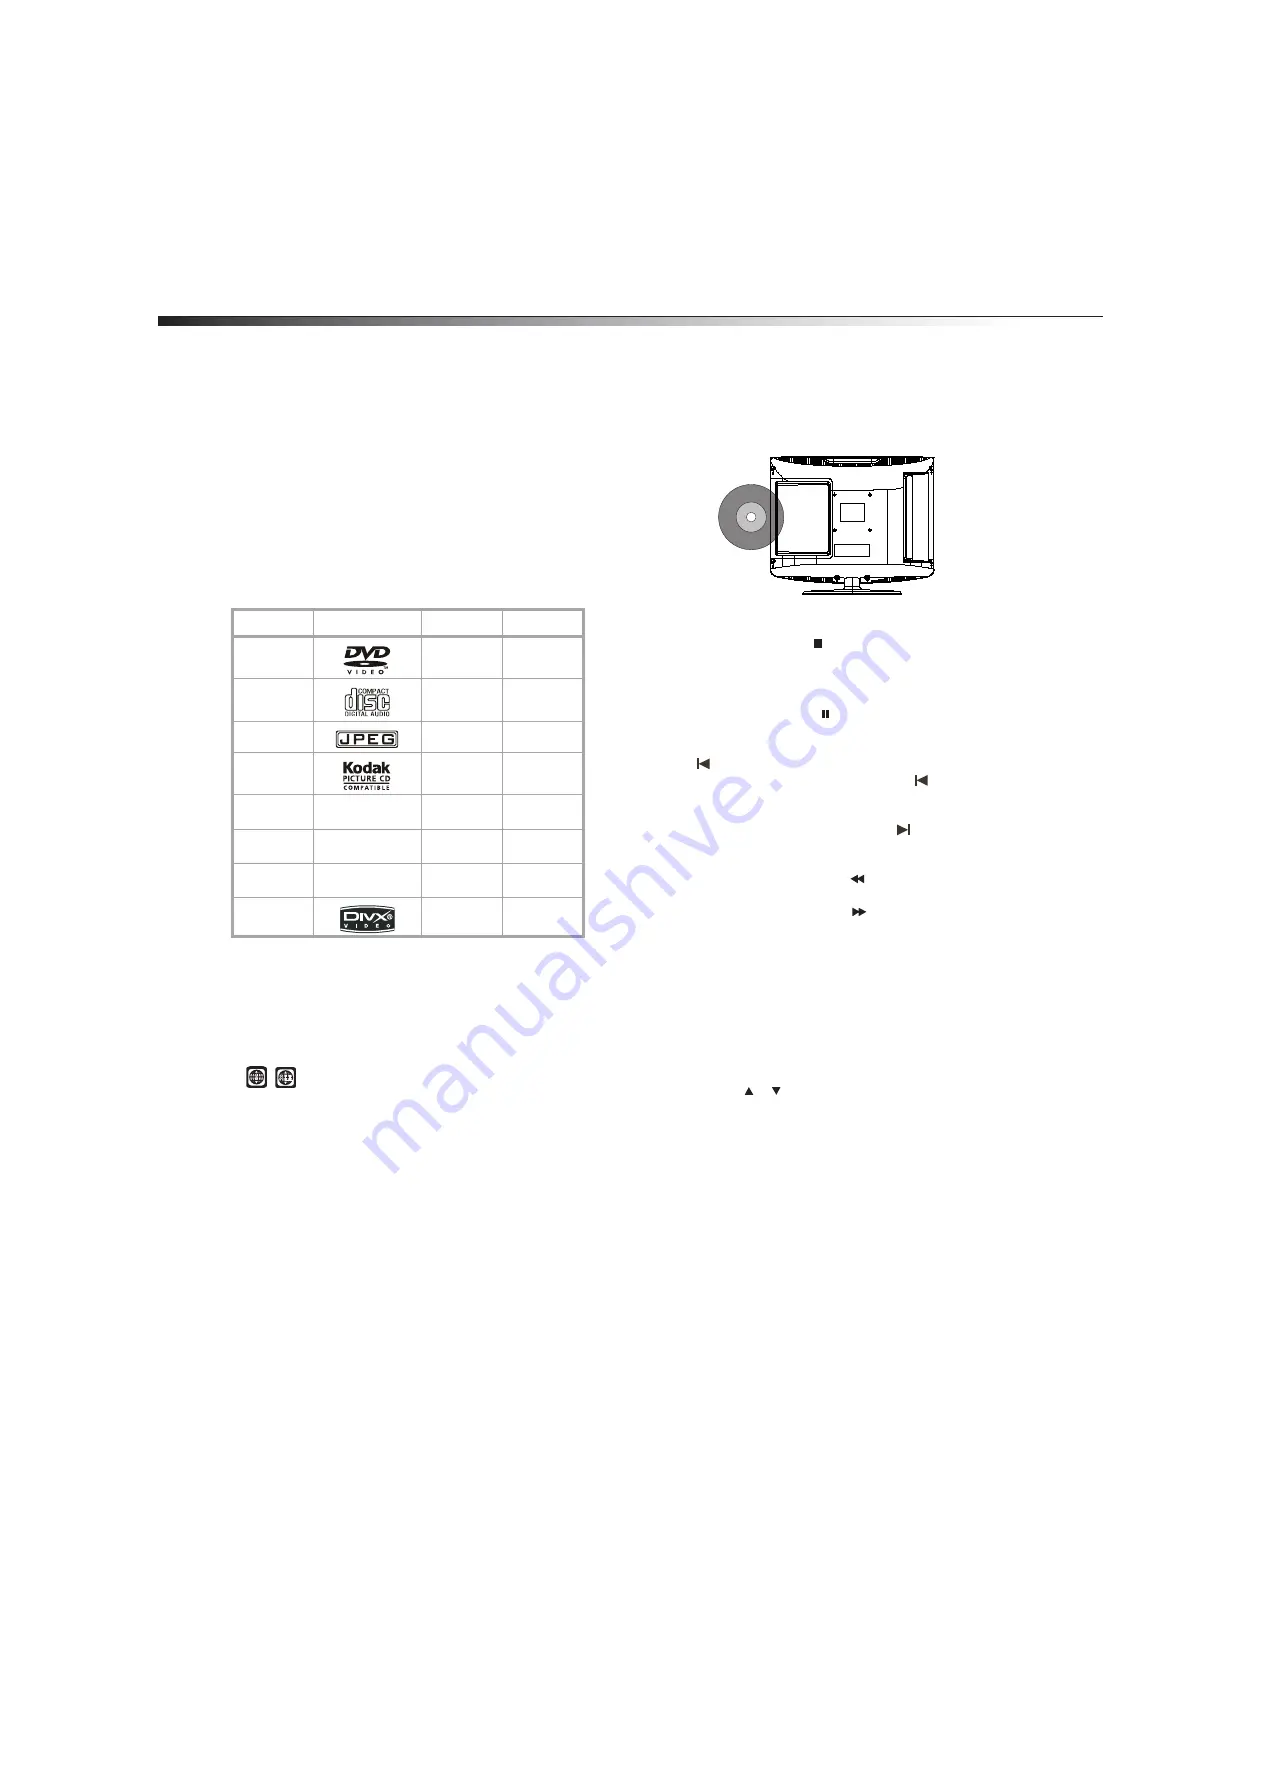
Playing a disc

To play a disc:

1

Press 

DVD

 to select DVD mode.

2

When 

OPEN

 appears on the screen, insert the disc.

Caution:

 Do not insert the disc until you see the OPEN message.

3

If the disc does not start playing automatically, press 

PLAY/ENTER

.

4

To stop playback, press 

STOP

.

Controlling disc playback

To control disc playback:

• To pause playback, press 

PAUSE

. Sound is muted in pause 

mode. To resume playback, press 

PLAY/ENTER

.

• To go to the beginning of the current chapter or track, press 

PREV

.

• To go to the previous chapter or track, press 

PREV

 twice. Each 

time you press this button, your TV/DVD combo skips back one 
chapter or track.

• To go to the next chapter or track, press 

NEXT

. Each time you 

press this button, your TV/DVD combo skips forward one chapter 
or track.

• To fast-reverse on a disc, press 

REV

. Each time you press this 

button the fast-reverse speed changes.

• To fast-forward on a disc, press 

FWD

. Each time you press this 

button the fast-forward speed changes.

Playing a JPEG disc

To play a JPEG disc:

1

Turn on your TV/DVD combo.

2

Press 

DVD

 to select DVD mode.

3

When 

OPEN

 appears on the screen, insert the disc. A navigation 

menu opens.

Caution:

 Do not insert the disc until you see the OPEN message.

4

Press the   or   arrow button to select a file, then press 

PLAY/ENTER

.

Selecting a subtitle language

Note: 

The number of subtitle languages available depends on the DVD. 

Some DVDs do not have subtitles.

To select a subtitle language:

• Press 

SUBTITLE

 repeatedly to select the subtitle language you 

want. 

SUBTITLE 01/XX XXXXX

 appears on the screen. 

01

 indicates 

the original disc language. 

XX

 indicates the total number of 

available subtitle languages. 

XXXXX

 indicates the country for the 

selected language.

Type

Label

Contents

Size

DVD video

Audio and 
video

12 cm

Audio CD

Audio

12 cm

JPEG

Pictures

12 cm

Kodak CD

Pictures

12 cm

CD-R

CD-R

Audio and 
video

12 cm

CD-RW

CD-RW

Audio and 
video

12 cm

CD+G

CD+G

Audio and 
pictures

12 cm

MPEG4

Audio and 
video

12 cm

Содержание DX-LTDVD19-09

Страница 1: ...USER GUIDE 19 LCD TV DVD Combo DX LTDVD19 09 ...

Страница 2: ...rder or video game 12 Connecting a computer 12 Using the TV 12 Turning on your TV DVD combo 12 Selecting the TV signalsource 12 Setting up the channel list 12 Selecting the video input source 13 Adjusting the volume 13 Changing TV channels 13 Displaying TV channel information 13 Adjusting the picture 13 Adjusting the computer image 14 Adjusting PC picture settings 14 Selecting the picture mode 14 ...

Страница 3: ...c 21 Creating a playback loop 21 Selecting a viewing angle 21 Using a DVD main menu 21 Using a DVD title menu 21 Displaying disc information 21 Using program play 21 Searching for a scene 21 Playing a DVD in slow motion 21 Selecting the audio mode 21 Using the DVD setup menus 21 Maintaining 22 Cleaning the cabinet 22 Handling discs 23 Cleaning discs 23 Troubleshooting 23 Specifications 24 Legal no...

Страница 4: ...watching a program especially on a larger than life TV Make sure that you place or install the TV where it cannot be pushed pulled over or knocked down Make sure that you route all cords and cables so that they cannot be pulled or grabbed by curious children Wall mounting If you decide to wall mount your TV always One size of wall mount does not fit all Use only a wall mount rated for the weight o...

Страница 5: ...ion Moisture will form in the operating section of the player if the player is broughtfromcoolsurroundingsintoawarmroomorifthetemperature of the room rises suddenly When this happens the DVD player s performance will be impaired Toprevent this let the playerstand inits new surroundings for about an hourbefore switching it on or make sure that the room temperature rises gradually Condensationmayals...

Страница 6: ...TV DVD combo is in standby mode Lights green when your TV DVD combo is turned on 7 Remote control sensor Receives signals from the remote control Do not block INPUT MENU VOL VOL CH CH POWER 1 2 3 7 6 4 5 Component Description 1 STOP button Press to stop playback If you press this button once then press your TV DVD combo begins playback where it stopped If you press this button twice then press you...

Страница 7: ...cting a VCR with a standard AV cable on page 10 8 R and L AUDIO Connect the audio for an S Video or standard AV device to these jacks For more information see Connecting a VCR with an S Video cable on page 11 or Connecting a VCR with a standard AV cable on page 10 9 headphone Connect headphones to this jack 10 ANT IN Connect a TV antenna or cable TV to this jack Pr Pb Y AUDIO R L S VIDEO R AUDIO I...

Страница 8: ...ation see Repeating a section of a disc on page 21 25 PROGRAM Press to start program playback For more information see Using program play on page 21 26 AUDIO Press to select the audio mode For more information see Select the audio mode on page 14 for TV mode or Selecting the audio mode on page 21 for DVD mode 27 ANGLE Press to select a viewing angle if the DVD was recorded with multiple viewing an...

Страница 9: ...peratetheremote control closertotheremote controlsensor Connecting an antenna or cable TV no box To connect an antenna or cable TV no box 1 Connect one end of a coaxial cable not included to the ANT IN jack on the back of your TV DVD combo then connect the other end of the cable into the antenna or cable TV wall outlet 2 To improve picture quality from an antenna in a poor signal area install a si...

Страница 10: ...CH to select VIDEO then press ENTER 5 Use the cable TV box controls or the cable TV box remote control to change channels Connecting a VCR with a standard AV cable A standard AV connection provides good video and audio To connect a VCR with a standard AV cable 1 Make sure that your TV DVD combo and the VCR are turned off 2 Connect a standard AV cable not included to the VIDEO IN yellow and adjacen...

Страница 11: ...device are turned off 2 Connect a component video cable not included to the Pr Pb and Y jacks on the back of your TV DVD combo then connect the other end of the cable to the corresponding COMPONENT OUT jacks on the component video device 3 Connect a standard audio cable not included to the R and L AUDIO jacks below the Pr Pb and Y jacks on the back of your TV DVD combo then connect the other end o...

Страница 12: ... TV DVD combo To turn on your TV DVD combo 1 Plug the power cord into a power outlet Your TV DVD combo enters standby mode and the power indicator lights red 2 Press POWER Your TV DVD combo turns on and the power indicator lights green 3 To put your TV DVD combo into standby mode press POWER again Caution WhenyourTV DVDcombois instandbymode poweris still flowingintoyourTV DVD combo Todisconnectall...

Страница 13: ...the picture To adjust the picture 1 Press MENU then press CH orCH repeatedly until the Video menu appears 2 Press VOL orENTER to open the Video menu 3 Press CH orCH repeatedly to select Mode then press VOL or VOL to select Mild Standard Vivid or Custom 4 Press CH orCH to select the option you want to adjust then press VOL or ENTERto confirm You can select Brightness Adjusts the brightness Contrast...

Страница 14: ...adjust the other settings 7 Press EXIT to close the menu and return to normal viewing Selecting the picture mode To select the picture mode Press PICTURE repeatedly to select Mild Standard Vivid or Custom Adjusting the audio To adjust the audio 1 Press MENU then press CH orCH repeatedly until the Audio menu appears 2 Press VOL or ENTER to open the Audiomenu 3 Press CH or CH to select the option yo...

Страница 15: ... Press CH orCH repeatedlytoselectChannelSkip thenpress VOL orENTER 4 Press CH or CH to select the channel you want to delete then press ENTER A check mark appears next to the channel Note Whenyou pressCH orCH yourTV DVD combowill skipthe channelyou deletedfrom thelist Youcanstilltunetothechannel usingthe numberbuttons Note Ifyouwant toaddachannelbacktothe list repeatthese steps WhenyoupressENTER t...

Страница 16: ... Text Opacity Selects the opacity of the text color BG Color Selects the background color BG Opacity Selects the opacity of the background color Window Color Selects the window color Window Opacity Selects the window opacity 6 Press VOL or VOL to adjust the option Setting the time To set the time 1 Press MENU then press CH orCH repeatedly until the Function menu appears 2 Press VOL or ENTER to ope...

Страница 17: ...annel you want to block then press ENTER The channel is locked and a lock appears next to the channel 5 Press EXIT repeatedly to close the menu Note Tounblock a channel repeat thesesteps Setting parental controls You can block TV programs and movies based on their ratings To set parental controls 1 Press MENU then press CH orCH repeatedly until the Lock EnterPassword menu appears 2 Press VOL orENT...

Страница 18: ...iolence strong language or sexual dialog or situations TV PG Parental guidance suggested May contain mild violence sexual dialog or situations and coarse language TV 14 Parents strongly cautioned May contain sexual content strong language and intense violence TV MA Mature audiences only May contain sexual violence explicit sexual content and profane language A Blocks all content based ratings D Se...

Страница 19: ... select English French or Spanish OSD Timeout Sets the amount of time the menu stays open after the last button press before it automatically turns off You can select Medium Short orLong OSD Transparency Selects the menu transparency You can select Low High or Medium Screen Mode Selects the screen mode You can select Full Screen Normal Wide Zoom or Cinema The Screen Mode options my vary depending ...

Страница 20: ...back press STOP Controlling disc playback To control disc playback To pause playback press PAUSE Sound is muted in pause mode To resume playback press PLAY ENTER To go to the beginning of the current chapter or track press PREV Togotothepreviouschapterortrack press PREVtwice Each time you press this button your TV DVD combo skips back one chapter or track To go to the next chapter or track press N...

Страница 21: ...ation 1 Press DISPLAY once to display the Title Elapsed time 2 Press DISPLAY again to display the Title Remaining time 3 Press DISPLAY again to display the Chapter Elapsed time 4 Press DISPLAY again to display the Chapter Remaining time 5 Press DISPLAY again to turn off the display Using program play To use program play 1 Press PROGRAM 2 Press the number buttons for the program you want to play 3 ...

Страница 22: ... screen saver option on or off When this option is turned on your TV DVD combo displays an animated picture whenever the DVD player is idle for more than three minutes Hdcd Lets you select the CD format You can select Off Plays normal standard CDs 1X Plays HDCDs in 44 1 K format 2X Plays HDCDs in 88 2 K format Last Memory Turn the last memory option on and off If this option is turned on your TV D...

Страница 23: ...or more information see Selecting the video input source on page 13 If power was interrupted turn off your TV DVD combo then turn it back on No sound Press MUTE to make sure that the sound has not been muted Press VOL to make sure that the volume is not set too low Try another station The problem may be with the broadcaster Poor sound Adjust the sound For more information see Adjusting the audio o...

Страница 24: ... user s authority to operate this equipment DHHS and FDA safety certification This product is made and tested to meet safety standards of the FCC requirements and compliance with safety performance of the U S Department of Health and Human Services and also with FDA Radiation Performance Standards 21 CFR Subchapter J Model 19 Picture and sound system NTSC ATSC Clear QAM Audio output 3 W 3 W Extern...

Страница 25: ...5inchesorlarger call 1 888 BESTBUY Call agents will diagnose and correct the issue over the phone orwill have an Dynex approved repair person dispatched to your home Where is the warranty valid This warranty is validonlytothe original purchaser of the Product in the United States Canada andMexico What does the warranty not cover This warranty does not cover Customer instruction Installation Set up...

Страница 26: ...26 Legal notices ...

Страница 27: ......

Страница 28: ...1 Penn Ave South Richfield MN 55423 U S A 2008 Best Buy Enterprise Services Inc All rights reserved DYNEX is a trademark of Best Buy Enterprise Services Inc Registered in some countries All other products and brand names are trademarks of their respective owners ENGLISH 08 1557 ...

Отзывы: