User Manual
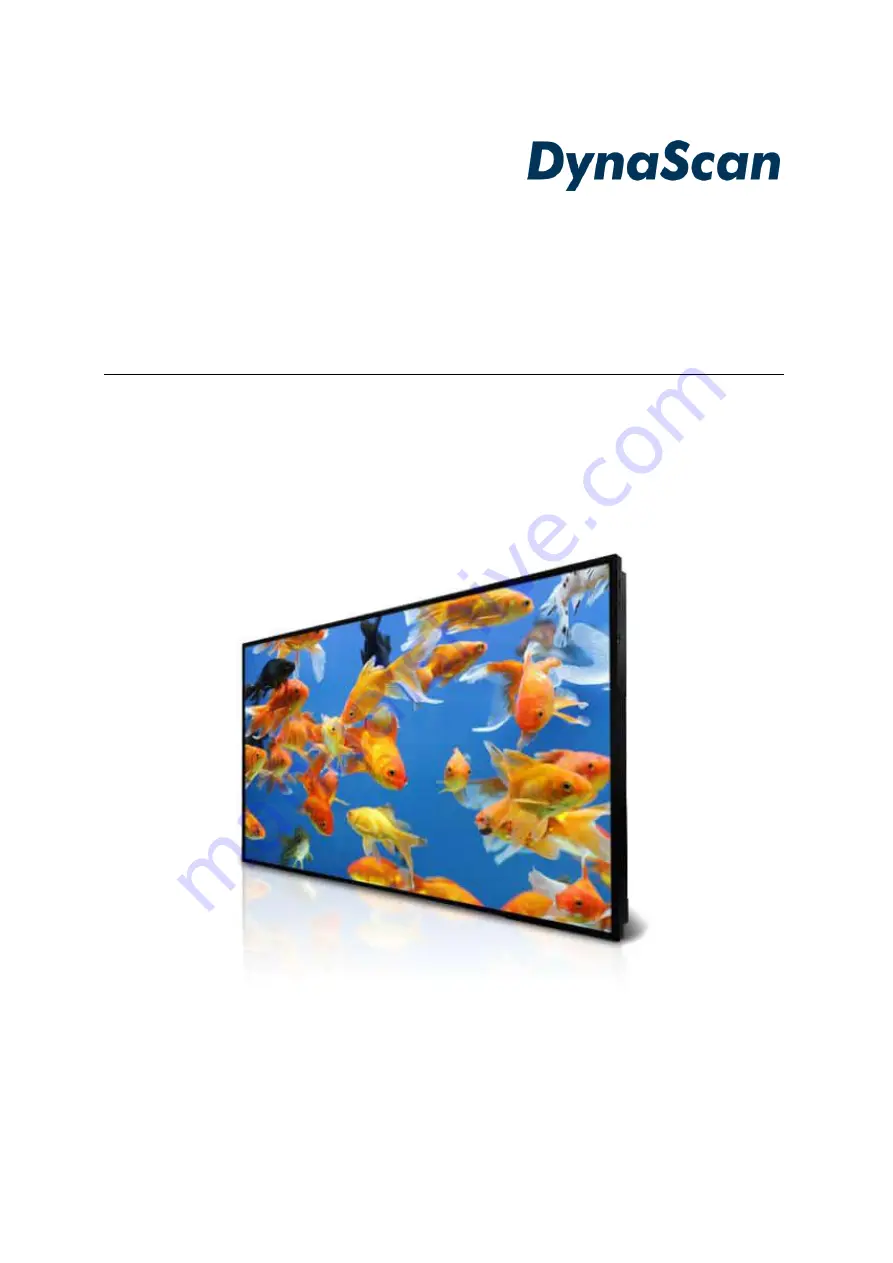
DS552LT4-1
Version 2.03
The use of diagrams and illustrations in the manual are for reference only. The actual product may be different.
Product design and specifications are subject to change without notice
Страница 1: ...al DS552LT4 1 Version 2 03 The use of diagrams and illustrations in the manual are for reference only The actual product may be different Product design and specifications are subject to change withou...
Страница 2: ...unting 7 Wall Mounting 10 Connecting to a Power Source 10 Connecting an External Video Source 10 Connecting Multiple Displays for Video Wall Applications 11 Input Output Terminals 13 Operating Instruc...
Страница 3: ...Scan is firmly committed to its environmental protection efforts and we believe that reducing our products impact on the environment is of the utmost importance We are dedicated to meet the latest env...
Страница 4: ...ing measures Reorient or relocate the receiving antenna Increase the separation between the equipment and receiver Connect the equipment into an outlet on a circuit different from that to which the re...
Страница 5: ...non combustible surface only If it gives off smoke strange smell or unusual noise or when it gets too hot to touch immediately unplug the display and contact the dealer Clean only with soft dry cloth...
Страница 6: ...and other particles Unplug the LCD immediately and contact a DynaScan certified service professional as soon as possible when any of the following situations occurs Damaged power cord or power plug If...
Страница 7: ...U S A Canada EU Except U K Japan Taiwan Voltage 120V 230V 100V 110V NEMA TYPE NEMA 5 15 CEE 7 7 NEMA 1 15 NEMA 5 15 IEC Display Plug IEC Plug TYPE IEC320 C13 Installing and Replacing Remote Control Ba...
Страница 8: ...l disasters DynaScan recommends having certified professionals to evaluate the installation site and perform the mounting operation Do not to cover the vent and or the heat sink in order to ensure pro...
Страница 9: ...strength to support the LCD and its accessories Do not install in a location with strong vibrations or is dusty Do not install near the building s main electric panel Ensure the LCD is secured in suc...
Страница 10: ...e secured to the building s structural frame such as a beam rather than light steel frame or interior decoration Do not use wood screws or dry wall anchors for installation Maintenance Inspect the fas...
Страница 11: ...e power inlet on the back of the display shown in the diagram below Connect the power cable to a 100 240 volt 50 60Hz AC power outlet Insert the plug completely into the socket A loose power connectio...
Страница 12: ...32 cable provided connect the RS 232 OUT of the 1st display to the RS 232 IN of the 2nd display Repeat the connection for the remaining displays Use the OSD Menu or Display Manager software to configu...
Страница 13: ...52LT4 1 User Manual 12 DISPLAY 1 DISPLAY 2 DISPLAY 3 DVI OUT DVI IN DVI IN RS 232 OUT RS 232 IN Video Source RS 232 IN DVI OUT RS 232 OUT or DP HDMI IN or DP HDMI OUT DVI OUT DVI IN RS 232 OUT RS 232...
Страница 14: ...nnect the DVI D output of a PC or the HDMI output of an AV device via a DVI HDMI cable 9 HDMI IN Connect the HDMI output of a PC or the HDMI output of an AV device via a HDMI cable 10 DP IN Connect th...
Страница 15: ...the IR receiver on the display The IR receiver on the DS552LT4 1 model is at the rear of the display with a receiving angle of 100 degrees The IR receiver configurations of the model are shown in the...
Страница 16: ...DS552LT4 1 User Manual 15 DS552LT4 1...
Страница 17: ...r On Off MENU OSD On Off UP Move the cursor up or change the setting of selected item LEFT Exit the current selection RIGHT Select the highlighted item DOWN Move the cursor down or change the setting...
Страница 18: ...Controls ITEM DESCRIPTION MENU OSD On Off Power On Off UP Move the cursor up or change the setting of selected item DOWN Move the cursor down or change the setting of selected item LEFT Exit the curre...
Страница 19: ...ESCRIPTION Picture Color Temperature D65 Select the color temperature User D93 D65 and D55 R Adjust the red light level Range 0 100 Note The feature is only supported on User mode G Adjust the green l...
Страница 20: ...EM 2 DEFAULT DESCRIPTION Video Wall Number of Rows 1 Set number of rows in a video wall Note The maximum number of rows in a daisy chain is 15 Number of Columns 1 Set number of columns in a video wall...
Страница 21: ...lue set When the Timer mode is set the display will automatically switch the brightness according to the time set High Level 100 Adjusts the highest brightness level Range 0 100 Low Level 15 Adjusts t...
Страница 22: ...Default Setting Off Restore all settings to default Note It does not modify CURRENT TIME POWER ON TIME and POWER OFF TIME ITEM 1 ITEM 2 DEFAULT DESCRIPTION Information 1 Resolution Input resolution M...
Страница 23: ...er heat 56 C Brightness 50 61 C Brightness 25 66 C Brightness 03 When the temperature is decreased to exit the protection the brightness will restore to 100 and Over Heat Protection is disabled Some f...
Страница 24: ...de 1W MECHANICAL SPECS Bezel Width T B L R 10 9 10 9 10 9 10 9 mm Cabinet Color Black Monitor Dimension LxHxD w o Stand 1239 4 x 710 2 x 87 7 mm Monitor Weight set package 27 5 kg 32 5 kg VESA Mountin...
Страница 25: ...Pixel Rate Aspect Ratio H Pixels V Lines 640 480 60 Hz 25 175 MHz 4 3 720 480 59 94 Hz 27 MHz 4 3 800 600 60 Hz 40 MHz 4 3 1024 768 60 Hz 65 MHz 4 3 1280 720 60 Hz 74 25 MHz 16 9 1280 768 60 Hz 79 5...
Страница 26: ...hield RX2 RX4 11 Shield RX1 RX3 19 Shield RX0 RX5 04 NC 12 NC 20 NC 05 NC 13 NC 21 NC 06 DDC Serial Clock 14 5V power 22 Shield RXC 07 DDC Serial Data 15 Ground 23 RXC 08 NC 16 Hot plug detect 24 RXC...
Страница 27: ...age is unstable Check whether the cable is completely plugged in The remote control does not work Check whether there are batteries in the remote control Check the batteries for freshness polarity etc...
Страница 28: ...a USB flash drive storage SD card or Internet How to Switch to DSM365 Press the MENU button on either the rear panel control or remote control to show the OSD Use the navigation arrows to select and a...
Страница 29: ...DS552LT4 1 User Manual 28 www dynascanusa com Copyright DynaScan Technology Inc All Rights Reserved...