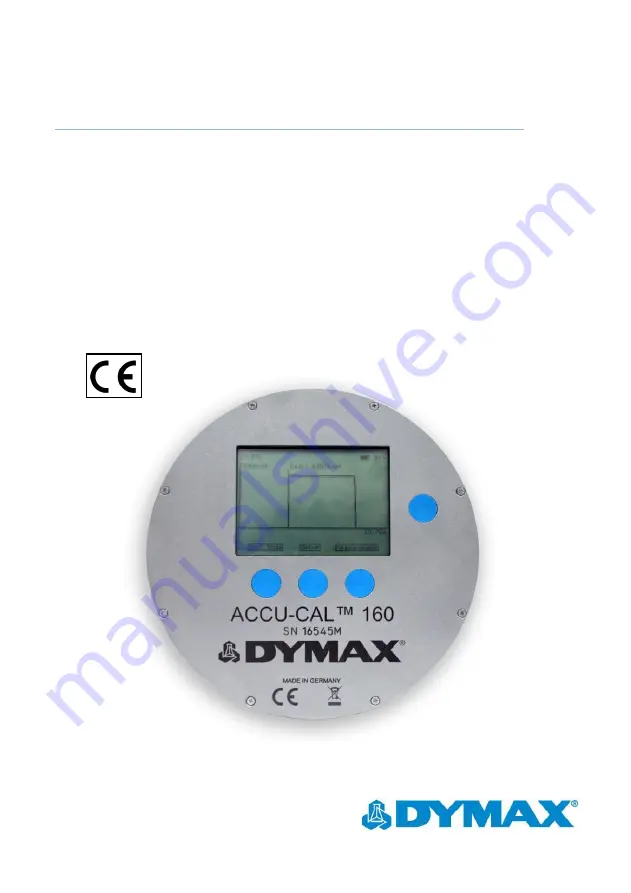
ACCU-CAL™ 160 User Guide
Radiometer for UVA & LED
■
Instructions for Safe Use
Setup and Operation
Maintenance
Ordering Spare Parts and Accessories
Страница 1: ...ACCU CAL 160 User Guide Radiometer for UVA LED Instructions for Safe Use Setup and Operation Maintenance Ordering Spare Parts and Accessories ...
Страница 2: ... the speed of automated assembly allow for 100 in line inspection and increase throughput System designs enable stand alone configuration or integration into your existing assembly line Please note that most dispensing and curing system applications are unique Dymax does not warrant the fitness of the product for the intended application Any warranty applicable to the product its application and u...
Страница 3: ... Product Overview 5 Description of the ACCU CAL 160 Radiometer 5 Environmental Considerations 6 Setup Operation 6 Controls 6 Setup Menu 8 Perform a Measurement 10 Perform a Reference Measurement 12 USB Interface 13 Data Transfer 13 Software Setup Usage 13 Power Supply 15 Maintenance 16 Cleaning 16 Maintenance Calibration 16 Specifications 17 Warranty 18 ...
Страница 4: ...x at info dymax com Contact information for additional Dymax locations can be found on the back cover of this user guide Additional resources are available to ensure a trouble free experience with our products Detailed product information on www dymax com Dymax adhesive Product Data Sheets PDS on our website Material Safety Data Sheets MSDS provided with shipments of Dymax adhesives Safety The ACC...
Страница 5: ...ys irradiance intensity irradiance profiles irradiance over measurement time and dose irradiance for a given time period of a light curing system Its compact size and design withstands the extremes of light curing environments while providing accurate measurements The unit can be controlled manually via four buttons on the faceplate Measurement data is displayed on the integrated LCD display scree...
Страница 6: ...agnetic and electrostatic fields These disturbances may influence measurement results Do not expose the ACCU CAL 160 to temperatures exceeding 60 C 140 F during an exposure run Exposure to temperatures exceeding 80 C will cause unit failure and will void the warranty Setup Operation Controls Turning on the radiometer Press and hold the On Off Button until the Display Window illuminates The Display...
Страница 7: ...eens The real time clock is set to UTC Universal Time Coordinated values Soft Button Operation Right Left and Middle Buttons perform the function indicated on the Display Window s bottom line ON OFF Button To turn on press hold until the screen is illuminated To turn off press hold for 2 seconds Backlight Illumination Press the On Off button to turn the backlight on the display window on or off US...
Страница 8: ... Figure 3 Figure 2 Welcome Screen Figure 3 Text Mode Screen Push the Middle Button to Enter Setup Once on the setup screen Figure 4 you can toggle the units for irradiance and dose per m or per cm the temperature scale C or F the sample rate low 25 Hz or high 2 500 Hz the lamp type of your application for spectral correction press the right button several times to select your lamp type If your spe...
Страница 9: ...select the highlighted menu item Figure 4 Setup Menu In the setup menu you can also start a reference measurement and display the device info i e wavelength band serial number firmware version date time next calibration date internal temperature All settings are automatically saved to the device and are readily available upon device startup To exit setup move the arrow to the bottom most item and ...
Страница 10: ...reen Figure 6 Graph Mode Screen A message Start Measurement is shown Figure 7 To start the measurement press the right button If you have gotten to this screen by mistake and need to cancel the operation press the left button Place the radiometer on the belt or object with the Optic Window Figure 8 facing toward the light source The display window and buttons will be facing away from the source ...
Страница 11: ...ide of the Radiometer When the radiometer exits the curing chamber the measurement sequence will still be running To end the sequence press the right button The measurement is stopped when the device memory is full and a warning message is shown if this is the case The low sample rate corresponds to approximately 1 300 seconds of measurement time the high sample rate to approximately 13 seconds ...
Страница 12: ...he two modes without any loss of data The measurement data is stored in the device and shown on the display until a new measurement is performed Perform a Reference Measurement A reference measurement is a stored reading used to compare subsequent data readings to identify if any changes have occurred To perform a reference measurement enter the setup move the arrow to the item Start Reference Mea...
Страница 13: ...le The data can be saved as a text file and the graph can be saved as a png file The download kit can be easily imported into Microsoft Excel Software Setup Usage To install the software first plug the USB drive included with your order into a USB port on your computer On the USB drive open the S Accu Cal 160 folder and locate the setup exe file Select the setup exe file and hit the run button to ...
Страница 14: ...to File Downloads all the data points and puts them into an excel file Once an option has been selected the data will be graphed on the screen The black line represents irradiance while the red line represents temperature The screen navigation icons can be used to zoom in or out on specific parts of the graph Users also have the option to save the graph as a png file by selecting the save graph as...
Страница 15: ...es above 0 C 32 F For charging the battery a computer or as an alternative a standard USB power supply rated voltage 5VDC can be used Please use the provided USB cable or a high quality replacement with a sufficient cross section of the wires otherwise charging might be impaired due to too high voltage drops along the cable length Reinitialize Change Device Button Serial Number Type UVA or LED Dat...
Страница 16: ...isopropanol Avoid getting fingerprints on the input optics Fingerprints must be removed before using the device While cleaning be sure to not damage or scratch the input optics Damage or scratches can cause the device to malfunction Maintenance Calibration The ACCU CAL 160 is calibrated prior to shipment with standards traceable to national and international standards The calibration of the device...
Страница 17: ...perature Range Operating and Storage 10 C to 60 C 14 F to 140 F exposure to temperatures above 80 C 176 F voids the warranty Power Supply via USB interface Mini B 5 VDC 500 mA Lithium polymer battery charged via USB interface Typical Battery Life 10 hours backlight on no operation 6 hours backlight on full operation longer battery life with backlight off backlight is switched off automatically dur...
Страница 18: ...uipment may void your warranty benefits The use of aftermarket replacement parts not supplied or approved by Dymax Corporation will void any effective warranties and may result in damage to the equipment IMPORTANT NOTE DYMAX CORPORATION RESERVES THE RIGHT TO INVALIDATE ANY WARRANTIES EXPRESSED OR IMPLIED DUE TO ANY REPAIRS PERFORMED OR ATTEMPTED ON DYMAX EQUIPMENT WITHOUT WRITTEN AUTHORIZATION FRO...
Страница 19: ...erformance testing and evaluation by offering equipment trial rental and leasing programs to assist in such testing and evaluations MAN073DA PN 41861 6 2 2017 Dymax Corporation 860 482 1010 info dymax com www dymax com Dymax Oligomers Coatings 860 626 7006 info_oc dymax com www dymax oc com Dymax Europe GmbH 49 0 611 962 7900 info_de dymax com www dymax de Dymax Engineering Adhesives Ireland Ltd 3...