background image

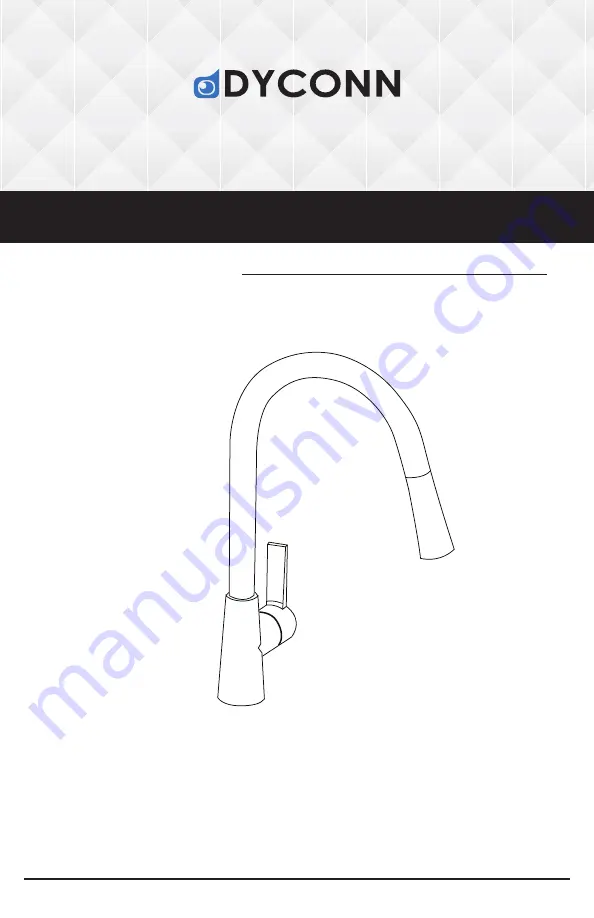
Single Hole Kitchen Faucet Installation Manual

All of our single hole kitchen faucets are installed using the same 

procedure. Design, sizes, and styles may vary. The model illustrated 

in this manual is for illustrative and demonstrative purposes only.

Some kitchen faucets come with a soap/ lotion dispenser. 

Both installation procedures are outlined in this manual. 

All installations should be performed by a licensed professional

www.dyconnfaucet.com

Product Model Number:

Please find and write your product number down on the provided space above for future reference. 

Product model number can be found on the box provided with your product.

Содержание TB001-A17

Страница 1: ...nd demonstrative purposes only Some kitchen faucets come with a soap lotion dispenser Both installation procedures are outlined in this manual All installations should be performed by a licensed professional www dyconnfaucet com Product Model Number Please find and write your product number down on the provided space above for future reference Product model number can be found on the box provided ...

Страница 2: ......

Страница 3: ...INGLE HOLE KITCHEN FAUCET PARTS AND ACCESSORIES You may need the following tools materials Valve Hoses included Pliers Screw Driver Wrench Silicone Plumbers Tape Model Shown Pull Down Faucet TB001 A17 1 ...

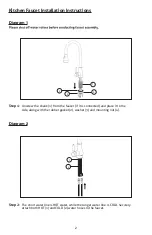
Страница 4: ...e side along with the rubber gasket 2 washer 3 and mounting nut 4 Diagram 2 Diagram 1 Kitchen Faucet Installation Instructions 1 3 2 4 Step 2 The short water line is HOT water while the longer water line is COLD Securely attach both HOT 1 and COLD 2 water hoses to the faucet 1 2 2 ...

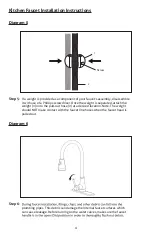
Страница 5: ...l the faucet through the deck mounting hole Attach the gasket 3 washer 4 and mounting nut 5 onto the shank 1 3 4 5 2 Step 4 After the faucet is properly positioned thoroughly tighten the screws on the mounting nut to secure the faucet in place Should your faucet have a pull out hose attach the end of it 1 to the line converter 2 1 2 3 ...

Страница 6: ...crewdriver Once the weight is separated attach the weight 1 onto the pull out hose 2 at a desired location Note The weight should NOT make contact with the faucet line hoses when the faucet head is pulled out 1 2 Screw Step 6 plumbing pipes This debris can damage the internal faucet surfaces which can cause leakage Before turning on the water valves make sure the faucet 4 ...

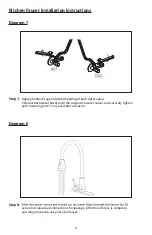
Страница 7: ... hoses onto the respective water valves and securely tighten each mounting nut Turn your water valves on Apply plumber s tape onto the threading of each water valve Step 8 seconds Evaluate all connections for leakage After this process is complete you may proceed to use your new faucet 5 ...

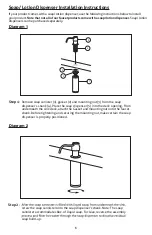
Страница 8: ...soap lotion dispenser Soap lotion dispensers can be purchased separately dispenser s shank 4 Place the soap dispenser 5 into the deck opening From underneath the sink deck attach the Gasket and mounting nut onto the faucet shank Before tightening and securing the mounting nut make certain the soap dispenser is properly positioned 1 4 5 2 3 Step 2 screw the soap cannister onto the soap dispenser s ...

Страница 9: ...s of products to assess the product s condition and determine the necessary replacement parts Replacement parts and warranty claims may be obtained by contacting us using one of the following methods All Dyconn Faucet products are manufactured and tested with the highest quality standards and rigorous quality control process This warranty is limited to the non commercial use of Dyconn Faucet produ...

Отзывы: