ABOUT MANUAL
Before installing and using the camera, please read this manual carefully.
Be sure to keep it handy for future reference.
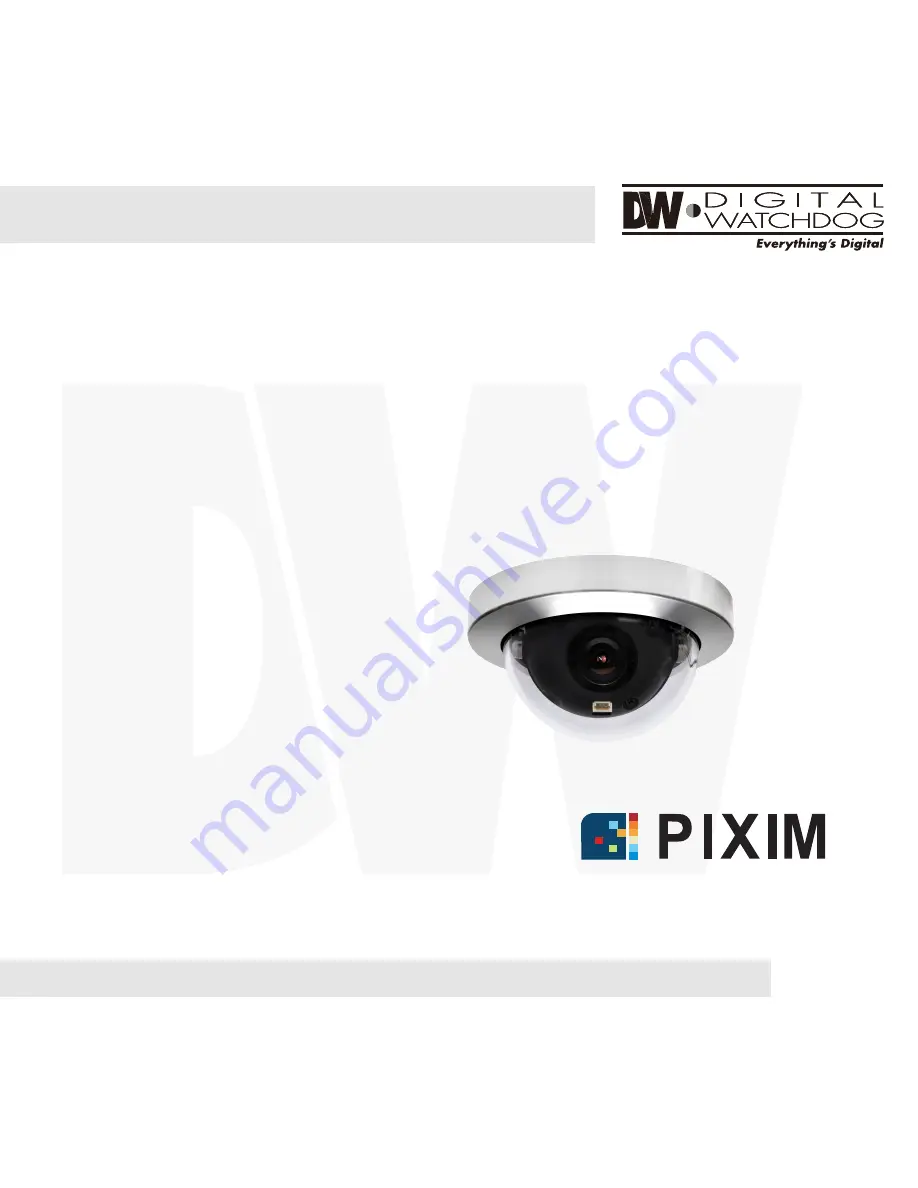
PIXIM Micro Dome Camera
DWC-MC355T
07132012
Страница 1: ...ABOUT MANUAL Before installing and using the camera please read this manual carefully Be sure to keep it handy for future reference PIXIM Micro Dome Camera DWC MC355T 07132012...
Страница 2: ...ure may rise to high levels Cleaning To remove dirt from the case moisten a soft cloth with a soft detergent solution and wipe Mounting Surface The material of the mounting surface must be strong enou...
Страница 3: ...llation Troubleshooting Warranty Information Specifications Features Parts and Descriptions Dimensions Inside the Box Mount Installation Instructions Connecting to Monitors Adjusting the Camera s Posi...
Страница 4: ...520TV Lines B W 3 6mm Fixed Iris Lens Low Power Consumption Max 0 7W TDN True Day Nigh with IR Cut Filter Enhanced Sensitivity 0 4 Lux F1 2 3D Gimbal for Easy Control Ultra Low Light Sensitivity Wide...
Страница 5: ...PARTS DESCRIPTION 1 Lens Power Input Connector 12VDC Voltage Primary Video BNC Output Connector Mounting Screws Camera Module Bubble Dome Upper Case Security Screw 2 3 4 5 6 8 8 7 1 2 3 4 5 6 7 5...
Страница 6: ...6 DIMENSIONS IN MILLIMETERS IN...
Страница 7: ...Machine Screw and 4 Dry Wall Anchors Miniature L Key for Security Screw L Key 1 2 3 4 5 7 ABOUT MANUAL Before installing and using the camera please read this manual carefully Be sure to keep it hand...
Страница 8: ...by rotating it counter clock wise 3 Use the camera s mounting template or your camera to mark the holes as required Drill into the drywall and insert the drywall mounts into the holes 4 Pull wires thr...
Страница 9: ...a s view See page 11 CAMERA SETTINGS 6 place the bubble dome on the camera Screw the cover dome back by rotating it clock wise 7 Tighten the Security screw back in place to firmly secure the cover dom...
Страница 10: ...10 CONNECTIONS 12VDC VIDEO OUT CAUTION Check for polarity when using a DC 12V Use the diagram below to connect the camera to a Monitor or CRT Monitor properly...
Страница 11: ...11 LENS ADJUSTMENTS Adjust the camera s pan 360 and tilt 70 position...
Страница 12: ...t is connected securely Check the lens iris adjustment at the camera s OSD menu Check the power supply and make sure the camera has the proper voltage and current Check the clear dome cover and the le...
Страница 13: ...hrough Friday from 8 30AM to 8 00PM Eastern A purchase receipt or other proof of the original purchase date is required before warranty service is rendered This warranty only covers failures due to de...
Страница 14: ...y period set forth above Some states do not allow the exclusion or limitation of incidental or consequential damages or limitations on how long an implied warranty lasts so the above exclusions or lim...
Страница 15: ...V Video Output VBS 1 0Vp P 75 Load Video Output CVBS 1 0Vp p 75 Frequency 15 734KHz H 59 95Hz V Lens 3 6mm Fixed Iris Lens ENVIRONMENTAL ELECTRICAL MECHANICAL Storage Temperature 20 o C 70 o C 4 o F...
Страница 16: ...5436 W Crenshaw St Tampa FL 33634 Tel 866 446 3595 813 888 9555 Fax 813 888 9262 www Digital Watchdog com technicalsupport dwcc tv Technical Support Hours Monday Friday 8 30am to 8 00pm EST...