Step 1
|
Install the saddle valve
at cold water source
To connect the feed water, first shut
off the water line under your sink.
Then use the supplied self-piercing
saddle valve to connect to the cold
water supply line under the sink.
Attach the ¼ inch tubing to the
compression fitting on the side of the
valve. Clamp the saddle valve over the
copper or plastic feed line (cold water
only). Turn the handle on the valve
until the needle stem pierces through
the tube. Then retract the needle 1 to 2
turns to start the water flow.
Step 2
|
Connect and run the
water tubing
Run the 1/4” poly water tubing from
the water source to the Series 500
location. Typically, but not always
necessary, a small hole is cut in the
back of the cabinet and the wall and
the tubing is run through the wall or a
drop ceiling to the cooler location.
If this is not possible, take care that the
tubing is not exposed or draped or
creates a tripping hazard in any way.
Step 3
|
Install the optional
shut off ball valve
Included in your kit is an optional shut
off ball valve. This provides an easy
way to turn the water to the cooler
off without having to shut off the
water under the sink.
The valve should be attached
approximately 5 feet from the unit.
Simply cut off the last 5 feet of the
plastic feed line and attach the valve
to reconnect the lines.
8
|
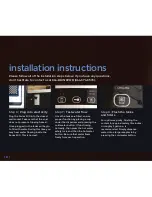
installation instructions
Please follow all of the installation steps below. If you have any questions,
don’t hestitate to contact us at 844-DRINKPOD (844-374-6576).


