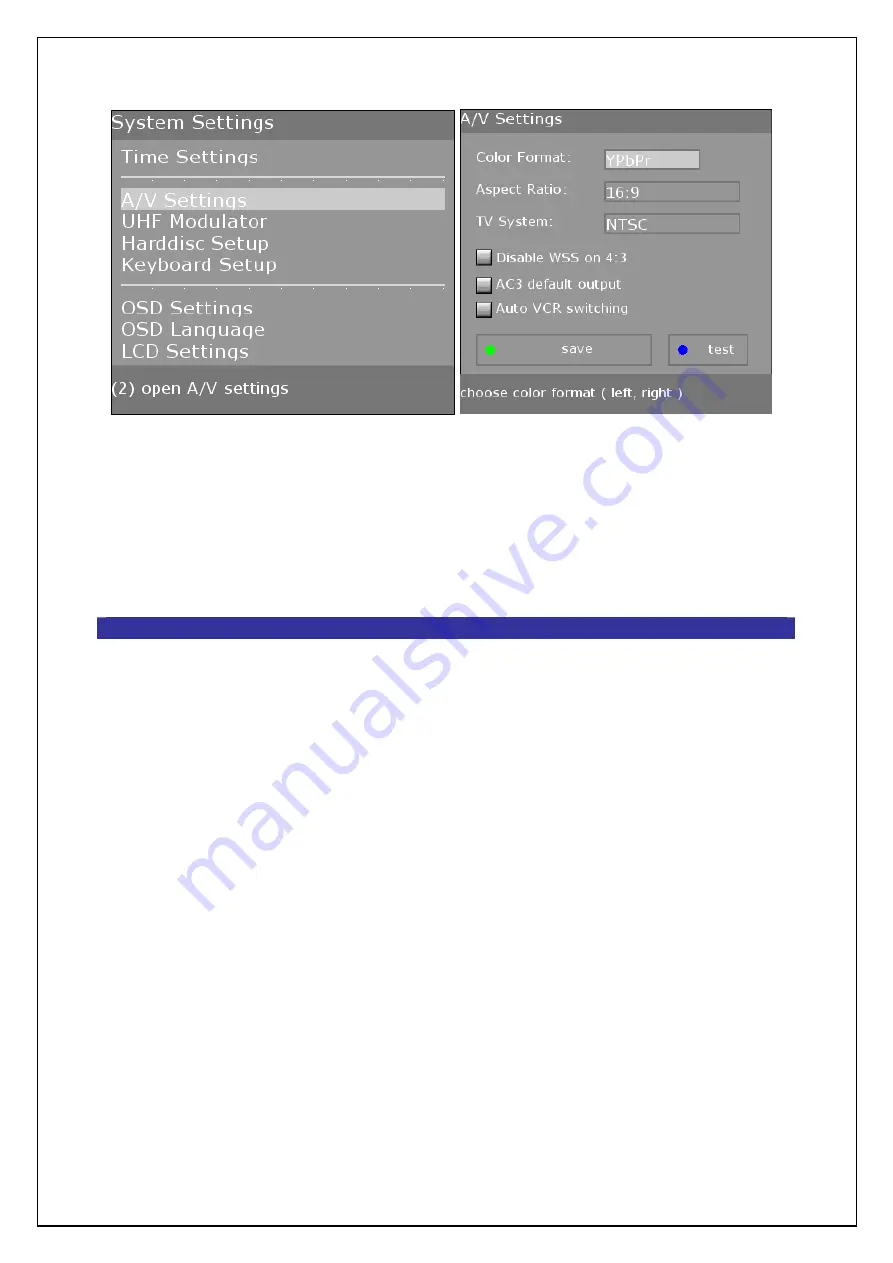
5.
Go back to “System Settings” and go to “Time Settings”
and press “OK”. Choose Time Zone and choose yours.
Press the
Green
button or arrow down to the “save” box
and press “OK” to save your time zone. You will be asked
if you want to “Restart Now” and you will press “OK” to do
so.
Section 6
Configuring Your Network
Equipment:
1.
Router or Switch.
2.
PC with NIC (ethernet card).
3.
CAT5 cable connecting the PC to your Router and your
DreamBox to the Router. You can use a wireless
LAN/Bridge in place of the hard-wired system if you
prefer. (A crossover cable also works for those too cheap
or lazy to construct a home network.)
Procedure:
1.
Determine your Network settings.
a.
You will need the IP address of your Router and
decide what IP you plan to use for the DreamBox.
We recommend using 192.168.0.24 for your
DreamBox since some software comes preconfigured
with that IP.
b.
Your DreamBox and Router must have the same
numbers in the first 3 sections of their IPs. i.e. If
Содержание DreamBox 500
Страница 42: ...5 We are adding services from 110W so select Packages America and click on 110 0 W EchoStar 6 8...
Страница 43: ...6 You will now see this screen...
Страница 56: ......
Страница 65: ...Select OSD Settings Go to the Change skin box and press OK Select SimpleSpace skin and press OK...
Страница 69: ...7 Select which stations you like and hit the Convert to stations xml button...
Страница 75: ...2 http www digsat net 3 http sat industry net Official Dream Multimedia Website http www dream multimedia tv de...


