Page 121 of 145
Backup and Restore of Configuration & Backup
Database
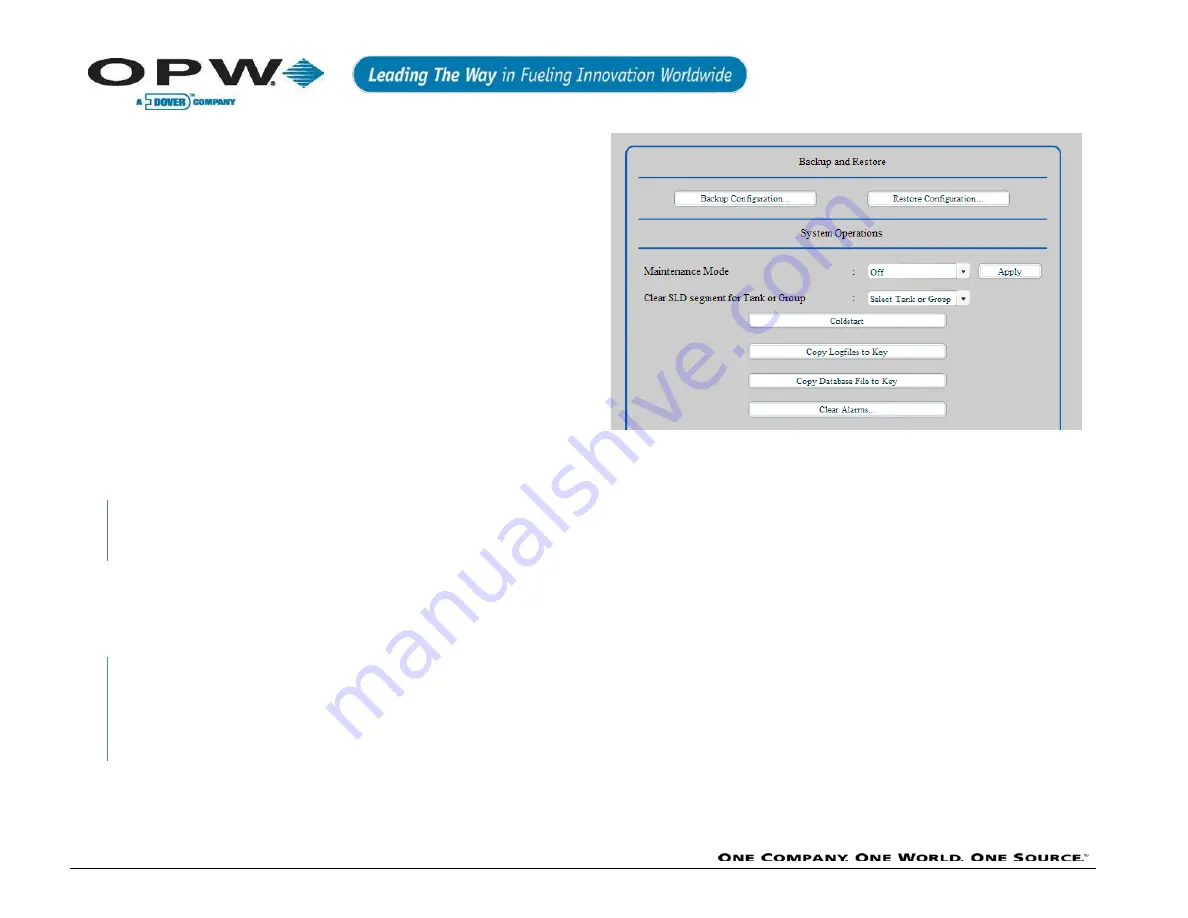
Through the user interface, users have the ability to backup the
configuration and the database. To do this, log into the Console and
go to Settings>Utilities. On this screen, you will see the options
Backup Configuration and Restore Configuration. To backup the
configuration, press the Backup Configuration button. There will be an
option to save it to the local disk and external USB drive, or if on a
remote connection to the computer you are using. If local, the users
will be shown a dialogue box displaying backup-drive choices. Choose
which drive they wish to save it to and press Apply. If on a remote PC,
you will be shown the typical “Save As” box; a choose where you
would like to save the file.
To Restore the configuration back to the console, log in and go to
Settings>Utilities.
Once
on this
screen,
press the
Restore
Configuration button. You will be prompted to choose a file for which
you want to restore the system with. If there are multiple backups, all
of these files will be displayed. Once the file is chosen, press Apply
and the process of restoration will begin. To finalize the restore, log
out and log back into the system.
Backing up the configuration will save only the aspects required
during the configuration process. This will not save any event history
(alarms, deliveries, inventories, leak alarms) on the system.
To backup the database file on the system, login and go to Settings>
Utilities. On this screen, press the Backup Database File To key.
There are two choices here: back the database file up to a local drive
or to an external USB key. Once a selection is made, you will be
prompted to press Apply to start the process.
The system will be rebooted during this process. Once Apply is
pressed, the process will begin and the system will return to a
normal state after reboot.
Backing up the database file copies all event history, including the
configuration of the system.
Restore Configuration
Содержание OPW SiteSentinel iSite
Страница 15: ...Page 15 of 145 www opwglobal com Figure 2 4 Console Connectivity ...
Страница 17: ...Page 17 of 145 www opwglobal com Figure 2 6 Wiring Connections ...
Страница 22: ...Page 22 of 145 www opwglobal com Figure 2 11 Standard Twisted Pair Petro Net Installation ...
Страница 25: ...Page 25 of 145 www opwglobal com Figure 2 14 Petro Net Over Ethernet Option ...
Страница 33: ...Page 33 of 145 www opwglobal com ...
Страница 34: ...Page 34 of 145 www opwglobal com Figure 4 1 924B Probe Installation ...
Страница 61: ...Page 61 of 145 www opwglobal com Figure 5 22 In Tank Probe Setup ...
Страница 74: ...Page 74 of 145 www opwglobal com Figure 9 3 Dry Well Monitoring Single Wall Tank ...
Страница 78: ...Page 78 of 145 www opwglobal com Figure 9 7 Double Wall Tank with Well Monitoring ...
Страница 90: ...Page 90 of 145 www opwglobal com Figure 13 7 ACR RIM Jumper Board ...
Страница 142: ...Page 142 of 145 www opwglobal com Declaration of Conformity ...
Страница 143: ...Page 143 of 145 www opwglobal com ...
Страница 146: ...Page 146 of 145 www opwglobal com NOTES ...


