


WCM2 User Guide
Getting Started
DNP Imagingcomm America Corporation
7
Getting Started
Setting up your WCM2 System
1. Connect your WCM2 to your DNP printer with the provided USB printer cable. There are two available USB ports,
making it easy to connect two DNP printers!
2. Connect the power adapter to the WCM2. If you are using a QW410 printer, the alternate USB power cable can be
connected to the USB port in the back of the printer.
3. The WCM2 requires 60–90 seconds to power up and will print a test page when ready. The test page feature can be
turned off in the Settings menu.
Once the WCM2 has printed the test page, it will broadcast a hotspot to connect your mobile, PC, or MAC device to.
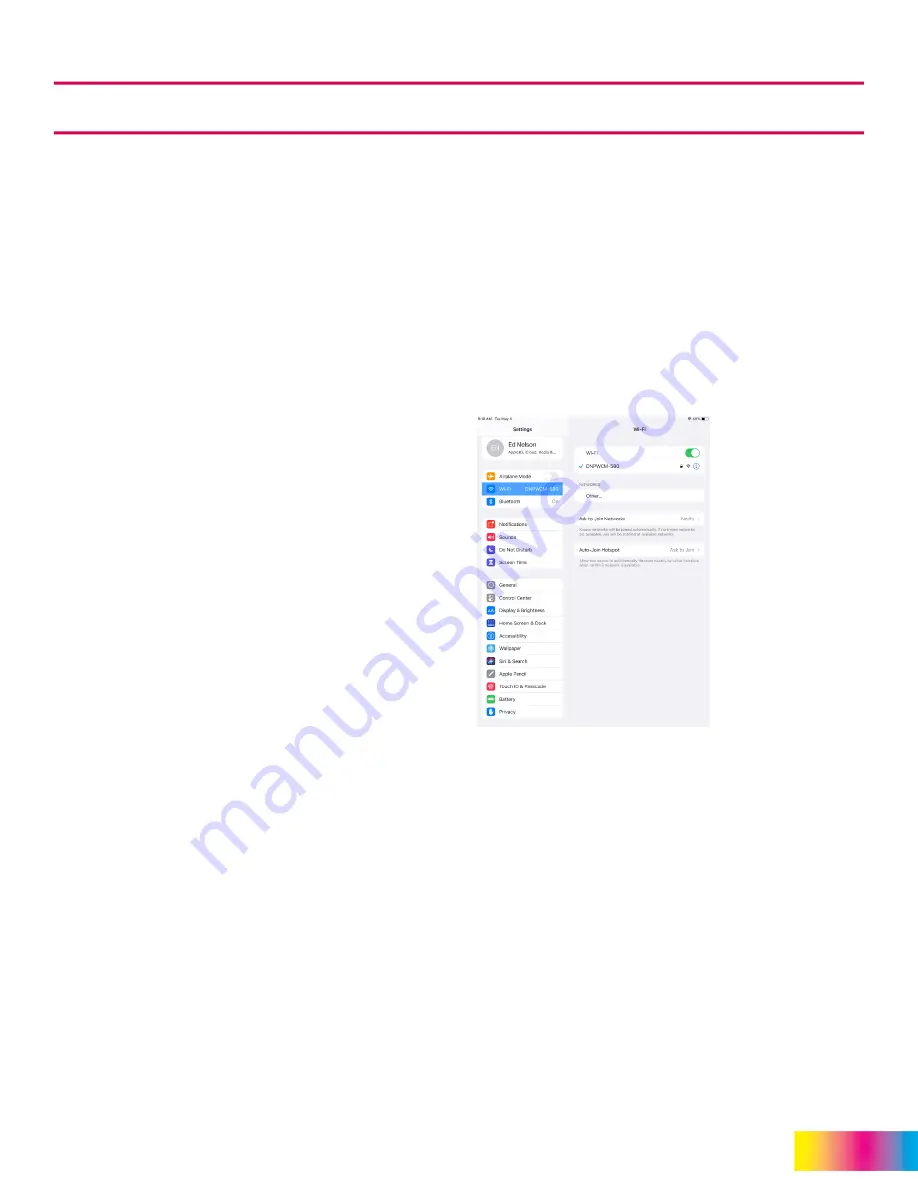
In the Wi-Fi settings of your device, look for and select
DNPWCM-xxx
. The last 3 digits are unique to your WCM2.
The default password for the hotspot is
dnp12345
NOTE:
Both the name and password for the hotspot can be changed in Network Settings.
4. With your device connected to the hotspot you will be able to print pictures from your device. Use any photo app to
view your picture.
5. Press the
Share
icon (iOS) or the
Menu
icon (Android).
NOTE:
If you are using cloud storage for your pictures the WCM2 must be connected to the internet using
either Wi-Fi or Ethernet for access to the pictures.
6. Scroll through the list and select
. Select the Printer and Print Size you want. Standard print sizes are available
by default. Additional Print Sizes can be made available in the Printer Settings Menu. Press
.
Menu Options and Settings
Connect to the WCM2 hotspot as shown in the Quick Start instructions
Open your devices browser and type 192.168.4.1 in the address bar to access the WCM Portal.
Connect to Wi-Fi:
DNPWCM-xxx
Password:
dnp12345