User Manual in Original
Dok. ref: 550A_GKF_am_sv_210525
DISPERATOR AB
Tel: 08-724 0160
E-mail: [email protected]
Mälarvägen 9, 141 71 Segeltorp
Web page: www.disperator.se
26 / 35
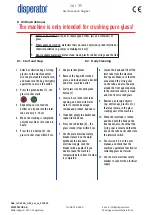
9.5. Assembly of the Machine
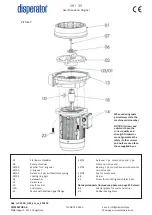
1. Clean all components carefully. Wipe the surface of the motor flange with axle (2/14). Make sure
that there is no dust or grease residue.
2. Make sure that the key (2/-14/03) is in the correct position. Apply a thin layer of Disperator
special grease (2/04) on the motor axle.
3. Wipe the carrier (2/18) clean on the inside and outside.
4. Mark the depth of the hole in the carrier onto the motor axle, which is 58mm from the top.
Carefully press the carrier onto the motor axle all the way down to the mark. If hand power is
not sufficient, use the axle screw (2/07) as a mounting tool. If needed, use the rotary shredder
(2/02) as a handle to prevent the motor axle from rotating.
5. Wipe clean the inside of the hole for the axle seals (1/-03/02) on the end shield (1/13).
6. In this hole of the end shield place the washer (1/-03/00) with its flange (edge) facing
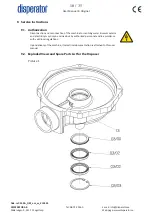
downwards towards the motor, see exploded view, picture No.1 in section 9.2.
7. Grease the same hole of end-shield with special grease (2/04).
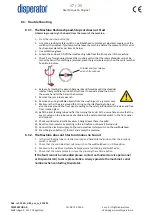
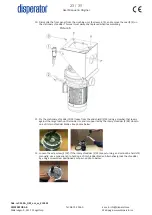
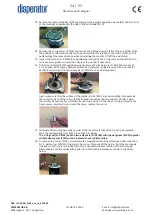
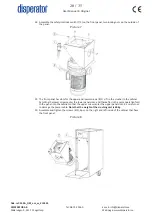
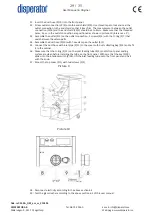
8. To avoid damaging the seals (1/-03/02, 2 pcs.) press each seal one at the time into position using
a tool that has the same outer diameter as these seals. The seals shall be placed with the groove
and stainless spring upwards towards the washer (1/-03/00).
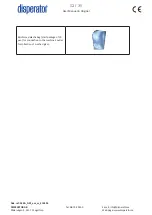
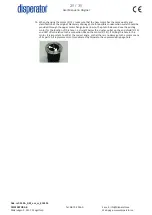
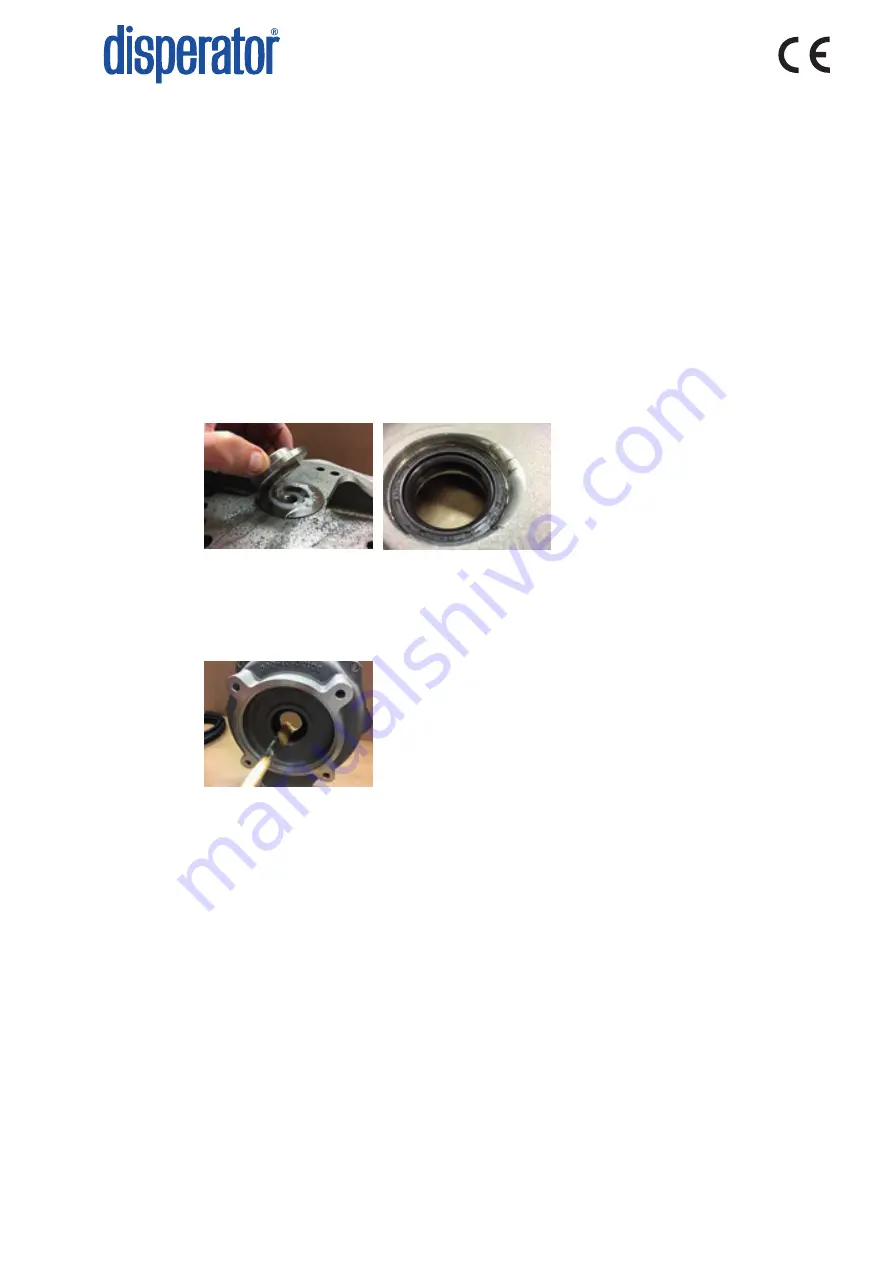
Both photos show the end shield (1/13 with the mounted seals, 2pcs.) from its lower side which will face the motor.
9. The seals are fixated by fitting the locking ring (1/-03/03) into the groove in the end shield (1/13).
Tap on this ring to ensure that it is seated properly in the groove in the end shield.
10. With a clean and soft putty knife fill the grooves along the sealing lips in the axle seals (1/-03/02)
with special grease (2/04). Be absolutely sure no dirt or particles happen to fall into this greasing.
11. With a clean soft cloth lubricate a thin layer of special grease (2/04) on the carrier (2/18).
12. Fit the end shield (1/13) with the outlet in the right direction, i.e. 180° displaced from the motor
power cable connection box
. Take great care so that the lips on the axle seals
(1/-03/02)
not
are
damaged. Secure the end shield with tightening torque 81 Nm on the four screws (2/23).
13. Grease the sealing lip of the V-ring seal (2/-03/01) and its washer (1/-03/00) using special grease
(2/04). Fit the V-ring seal over the carrier (2/18) with its seal lip against the washer (1/-03/00).
14. Insert a small click of special grease (2/04) into the keyway of the carrier and push on the key
(2/10).
15. Wipe clean the axle hole in the rotary shredder (2/02). Also make sure that the mating surfaces
on the end shield (2/13) and the stationary shredder (2/01) are clean.
16. Carefully fit the rotary shredder (2/02) on the carrier (2/18).
17. Wipe the carrier (2/18) clean from excess grease.
Содержание EXCELLENT 550A-GKF Series
Страница 2: ......

