


3 Configurations on Web Interface
SBC1000 Session Border Controller
Copyright©2011-2018 Dinstar
11
3
Configurations on Web Interface
3.1
How to Log in Web Interface
Preparations for Login
SBC1000 has five network ports, namely the gigabit network ports for services (from GE0 to GE3) and the gigabit
network port for management (Admin). It is advised to connect GE0/GE1/GE2/GE3 to the IP network.
The default IP address of the ‘Admin’ port is 192.168.11.1, while those of GE0, GE1, GE2 and GE3 are 192.168.12.1,
192.168.13.1, 192.168.14.1 and 192.168.15.1 respectively.
First Use
At the first time that the SBC1000 device is put in use, please connect the device’s Admin port to a PC by using a
network cable, and then modify the IP address of the PC to make it at the same network segment with of the default
IP address of the Admin port. The format of PC IP address is 192.168.11.XXX, since the default IP of Admin port
is 192.168.11.1
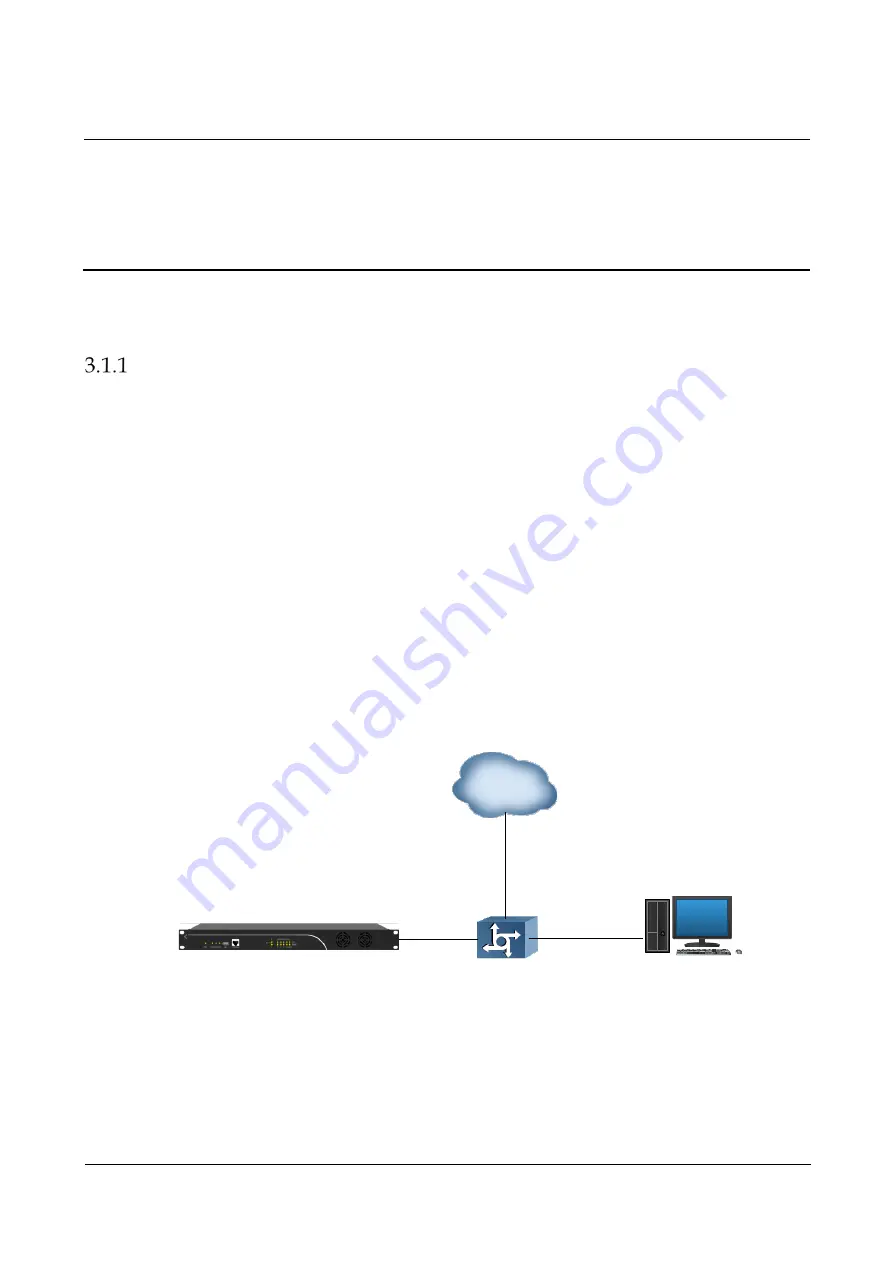
Daily Use
Connect the service port (GE0/GE1/GE2/GE3) of SBC1000 to a 1000Mbps or 10/100mbps switch.
If SBC1000 is connected to a 1000Mbps switch, the link indicators on the front panel turn green and flash, while
the speed indicators turn yellow.
If SBC1000 is connected to a 10/100Mbps switch, the link indicators on the front panel turn green and flash, while
the speed indicators remain dull.
SBC1000
Switch
PC
Internet


