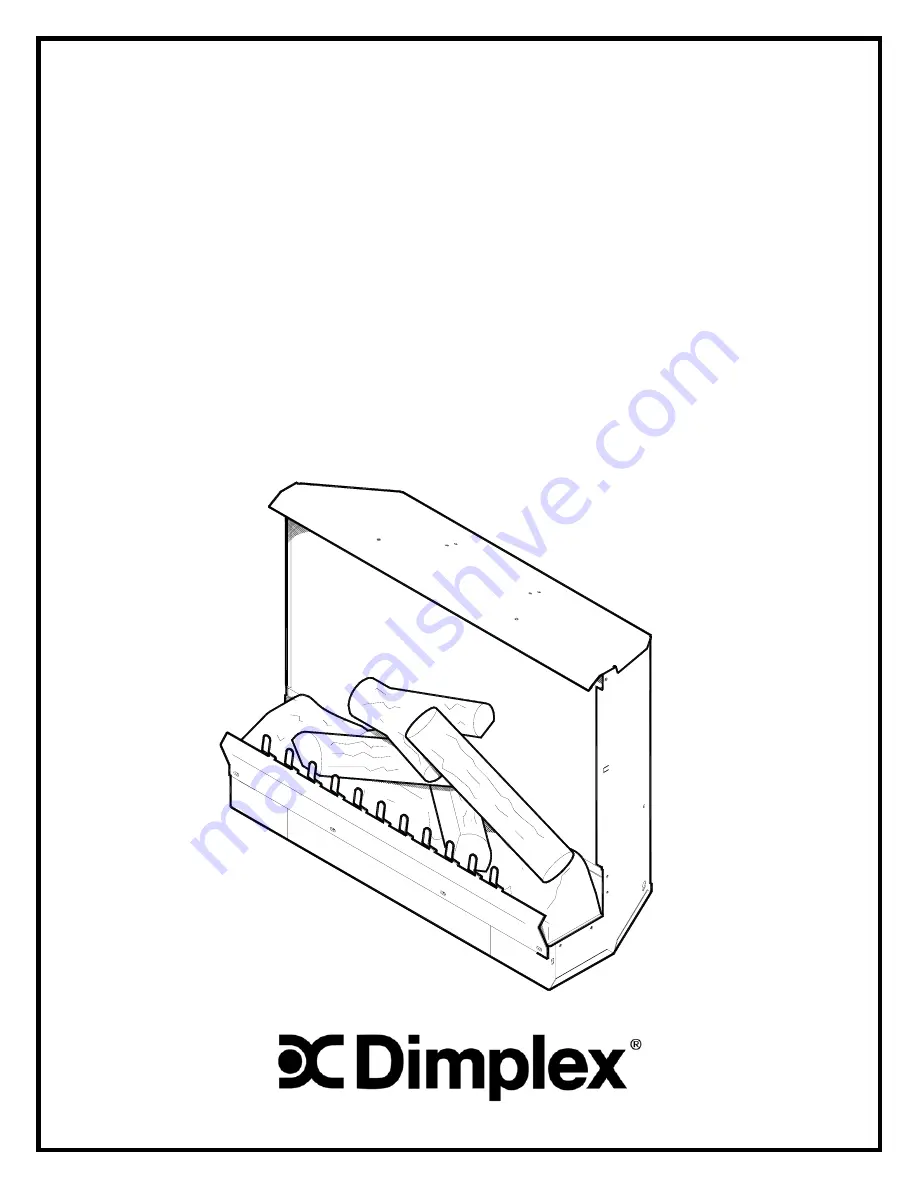
PARTS AND SERVICE MANUAL
FOR THE 23” INSERT FIREPLACE
MODEL NUMBER:
HFPI9280 DFPI2311
Страница 1: ...PARTS AND SERVICE MANUAL FOR THE 23 INSERT FIREPLACE MODEL NUMBER HFPI9280 DFPI2311...
Страница 2: ...CS PAGE 7 LIGHT BULB REPLACEMENT PAGE 8 MANUAL CONTROL ON OFF SWITCH REPLACEMENT PAGE 9 FLAME MOTOR FLAME ROD REPLACEMENT PAGE 10 POWER CORD REPLACEMENT PAGE 12 HEATER ASSEMBLY REPLACEMENT PAGE 13 REM...
Страница 3: ...the minute display will flash 8 Use the up and down buttons to set the minute 9 Press the clock button again and the 0 F or 0 C display will flash 10 Use the up and down buttons to select the remote t...
Страница 4: ...et by pressing the TIMER button and using the DOWN button until the timer display reads press the TIMER button once to set the timer 6 Press the AUTO OFF button to turn on the heater 7 The heater will...
Страница 5: ...be changed on the remote To change code 1 Remove the battery cover on the back of the remote control 2 Slide the four small switches to any configuration other than the factory set code 3 Remove the b...
Страница 6: ...the upper corner of the unit 2 To operate press the switch once to turn the unit on A red light will illuminate to indicate the power is on Press the switch again to turn the unit off Note When the ma...
Страница 7: ...5 HFPI9280 DFPI2311...
Страница 8: ...MADE IN CANADA REPLACEMENT PART REPLACEMENT PART NO 1 LOG SET 0438200200RP 2 FLICKER MOTOR 2000140500RP 3 REFLECTOR ASSEMBY 5900080600RP 4 LAMPHOLDER 2500140100RP 5 BULB 60W 120V 4200020100RP 6 MIRRO...
Страница 9: ...7 HFPI9280 DFPI2311 WIRING DIAGRAM...
Страница 10: ...or candelabra bulbs with an E 12 small socket base 60 watt rating Example GE 60BC or Philips 60CTC Tools required Slot screw driver 1 Remove the fireplace trim 2 With a slot screw driver remove the t...
Страница 11: ...rom the opening 2 Unscrew the screws located in the middle of the top and the two screws at the back of the top 3 Remove the top being careful not to damage any of the attached wiring 4 Disconnect the...
Страница 12: ...ont glass by pulling it out of the slots being careful not to bump or drop it 8 Locate the flame motor and flame rod assembly remove the motor mounting screws with a short handled screw driver 9 With...
Страница 13: ...to avoid accidental burning of skin Disconnect power before attempting any maintenance or cleaning to reduce the risk of electric shock or damage to persons TO REPLACE FLAME MOTOR FLAME ROD 14 Install...
Страница 14: ...top left hand and right hand sides 5 Remove the screws from the middle of the back panel 6 Gently lift the inner panel up just enough to gain access to the front glass 7 Locate and remove the front g...
Страница 15: ...rim from the unit and remove it from the opening 2 Unscrew the screws located in the middle of the top and the two screws at the back of the top 3 Remove the top being careful not to damage any of the...
Страница 16: ...e opening 2 Unscrew the screws located in the middle of the top and the two screws at the back of the top 3 Remove the top being careful not to damage any of the attached wiring 4 Locate the remote co...
Страница 17: ...opening 2 Unscrew the screws located in the middle of the top and the two screws at the back of the top 3 Remove the top being careful not to damage any of the attached wiring 4 Locate and remove the...