WebColour - Web Based LED Control
User Manual
7.0 - 23 November 2020
Page 4 of 25
+617 3899 1267
Installation
Quick Start Guide
1.
Connect the Ethernet port of the WebColour to your home/business network
2.
Connect the load. Either
a.
For the PWM version connect the LED strips or fittings to be driven to the PWM outputs.
Do not exceed the individual or total maximum currents; or
b.
Connect the DMX output from the WebColour to the DMX input of a DMX receiver with
its base address set to 1.
3.
Connect 12 -24VDC to the power input. Note that for the PWM version the input voltage must
match the voltage requirements of the LED strips or fittings that have been connected.
4.
Apply power to the unit. Wait for the Ethernet Connectivity LED to be lit.
5.
On a PC connected to the same network, open your chosen web browser and enter
in the address bar (the entire
address is needed, do not skip the http:// part).
Note that if using a system that is not NETBIOS
enabled, you will need to determine the IP
address of the unit.
6.
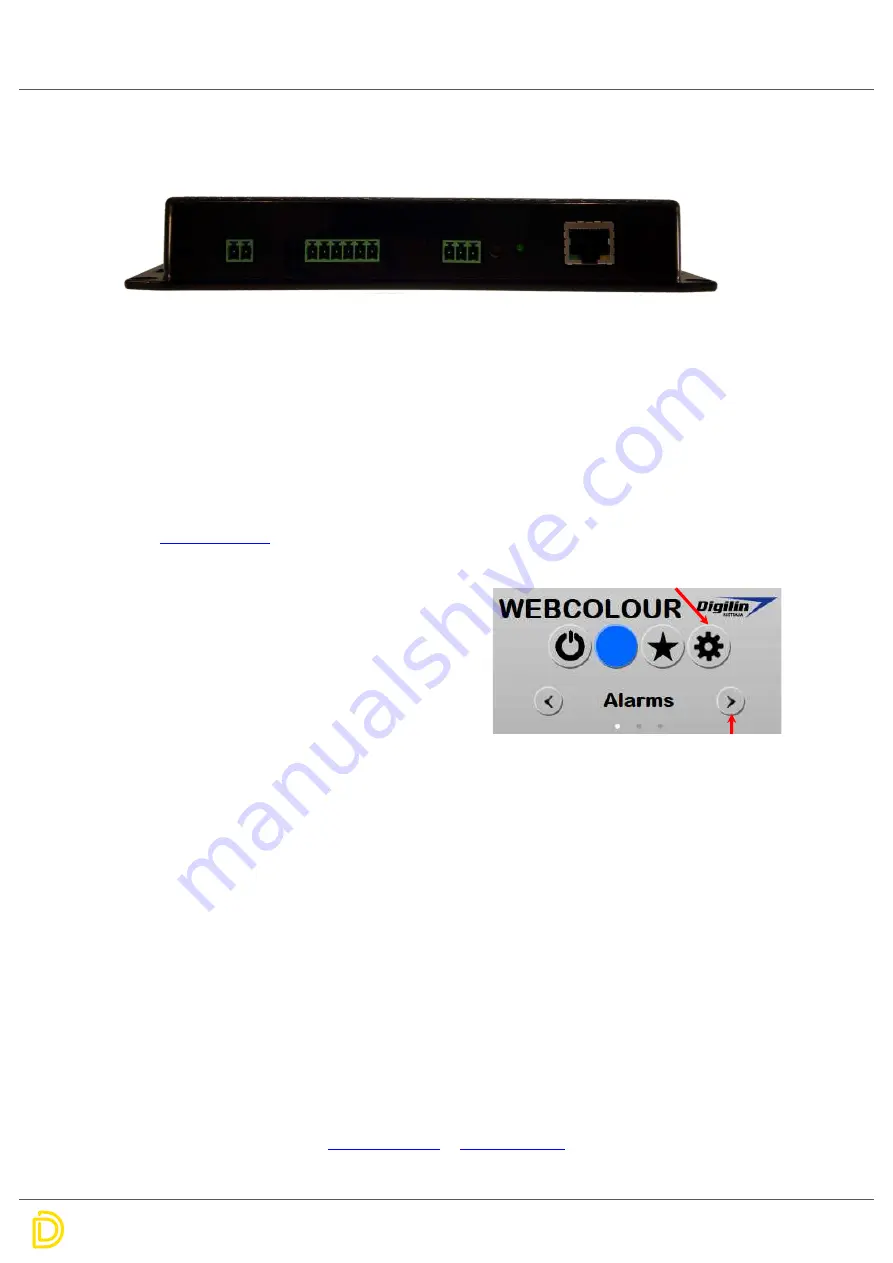
Click on the configuration button
7.
Click the right arrow once to bring up the clock
settings. Make changes if required and save
changes.
a.
NTP stands for Network Time Protocol.
This allows the WebColour to set it’s time
from an internet source. It is only necessary to disable this if the WebColour will not have
a permanent internet connection.
8.
Click the right arrow again to bring up the System settings.
a.
Enter a unit name. This should a short descriptive name to help identify it (particularly if
you have more than 1 WebColour on a network). Names can be letters and numbers only.
b.
Select a power up state.
c.
At this point it is recommended to disable DHCP and set a static IP address. This allows for
easier access for mobile devices (which are not NETBIOS enabled). Normally, to do this
you will only need to change the last number of the IP address to something outside the
range of your DHCP server lease range. For most home/small office networks, the
modem/router acts as the DHCP server.
d.
Select the Output mode, either RGB or RGBW.
e.
Save the changes.
9.
Re-boot the system. It can now be accessed using the new Unit Name you entered or using the
static IP address, i.e. if you set the Unit name to DeckLights and a static IP address to 192.168.0.8
then it can be accessed by
or
Speed Activity
LAN
Power
LED
Factory
Reset
DMX
Shield D+ D-
PWM Outputs
V+ V+ 1 2 3 4
Power
V+ Gnd
Configuration
button
Right Arrow


