


Chapter 30: Automation
725
7
Stop playback.
The current values of all write-enabled automa-
tion at that point are written to the correspond-
ing area of the track/selection.
Write to Start, End or All and Trim Mode
While in Trim mode, it is also possible to write
trim delta values for track volume and send lev-
els to the start, end or all of a track or Edit selec-
tion.
To write current trim delta values to the start, end,
or all of a track or selection:
1
Choose Window > Automation.
2
Make sure the automation type (track volume
or send level) is write-enabled.
3
In the Mix or Edit window, click the Automa-
tion Mode selector of the track you want to trim
automation, and select Trim. The track Volume
and Send Level faders turn yellow.
4
Do one of the following:
• Click in a track at an insertion point.
– or –
• Drag with the Selector tool to select a por-
tion of the track.
5
Click Play to begin playback.
6
When you reach a point in the track or selec-
tion that contains the trim setting (delta value)
you want to apply, click the Write Automation
to Start, All, or End button in the Automation
window.
7
Stop playback.
The relative changes to the track volume and
send levels at that point are written to the corre-
sponding area of the track/selection.
Writing Automation to the Start,
End or All of a Track or Selection
on Stop
The Automation window provides options for
writing automation on any automation playlist
(including Trim playlists) after a valid automa-
tion pass has been performed.
The Write Automation to Start, End or All
modes can be configured to disable or remain
enabled after a valid automation pass.
See “Requirements for Standard Write Auto-
mation Commands” on page 724.
To configure Write on Stop modes to disable after
an automation pass:
1
Choose Window > Automation.
2
Click to enable one of the Write On Stop
modes (Start, All, End).
The enabled Write on Stop arrow appears in
blue.
To configure Write on Stop modes to remain
enabled after an automation pass:
1
Choose Window > Automation.
2
Alt-click (Windows) or Option-click (Mac) one
of the Write On Stop buttons (Start, All or End)
to enable the Write On Stop mode.
The enabled Write on Stop arrow appears in red.
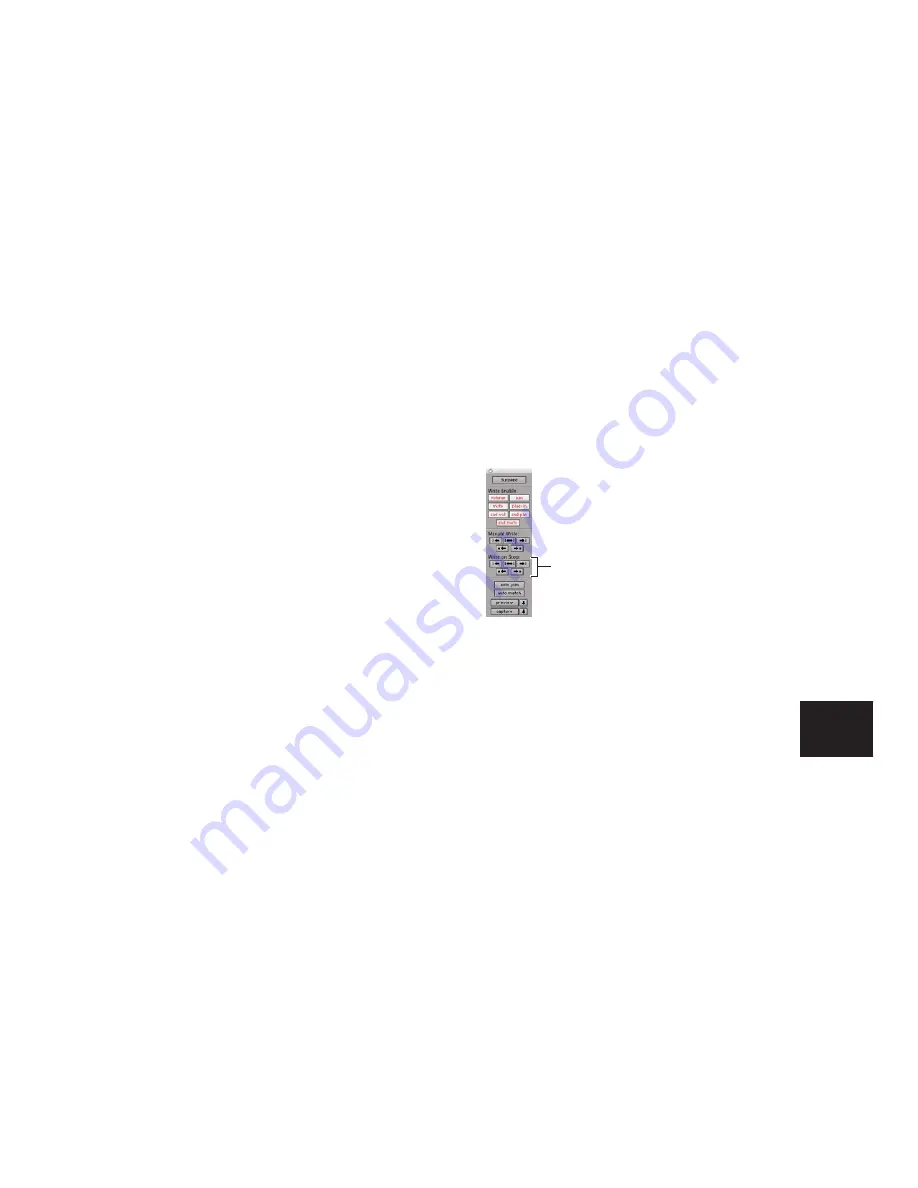
Write On Stop controls in the Automation window
Automation Write On Stop buttons
Содержание Pro Tools
Страница 1: ...Pro Tools Reference Guide Version 7 3 ...
Страница 15: ...1 Part I Introduction ...
Страница 16: ...2 ...
Страница 33: ...19 Part II System Configuration ...
Страница 34: ...20 ...
Страница 44: ...Pro Tools Reference Guide 30 ...
Страница 94: ...Pro Tools Reference Guide 80 ...
Страница 95: ...81 Part III Sessions Tracks ...
Страница 96: ...82 ...
Страница 108: ...Pro Tools Reference Guide 94 ...
Страница 130: ...Pro Tools Reference Guide 116 ...
Страница 269: ...255 Part IV Recording ...
Страница 270: ...256 ...
Страница 310: ...Pro Tools Reference Guide 296 ...
Страница 345: ...331 Part V Editing ...
Страница 346: ...332 ...
Страница 402: ...Pro Tools Reference Guide 388 ...
Страница 496: ...Pro Tools Reference Guide 482 ...
Страница 548: ...Pro Tools Reference Guide 534 ...
Страница 571: ...557 Part VI MIDI Editing ...
Страница 572: ...558 ...
Страница 596: ...Pro Tools Reference Guide 582 ...
Страница 637: ...623 Part VII Mixing ...
Страница 638: ...624 ...
Страница 702: ...Pro Tools Reference Guide 688 ...
Страница 771: ...757 Part VIII Video Sync Surround ...
Страница 772: ...758 ...
Страница 792: ...Pro Tools Reference Guide 778 ...
Страница 806: ...Pro Tools Reference Guide 792 ...
Страница 856: ...Pro Tools Reference Guide 842 ...


