


Chapter 19: Playing and Selecting Track Material
409
To audition a selection end point:
■
Press Alt+Right Arrow (Windows) or Op-
tion+Right Arrow (Mac).
When auditioning the end of a selection, play-
back begins before the end point by the pre-roll
amount.
To audition a selection end point with post-roll:
■
Press Alt+Right Arrow (Windows) or
Right Arrow (Mac).
Looping Playback
When Loop Playback is enabled, the selected
track range repeats on playback. If there is no se-
lection, playback occurs normally from the cur-
rent Cursor location.
Looping playback is a useful way to check the
rhythmic continuity of a selection when work-
ing with musical material. If you’re working
with one-bar selections, you can loop playback
to see if the material loops cleanly. If it seems to
skip, you should then adjust the length of the
selection until it works “musically” within the
context of the playlist and the other tracks.
To loop playback of a selection:
1
Enable Link Timeline and Edit Selection (Op-
tions > Link Timeline and Edit Selection).
2
With the Selector tool, select the track range
you want to loop.
3
Enable Loop Playback by doing one of the fol-
lowing:
• Select Options > Loop Playback.
• Right-click the Play button in the Transport
window and select Loop from the pop-up
menu.
• Start-click (Windows) or Control-click
(Mac) the Play button in the Transport win-
dow.
• Press Shift+L (Windows) or Com-
mand+Shift+L (Mac).
• With the Numeric Keypad mode set to
Transport, press 4 on the numeric keypad.
When enabled, a loop symbol appears in the
Play button in the Transport window.
4
Click Play in the Transport window.
Playback begins from the pre-roll point (if en-
abled) and continues to the selection’s end
point, where it loops back to the selection’s start
point.
5
Click Stop in the Transport window to stop
playback.
Loop Playback and Audio Recording
When Loop Playback is enabled, Pro Tools will
not loop when attempting to record audio
tracks with QuickPunch, Destructive Record, or
Nondestructive Record mode.
To loop record audio tracks in Pro Tools, you
must enable Loop Record mode (see “Loop Re-
cording Audio” on page 284).
A selection must be at least 500 ms in
length for it to loop on playback.
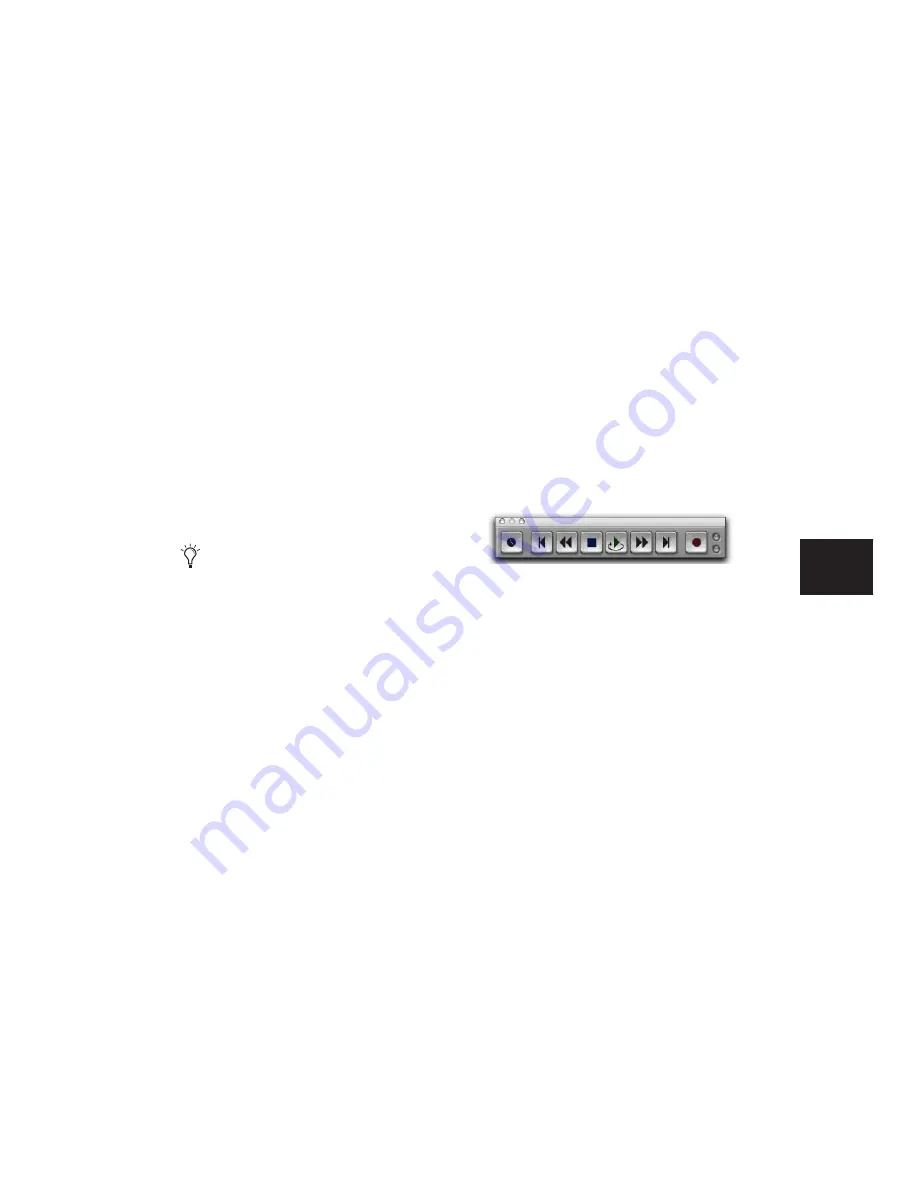
Loop Playback enabled
Содержание Pro Tools
Страница 1: ...Pro Tools Reference Guide Version 7 3 ...
Страница 15: ...1 Part I Introduction ...
Страница 16: ...2 ...
Страница 33: ...19 Part II System Configuration ...
Страница 34: ...20 ...
Страница 44: ...Pro Tools Reference Guide 30 ...
Страница 94: ...Pro Tools Reference Guide 80 ...
Страница 95: ...81 Part III Sessions Tracks ...
Страница 96: ...82 ...
Страница 108: ...Pro Tools Reference Guide 94 ...
Страница 130: ...Pro Tools Reference Guide 116 ...
Страница 269: ...255 Part IV Recording ...
Страница 270: ...256 ...
Страница 310: ...Pro Tools Reference Guide 296 ...
Страница 345: ...331 Part V Editing ...
Страница 346: ...332 ...
Страница 402: ...Pro Tools Reference Guide 388 ...
Страница 496: ...Pro Tools Reference Guide 482 ...
Страница 548: ...Pro Tools Reference Guide 534 ...
Страница 571: ...557 Part VI MIDI Editing ...
Страница 572: ...558 ...
Страница 596: ...Pro Tools Reference Guide 582 ...
Страница 637: ...623 Part VII Mixing ...
Страница 638: ...624 ...
Страница 702: ...Pro Tools Reference Guide 688 ...
Страница 771: ...757 Part VIII Video Sync Surround ...
Страница 772: ...758 ...
Страница 792: ...Pro Tools Reference Guide 778 ...
Страница 806: ...Pro Tools Reference Guide 792 ...
Страница 856: ...Pro Tools Reference Guide 842 ...


