


Chapter 17: Advanced Punch Recording
315
If the session has plenty of available voices, you
should have no trouble using QuickPunch with
tracks using Dynamically Allocated Voicing.
However, if you are running out of voices, and
want to ensure that a track is heard when re-
cording with QuickPunch, assign it a voice.
QuickPunch and Dynamically Allocated
Voicing
(Pro Tools HD Only)
When using QuickPunch with a Pro Tools|HD
system configured for its maximum number of
voices, make sure to set the voice assignment for
each audio track to Dyn (for Dynamically Allo-
cated Voicing). This ensures that Pro Tools han-
dles the distribution of voices between each set
of voices automatically. For example, for a 192-
voice configured Pro Tools|HD Accel system,
Dynamically Allocated Voicing distributes
voices evenly across four sets of voices (1–48,
49–96, 97–144, and 145–192).
If you do not use Dynamically Allocated Voic-
ing, the voices must be evenly distributed be-
tween all DSP engines. For example, to use
QuickPunch on 32 tracks without Dynamically
Allocated Voicing, tracks 1–16 must be assigned
to voices 1–16 and tracks 17–32 must be as-
signed to voices 33–48.
QuickPunch Guidelines for
Pro Tools LE
For Pro Tools LE systems, up to 16 mono, or 8
stereo audio tracks can be simultaneously re-
corded with QuickPunch (see “Pro Tools LE Sys-
tem Capabilities” on page 26).
For Pro Tools LE with DV Toolkit 2 or Music Pro-
duction Toolkit, up to 24 mono or stereo audio
tracks can be simultaneously recorded with
QuickPunch. On these systems, the combina-
tion of audio tracks and QuickPunch cannot be
greater than 48.
Recording with QuickPunch
To punch on-the-fly with QuickPunch:
1
With Pro Tools HD, make sure that Delay
Compensation is deselected in the Options
menu.
2
Select Options > QuickPunch. When Quick-
Punch is enabled, a “P” appears in the Record
button in the Transport.
3
To change the automatic crossfade used by
QuickPunch, configure QuickPunch Crossfade
Length option in the Editing Preferences page
(see “QuickPunch/TrackPunch Crossfade
Length” on page 314).
4
Record enable the tracks on which you want
to punch in. Make sure there are enough avail-
able voices on your system.
QuickPunch uses CPU processing power,
and may reduce the number of tracks and
plug-ins you can use.
Digidesign recommends recording without
Delay Compensation. For more informa-
tion, see “Delay Compensation” on
page 656.
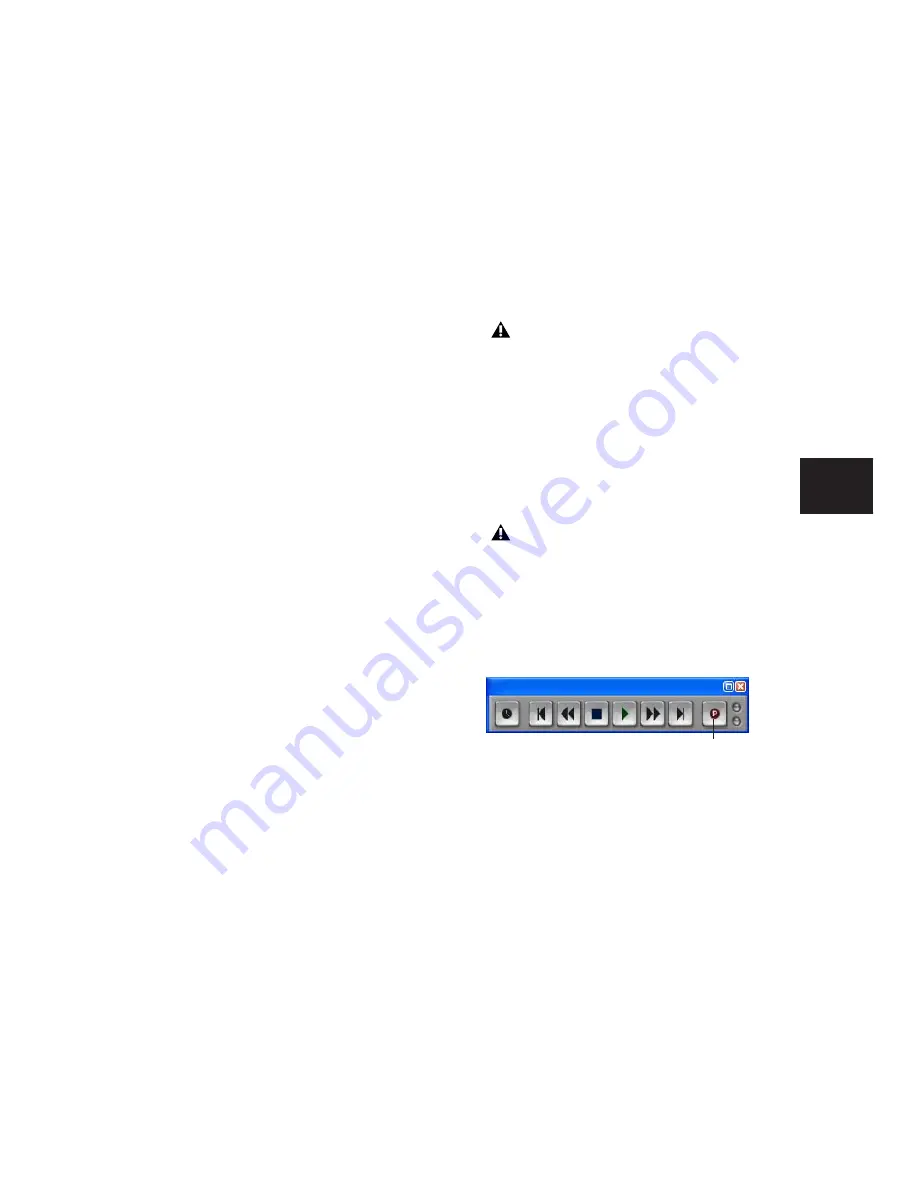
QuickPunch enabled
QuickPunch enabled
Содержание Pro Tools
Страница 1: ...Pro Tools Reference Guide Version 7 3 ...
Страница 15: ...1 Part I Introduction ...
Страница 16: ...2 ...
Страница 33: ...19 Part II System Configuration ...
Страница 34: ...20 ...
Страница 44: ...Pro Tools Reference Guide 30 ...
Страница 94: ...Pro Tools Reference Guide 80 ...
Страница 95: ...81 Part III Sessions Tracks ...
Страница 96: ...82 ...
Страница 108: ...Pro Tools Reference Guide 94 ...
Страница 130: ...Pro Tools Reference Guide 116 ...
Страница 269: ...255 Part IV Recording ...
Страница 270: ...256 ...
Страница 310: ...Pro Tools Reference Guide 296 ...
Страница 345: ...331 Part V Editing ...
Страница 346: ...332 ...
Страница 402: ...Pro Tools Reference Guide 388 ...
Страница 496: ...Pro Tools Reference Guide 482 ...
Страница 548: ...Pro Tools Reference Guide 534 ...
Страница 571: ...557 Part VI MIDI Editing ...
Страница 572: ...558 ...
Страница 596: ...Pro Tools Reference Guide 582 ...
Страница 637: ...623 Part VII Mixing ...
Страница 638: ...624 ...
Страница 702: ...Pro Tools Reference Guide 688 ...
Страница 771: ...757 Part VIII Video Sync Surround ...
Страница 772: ...758 ...
Страница 792: ...Pro Tools Reference Guide 778 ...
Страница 806: ...Pro Tools Reference Guide 792 ...
Страница 856: ...Pro Tools Reference Guide 842 ...


