DISPLAY PANEL
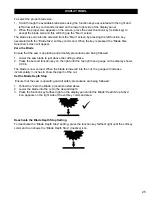
To select the proper blade size:
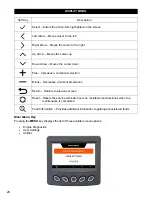
1. Scroll through the available blade sizes using the function keys associated with the right and
left arrow soft key commands located on the lower right side of the display panel.
2. When the proper size appears on the screen, press the select function key (middle key) to
accept the blade size and this will bring up the “Main” screen.
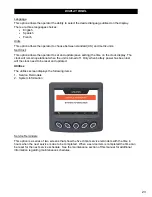
The blade size can also be selected from the “Main” screen by pressing the left function key
associated with the “Blade Size” soft key command. When the key is pressed the “Blade Size
Selection” screen will appear.
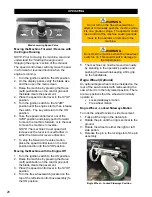
Zero the Blade
Ensure that the saw is operating and all safety precautions are being followed.
1. Lower the saw blade to just above the cutting surface.
2. Press the second function key on the right until the top right hand gauge on the display shows
0.00 in.
The blade is now zeroed. When the blade is lowered into the cut, the gauge will increase
incrementally in inches to show the depth of the cut.
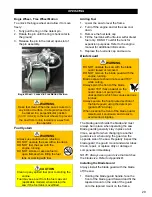
Set the Blade Depth Stop
Ensure that the saw is operating and all safety precautions are being followed.
1. Follow the “Zero the Blade: procedure listed above.
2. Lower the blade into the cut to the desired depth.
3. Press the function key farthest right on the display panel until the Blade “Depth Stop Active”
icon appears on the right side of the soft key command area.
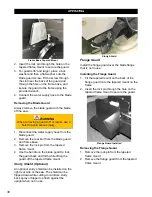
Deactivate the Blade Depth Stop Setting
To deactivate the “Blade Depth Stop” setting, press the function key farthest right until the soft key
command icon shows the “Blade Depth Stop” (Inactive) icon.
25
Содержание CC5049D
Страница 1: ...CORE CUT OPERATOR S MANUAL CC5049D Rev 21 00 Part 1802721...
Страница 2: ......
Страница 8: ...INTRODUCTION CC5049D Controls 8...
Страница 11: ...INTRODUCTION CC5049D Specifications 11...
Страница 58: ...REFERENCES 58...
Страница 59: ...REFERENCES 59...
Страница 60: ...REFERENCES 60...
Страница 67: ......

