


30
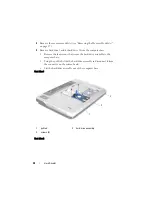
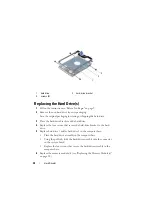
Hard Drive(s)
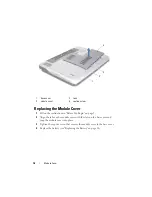
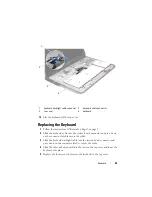
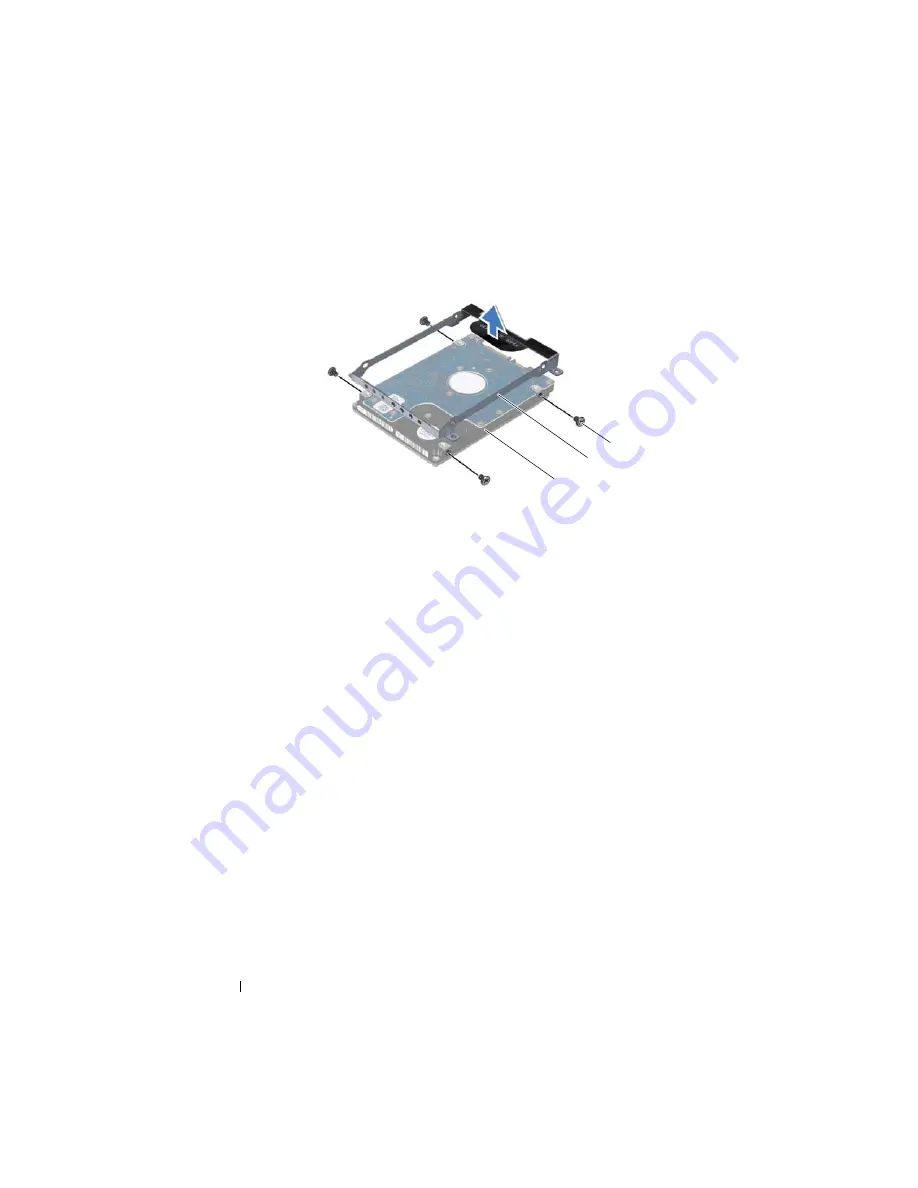
Replacing the Hard Drive(s)
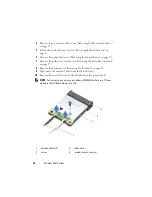
1
Follow the instructions in "Before You Begin" on page 9.
2
Remove the new hard drive from its packaging.
Save the original packaging for storing or shipping the hard drive.
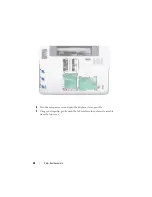
3
Place the hard-drive bracket on the hard drive.
4
Replace the four screws that secure the hard-drive bracket to the hard
drive.
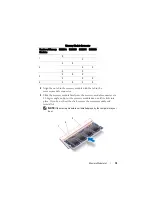
5
Replace hard drive 1 and/or hard drive 2 in the computer base:
• Place the hard-drive assembly in the computer base.
• Using the pull-tab, slide the hard-drive assembly into the connector
on the system board.
• Replace the four screws that secure the hard-drive assembly to the
computer base.
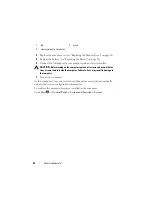
6
Replace the memory module(s) (see "Replacing the Memory Module(s)"
1
hard drive
2
hard-drive bracket
3
screws (4)
1
2
3
Содержание XPS L701X
Страница 1: ...Dell XPS L701X Service Manual Regulatory model P09E series Regulatory type P09E001 ...
Страница 12: ...12 Before You Begin ...
Страница 26: ...26 Wireless Mini Card s ...
Страница 32: ...32 Hard Drive s ...
Страница 35: ...Optical Drive 35 ...
Страница 36: ...36 Optical Drive ...
Страница 42: ...42 Palm Rest Assembly ...
Страница 50: ...50 Power Button Board ...
Страница 54: ...54 Coin Cell Battery ...
Страница 58: ...58 Internal Card With Bluetooth Wireless Technology ...
Страница 72: ...72 Display ...
Страница 78: ...78 Camera Module ...
Страница 81: ...Top Cover 81 16 Disconnect the subwoofer cable from the system board connector ...
Страница 86: ...86 Top Cover ...
Страница 90: ...90 Subwoofer ...
Страница 94: ...94 AC Adapter Connector ...
Страница 98: ...98 Fan ...
Страница 99: ...Fan 99 ...
Страница 100: ...100 Fan ...
Страница 104: ...104 Heat Sink ...
Страница 105: ...Heat Sink 105 ...
Страница 106: ...106 Heat Sink ...
Страница 122: ...122 USB Board ...
Страница 128: ...128 System Board ...
Страница 134: ...134 Flashing the BIOS 8 Double click the file icon on the desktop and follow the instructions on the screen ...


