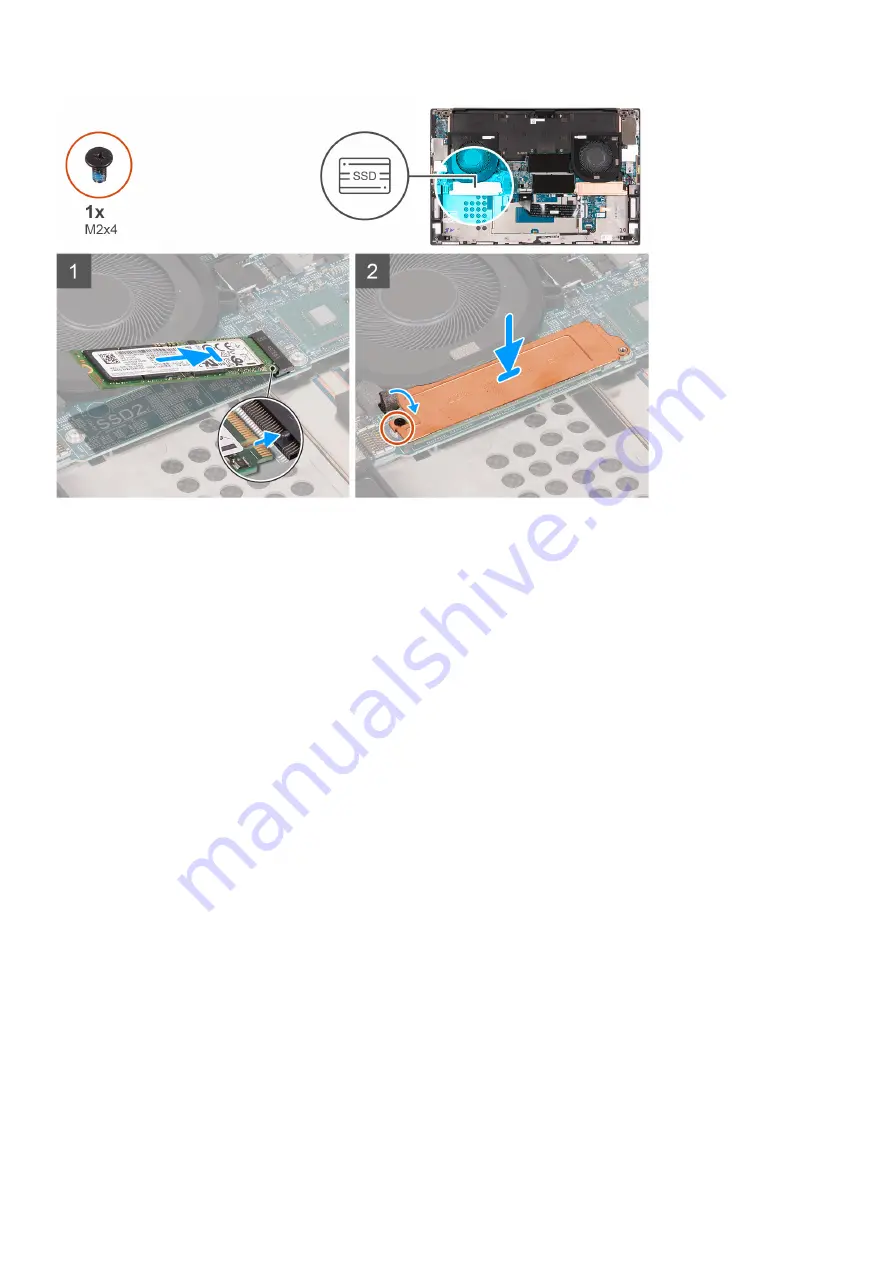
Steps
1. Align the notch on the solid-state drive with the tab on the SSD2 slot.
2. Slide the solid-state drive into the SSD2 slot.
3. Using the alignment post, place the solid-state drive thermal bracket over the solid-state drive.
4. Align the screw hole on the solid-state drive thermal bracket with the screw hole on the system board.
5. Replace the screw (M2x4) that secures the solid-state drive thermal bracket and the solid-state drive to the system board.
Next steps
1. Install the
.
2. Install the
.
3. Follow the procedure in
After working inside your computer
.
Fans
Removing the right fan
Prerequisites
1. Follow the procedure in
Before working inside your computer
.
2. Remove the
About this task
The following image indicates the location of the right fan (FAN1) and provides a visual representation of the removal procedure.
Removing and installing components
25
Содержание XPS 17 9700
Страница 1: ...XPS 17 9700 Service Manual Regulatory Model P92F Regulatory Type P92F001 May 2020 Rev A00 ...
Страница 11: ...Removing and installing components 11 ...
Страница 13: ...Removing and installing components 13 ...
Страница 36: ...36 Removing and installing components ...
Страница 38: ...38 Removing and installing components ...
Страница 44: ...44 Removing and installing components ...


