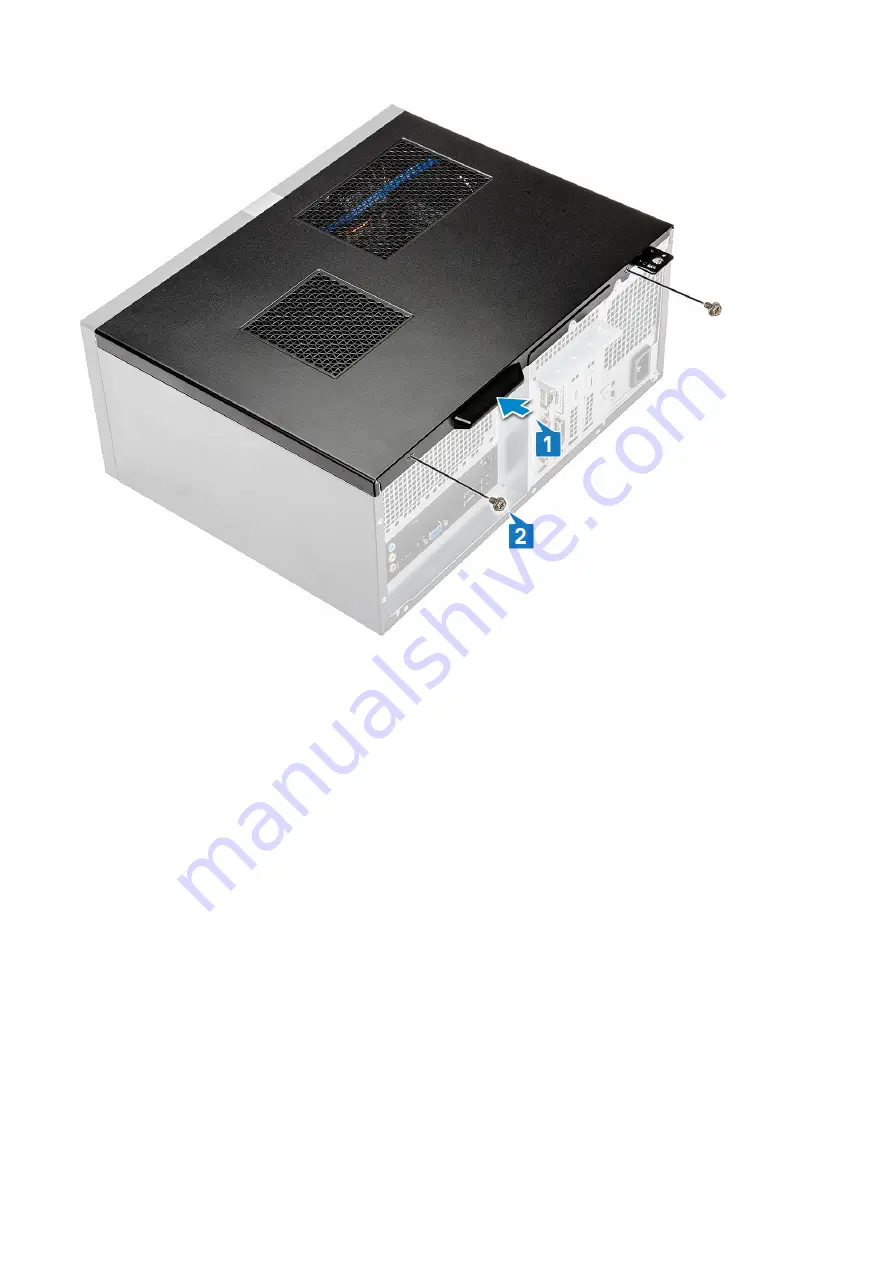
3. Follow the procedure in
After working inside your computer
.
Front Bezel
Removing the front bezel
1. Follow the procedure in
Before working inside your computer
.
2. Remove the
.
3. To remove the bezel:
a) Lift the three latches to release the bezel from the chassis [1].
b) Lift the chassis, rotate and pull the front bezel away from the computer to release the tabs [2].
Removing and installing components
15
Содержание Vostro 3671
Страница 1: ...Dell Vostro 3671 Service Manual Regulatory Model D19M Regulatory Type D19M005 ...
Страница 14: ...2 Tighten the two 6 32x6 35 screws to secure the cover to the computer 2 14 Removing and installing components ...
Страница 16: ...c Lift the chassis and remove the front bezel from the chassis 16 Removing and installing components ...
Страница 18: ...2 Rotate the bezel until the tabs clicks into place 2 18 Removing and installing components ...
Страница 21: ...c Slide and lift the HDD away from the chassis Removing and installing components 21 ...
Страница 27: ...c Slide and lift the HDD away from the chassis Removing and installing components 27 ...
Страница 34: ...c Slide the optical drive assembly out of the computer 34 Removing and installing components ...
Страница 45: ...b Lift the optional card out of the computer Removing and installing components 45 ...
Страница 49: ...b Unroute the PSU cables from the retention clips 1 2 3 Removing and installing components 49 ...
Страница 54: ...3 Route the PSU cables through the retention tabs 1 2 3 54 Removing and installing components ...
Страница 55: ...4 Connect the PSU cables to the connectors on the system board Removing and installing components 55 ...
Страница 57: ...b Lift the cooling shroud away from the computer Removing and installing components 57 ...
Страница 63: ...3 Connect the fan cable to the connector on the system board Removing and installing components 63 ...
Страница 71: ...Removing and installing components 71 ...
Страница 73: ...Removing and installing components 73 ...


