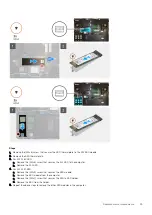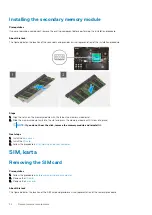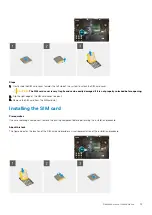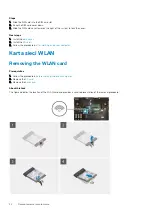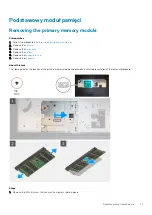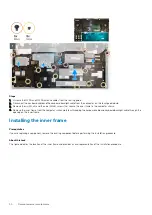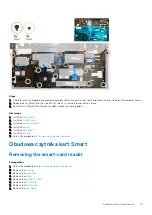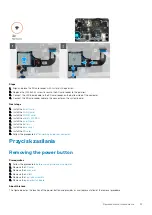
4. Place the memory shield and slide it towards the left side of the computer to cover the memory module.
5. Replace the (M2x3) screw to secure the memory shield to the memory module.
Next steps
1. Install the
.
2. Install the
.
3. Install the
.
4. Install the
.
5. Install the
6. Follow the procedure in
after working inside your computer
.
radiatora
Removing the heat-sink assembly
Prerequisites
1. Follow the procedure in
before working inside your computer
2. Remove the
.
3. Remove the
4. Remove the
.
About this task
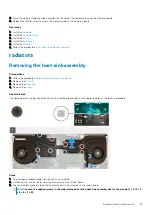
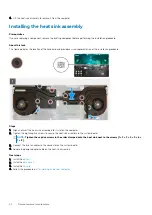
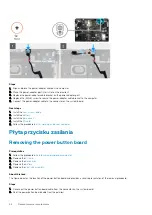
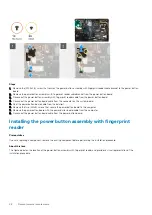
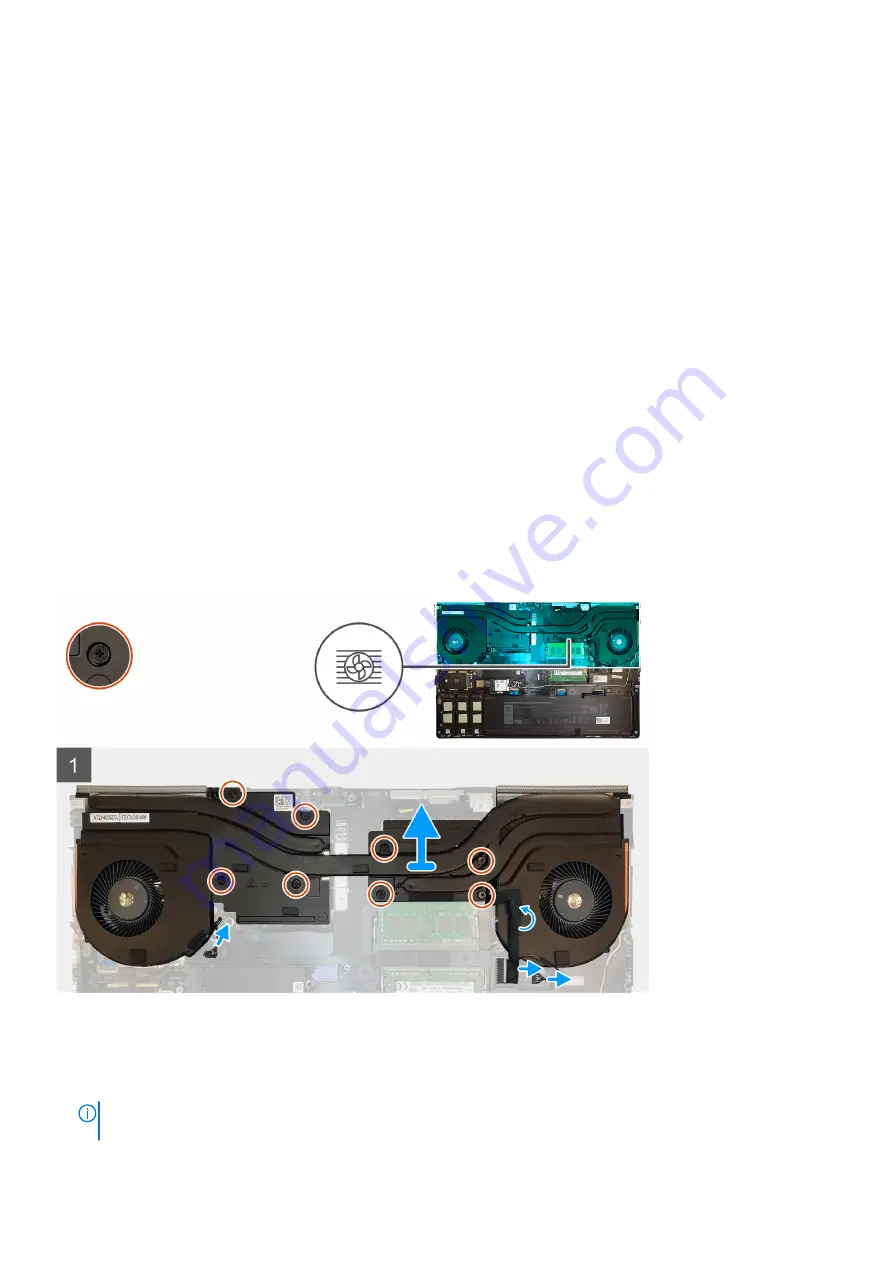
The figure indicates the location of the heat-sink assembly and provides a visual representation of the removal procedure.
Steps
1. Peel the power-adapter cable from the heat-sink assembly.
2. Disconnect the two fan cables from the connectors on the system board.
3. Loosen the eight captive screws that secure the heat-sink assembly to the system board.
NOTE:
Loosen the captive screws in the order stamped onto the heat-sink assembly next to the screws [1 > 2 > 3 > 4
> 5 > 6 > 7 > 8].
Demontowanie i montowanie
43
Содержание Precision 7750
Страница 1: ...Precision 7750 Service Manual Regulatory Model P44E Regulatory Type P44E001 May 2020 Rev A00 ...
Страница 22: ...22 Demontowanie i montowanie ...
Страница 25: ...Demontowanie i montowanie 25 ...
Страница 66: ...66 Demontowanie i montowanie ...
Страница 75: ...Demontowanie i montowanie 75 ...
Страница 77: ...Demontowanie i montowanie 77 ...

