Heatsink assembly
Removing the heatsink assembly
Prerequisites
before working inside your computer
.
2. Remove the
3. Remove the
for systems enabled with 4G LTE.
4. Enter the
.
5. Remove the
.
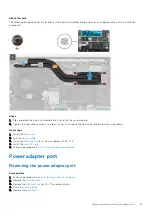
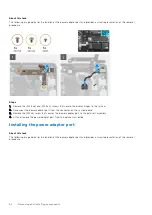
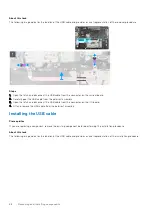
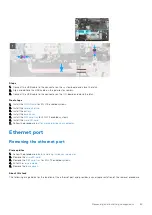
About this task
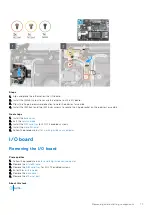
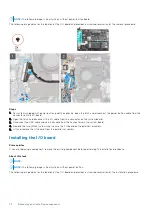
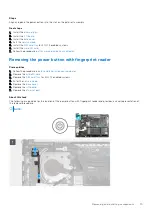
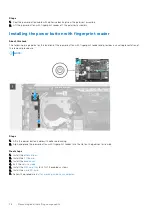
The following images indicate the location of the heatsink assembly and provide a visual representation of the removal
procedure.
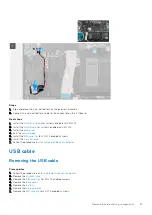
Steps
1. Loosen the four captive screws (in reverse order, 4->3->2->1) that secure the heatsink assembly to the system board.
2. Lift and remove the heatsink assembly from the system board.
Installing the heatsink assembly
Prerequisites
If you are replacing a component, remove the existing component before performing the installation procedure.
62
Removing and installing components
Содержание Inspiron 3420
Страница 13: ...Major components of your system 1 Base cover Removing and installing components 13 ...
Страница 55: ...Removing and installing components 55 ...
Страница 56: ...56 Removing and installing components ...
Страница 58: ...58 Removing and installing components ...
Страница 78: ...78 Removing and installing components ...
Страница 81: ...Removing and installing components 81 ...

