NOTE:
The power-adapter port is secured in place by the left display hinge. There is no screw, tape, or adhesives
securing the power-adapter port to the palm-rest. As a result, technicians should take note of whether the power-
adapter port has fallen out of the system during subsequent removal procedures.
2. Slide the display assembly at an angle and place the display assembly on the palm-rest and keyboard assembly.
3. Gently press down on the display hinges to align the screw holes on the display hinges with the screw holes on the palm-rest
and keyboard assembly.
4. Replace the four screws (M2.5x5) to secure the display hinges to the palm-rest and keyboard assembly.
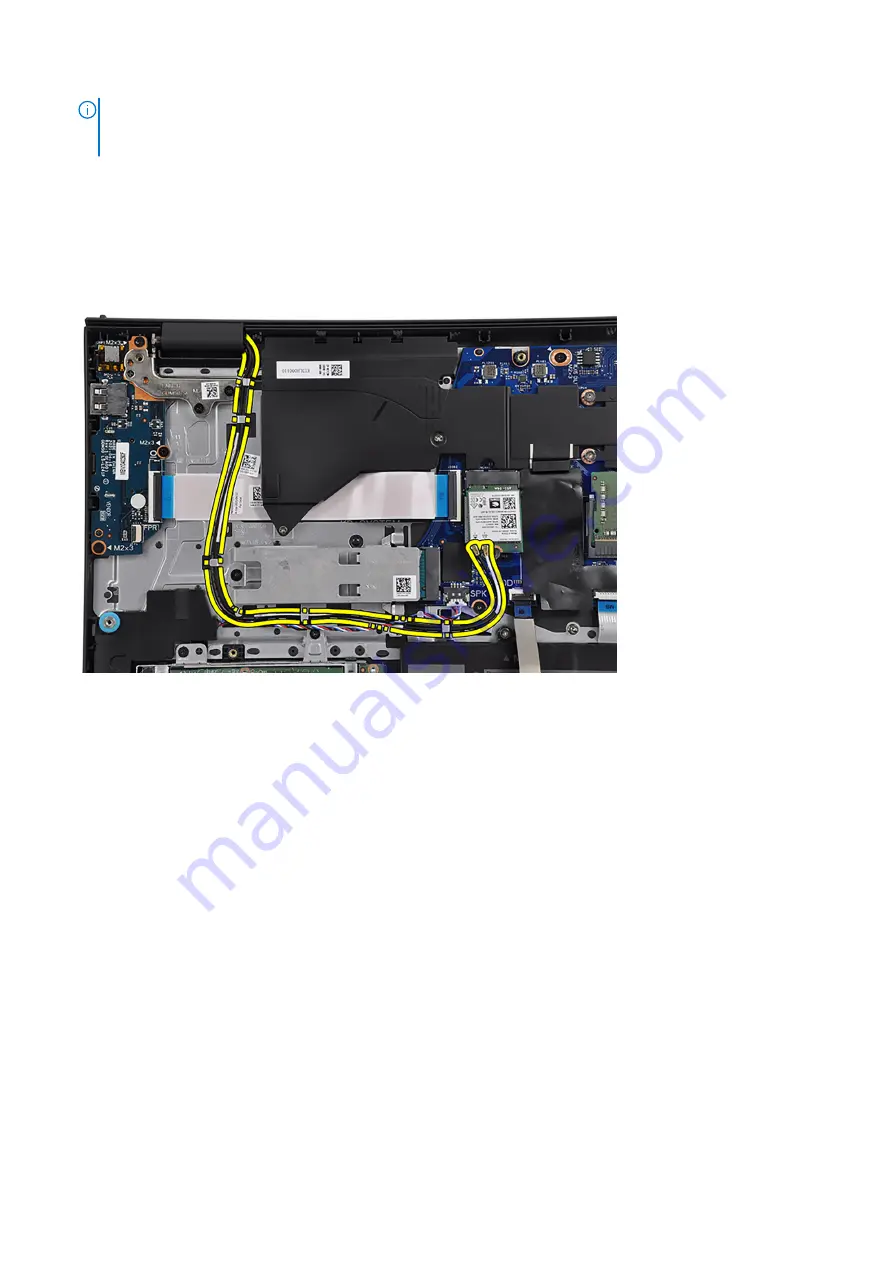
5. Route the speaker cable through the routing guides on the palm-rest and keyboard assembly.
6. Route the WLAN antenna cables into the routing hooks, on the palm-rest and keyboard assembly, and under the speaker
cable.
7. Connect the display cable and speaker cable to the respective connectors on the system board.
Next steps
1. Install the
.
2. Install the
.
3. Install the
After working inside your computer
.
Display hinge caps
Removing the display hinge caps
Prerequisites
Before working inside your computer
.
2. Remove the
.
3. Remove the
.
4. Remove the
.
5. Remove the
.
Removing and installing components
47
Содержание Inspiron 15 3521
Страница 1: ...Inspiron 15 3521 Service Manual Regulatory Model P112F Regulatory Type P112F004 February 2022 Rev A00 ...
Страница 15: ...Removing and installing components 15 ...
Страница 45: ...Removing and installing components 45 ...
Страница 46: ...Steps 1 Place the palm rest and keyboard assembly on a flat surface 46 Removing and installing components ...
Страница 55: ...Removing and installing components 55 ...
Страница 57: ...Removing and installing components 57 ...


