
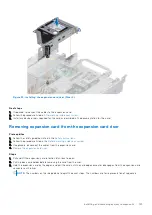
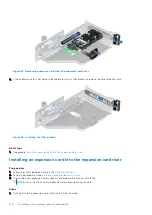
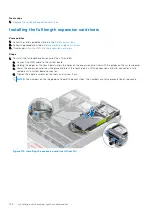
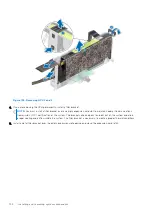
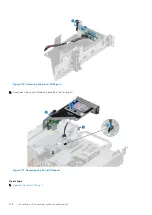

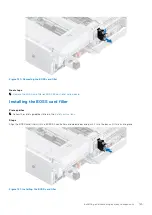
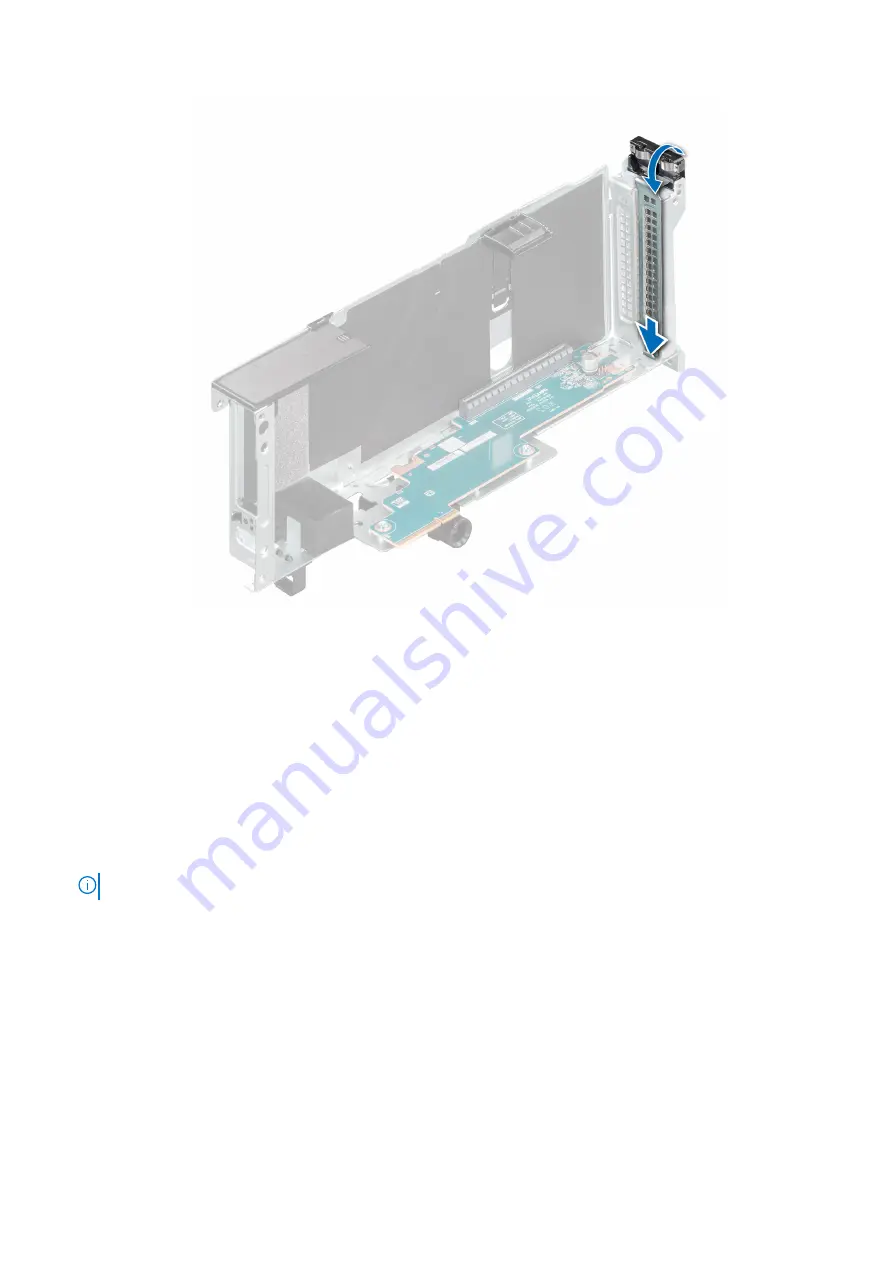
Figure 107. Installing the metal filler bracket
Next steps
1.
.
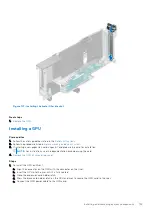
Installing a GPU
Prerequisites
1. Follow the safety guidelines listed in the
.
2. Follow the procedure listed in
Before working inside your system
3. If installing a new expansion card, unpack it and prepare the card for installation.
NOTE:
For instructions, see the documentation accompanying the card.
4.
Remove the GPU air shroud top cover
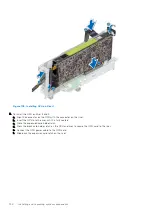
Steps
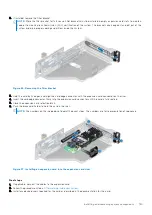
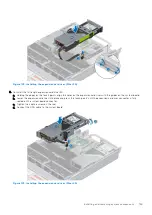
1. To install the GPU on Riser 1:
a. Align the connector on the GPU with the connector on the riser.
b. Insert the GPU into the riser until it is fully seated.
c. Close the expansion card holder latch.
d. Press the black card holder latch on the GPU and riser to secure the GPU card to the riser.
e. Connect the GPU power cable to the GPU card.
Installing and removing system components
133
Содержание E68S
Страница 19: ...Figure 14 Service information System overview 19 ...
Страница 28: ...Cable routing Figure 18 12x 3 5 inch Figure 19 8 x 3 5 inch 28 Installing and removing system components ...
Страница 30: ...Figure 22 24 x 2 5 inch with NVMe Figure 23 16 x 2 5 inch 30 Installing and removing system components ...
Страница 31: ...Figure 24 8 x 2 5 inch with NVMe Figure 25 8 x 2 5 inch with NVMe Installing and removing system components 31 ...


