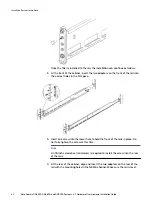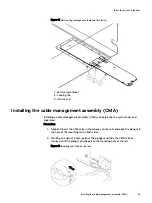
5. Use an 18-inch screwdriver (minimum) to secure the rear of the rail to the
NEMA channel using one screw.
6. Tighten the front screw.
7. Repeat for the other rail.
Install the DD6300, DD6800, or DD9300 system into a rack
CAUTION
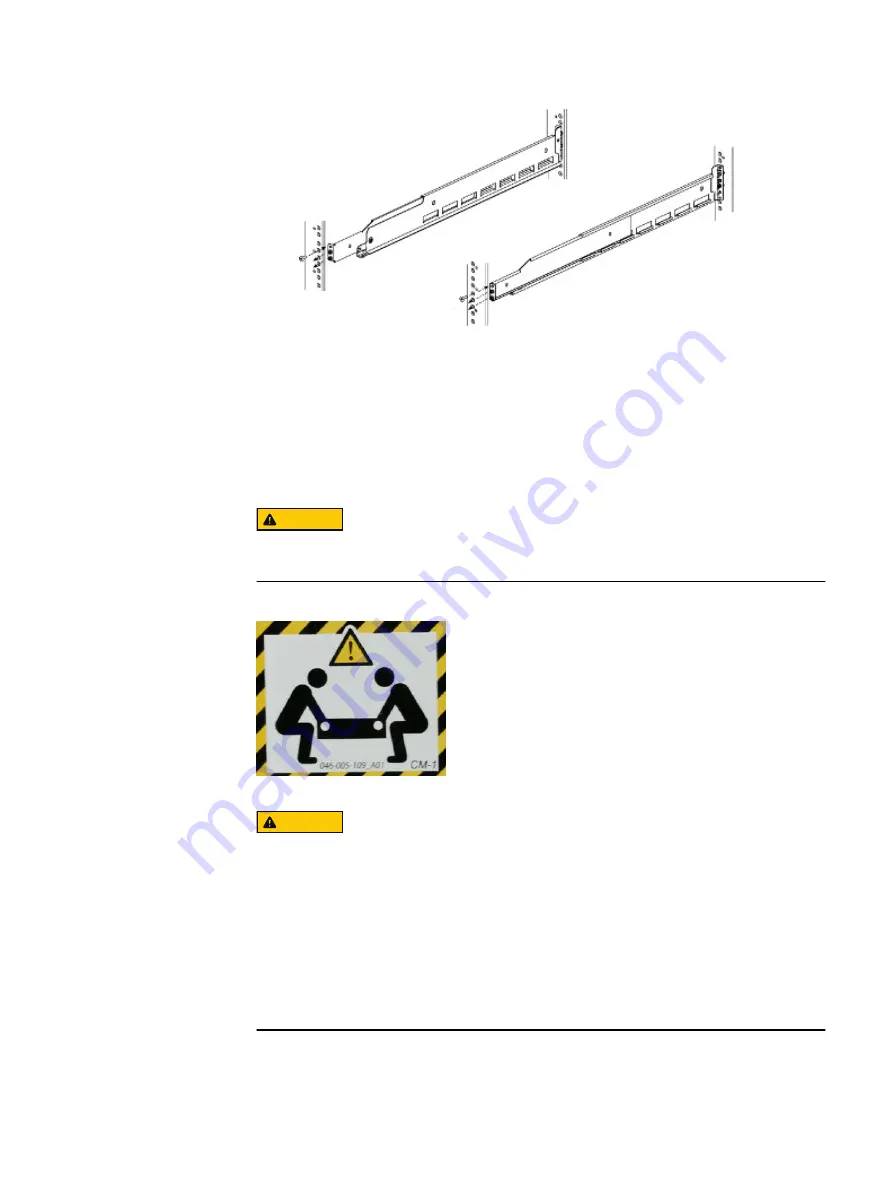
Data Domain systems are heavy. Always use two people or a mechanical lift to
move a system.
Figure 12 Warning about lifting the system
CAUTION
l
The system controller should be installed in the pre-defined location for the
system controller in the rack to comply with Data Domain rack mounting
guidelines.
l
Do not apply AC power to the system controller until all expansion shelves
and cables are installed.
l
Ensure the PSNT label, which is in a slot just beneath the power supply on the
rear of the chassis is not damaged or snagged during the installation of the
system into the rack.
Procedure
1. From the front of the rack, lift the chassis to install the system in the rack in the
correct location.
Install the System in the Rack
Install the DD6300, DD6800, or DD9300 system into a rack
43
Содержание DD6300
Страница 6: ...FIGURES 6 Data Domain DD6300 DD6800 and DD9300 Systems 6 1 Hardware Overview and Installation Guide ...
Страница 8: ...TABLES 8 Data Domain DD6300 DD6800 and DD9300 Systems 6 1 Hardware Overview and Installation Guide ...
Страница 10: ...Revision history 10 Data Domain DD6300 DD6800 and DD9300 Systems 6 1 Hardware Overview and Installation Guide ...

